Enrol students in Inspera test using CSV file (Original)
This guide provides instructions on enrolling students in an Inspera test using CSV file.
One use-case of this method is enrolling students in a Practice Exam that uses a Safe Exam Browser to simulate a central exam experience.
Three steps are involved:
- Download the course list from the Grade Centre
- Prepare the CSV file to upload
- Upload your CSV file to your Inspera test.
Video Guide
Enrol students to an Inspera test using CSV file (YouTube 2m 50s)
2. Prepare CSV file to upload
- Click on the course list file (spreadsheet) downloaded in previous step.
- Select yes to open the file.
![]()
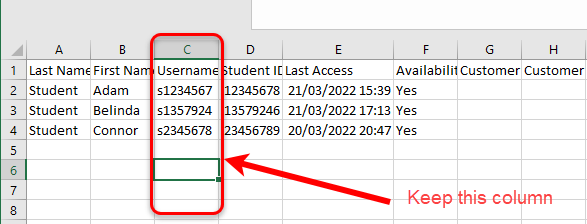
- Delete all columns except for the Username column (Column C).
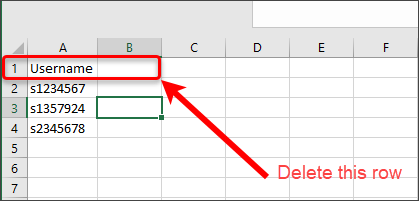
- Delete the Header row (Row 1).
Tip: For further information on how to delete a column, refer to the Insert or delete rows and columns guide (by Microsoft).
- In the first row of the second column (cell B1), enter the formula =A1&"@uq.edu.au" and press Enter.
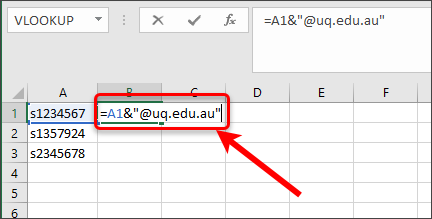
Note: This will take the Username from the first column and add the @uq.edu.au to the end, resulting in the student’s email address being filled into the second column.
- Place your cursor in the bottom-right corner of the cell.
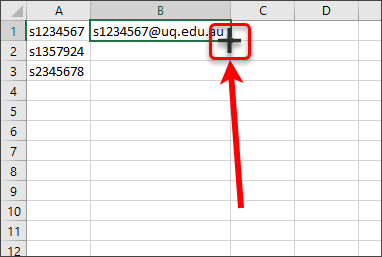
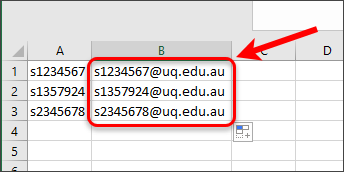
- Double-click to fill the whole column with the formula you just added in the first row. This will result in the other students' email addresses being filled into their respective cells.
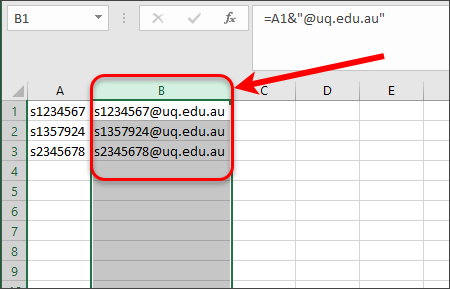
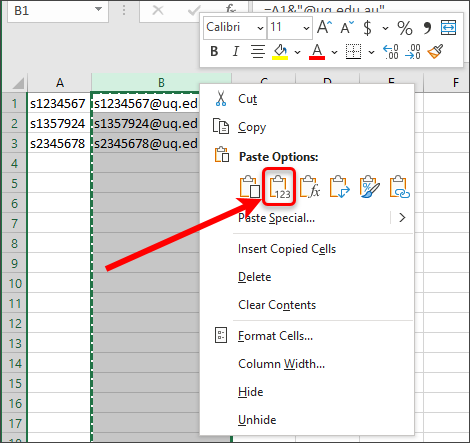
- Select the entire column (column B) containing the email addresses.
- Right-click the selected column and choose Copy from the context menu.
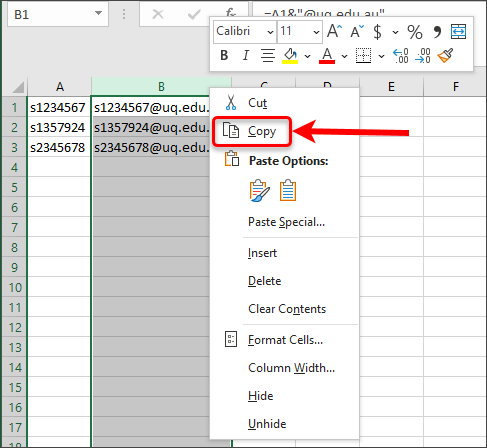
- Right-click the selected column again and choose Paste Values from the context menu. Note: This will remove the formula and replace it with the actual email addresses.
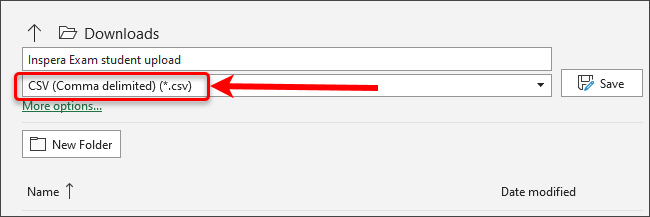
- Go to File > Save As.
- Choose a location to save your file.
- Give your file a name; e.g Inspera upload.
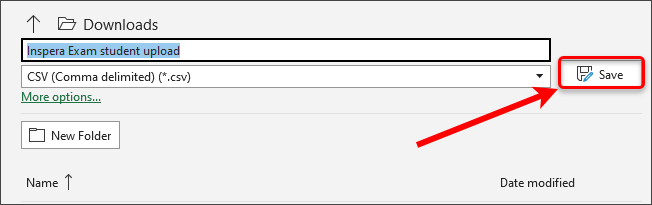
- From the file type list, choose CSV (Comma delimited) (*.csv).
- Click on the Save button.
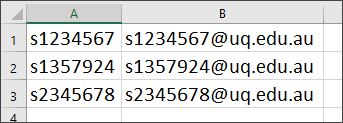
The complete file should have the following format without any formula.