Kaltura - Create Transcripts and Add Captions
To support students impacted by COVID-19 travel restrictions, the University has enabled automatic machine-generated captions (which also produces a transcript file) for all Kaltura videos from 21 February, 2020 onwards. Captions and transcripts are recommended for any videos provided to students.
Captions can also be ordered for Kaltura videos uploaded before 21 February 2020 (a transcript file will also be produced). The captions can be edited online and it is also possible to download the transcript file.
While Kaltura videos will generally be accessible for students in China, some students may be challenged by low bandwidth. Transcripts will be an important alternative for students where streaming video is not feasible.
Warning: In order for students to see the video's transcripts, they must be added to the Learn.UQ (Blackboard) course site via the Course Gallery option. If videos are added to their Learn.UQ course site via the method described in Insert a Kaltura Video into a Content Area, students will not be able to see the transcript.
Note: The transcripts are machine-generated and their accuracy varies with the audio quality of the recording and the level of technical language used. As advised in the Guidance for teaching cohorts impacted by coronavirus resource, teaching staff should monitor the quality of the transcripts and edit if required.
Note: Students should be advised that transcripts are ‘best effort’, and should not be treated as a substitute for the original audio or any text content provided.
Note: If you would like another member of your teaching staff to edit the video, you can do so by adding them as a collaboarator. Consult the Change Video Ownership section in the Kaltura Capture - My Media guide for more information.
2. Editing Captions
Access Editor
After captions have been ordered, it is recommended you watch the video to see if the captions are accurate. In the event they are not, you can edit them. See the next section, Upload Manually-Created Script, for more information on how to upload pre-made scripts to your video.
Note: This step will also reflect changes in the captions and the transcript students see.
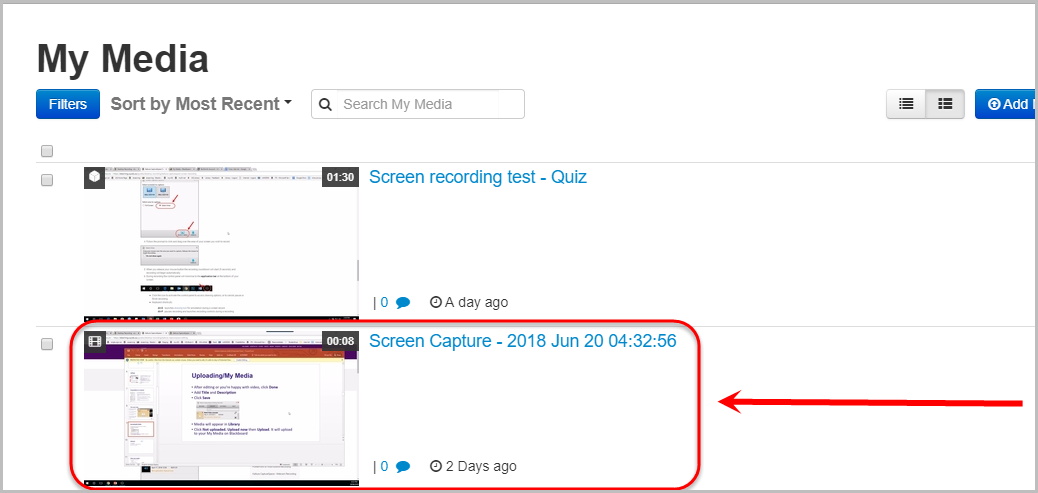
- In My Media, select the video link or thumbnail that you would like to edit captions for.
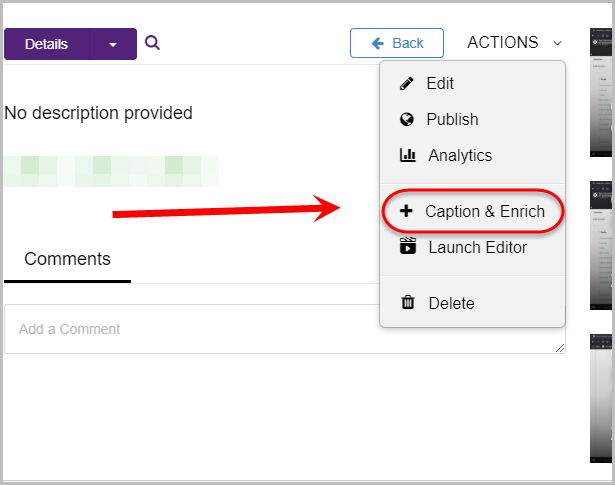
- Click on the Actions button.
- Select Caption & Enrich from the drop-down menu.
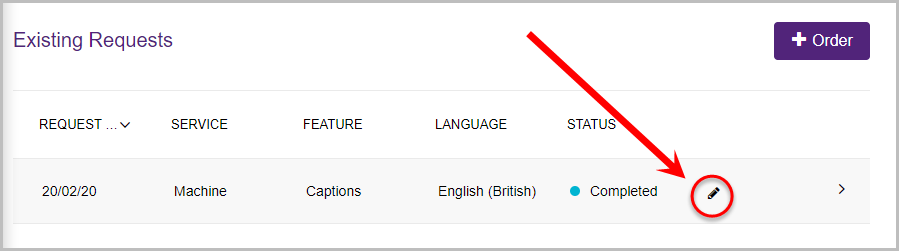
- Click on the pencil icon to edit.
Using the Editor
Search for Text
Note: This is for highlighting text to find and edit. Alternatively, you can read the captions by scrolling through and editing as stated in Step 3.
- Enter text in the Search in Captions textfield.
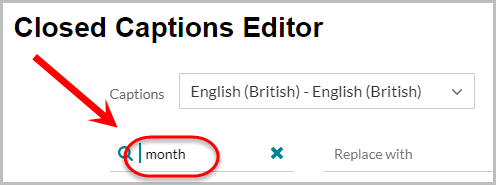
- Use the scrollbar to locate the text.
Note: The section will be highlighted in yellow.
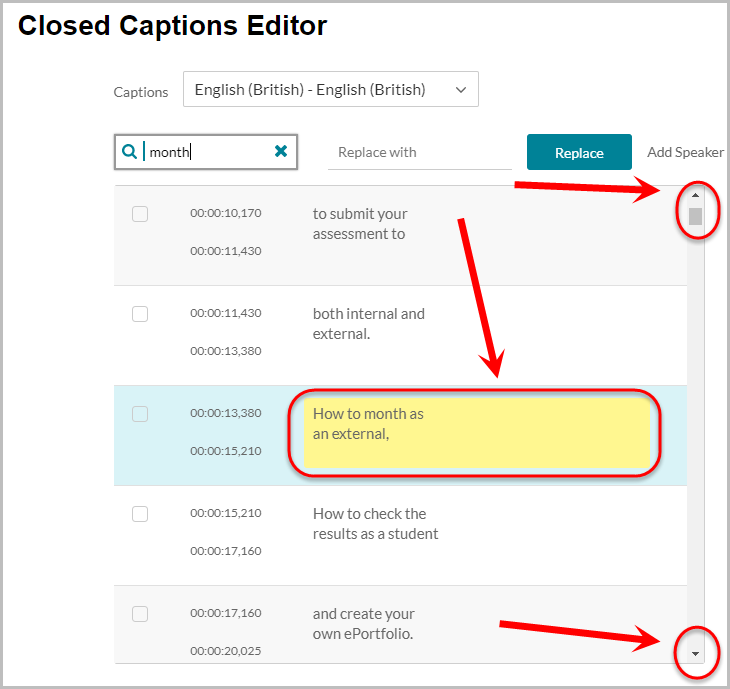
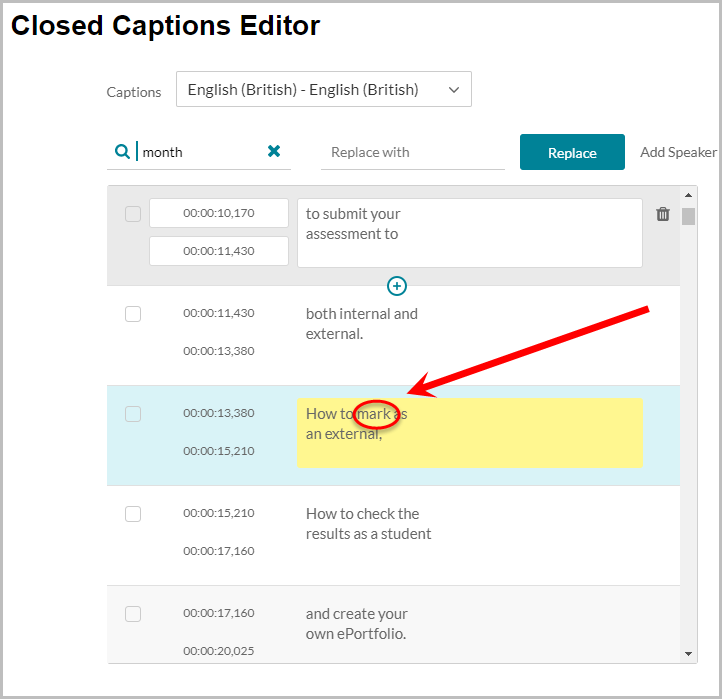
- Once the incorrect word has been located, delete it and replace it with the appropriate word.
- Click outside of the textbox to save those changes.
Note: All changes need to be saved by clicking on the Save button.
Using "Replace with"
- Enter text in the Search in Captions textfield.
- Enter the correct text in the Replace with textfield.
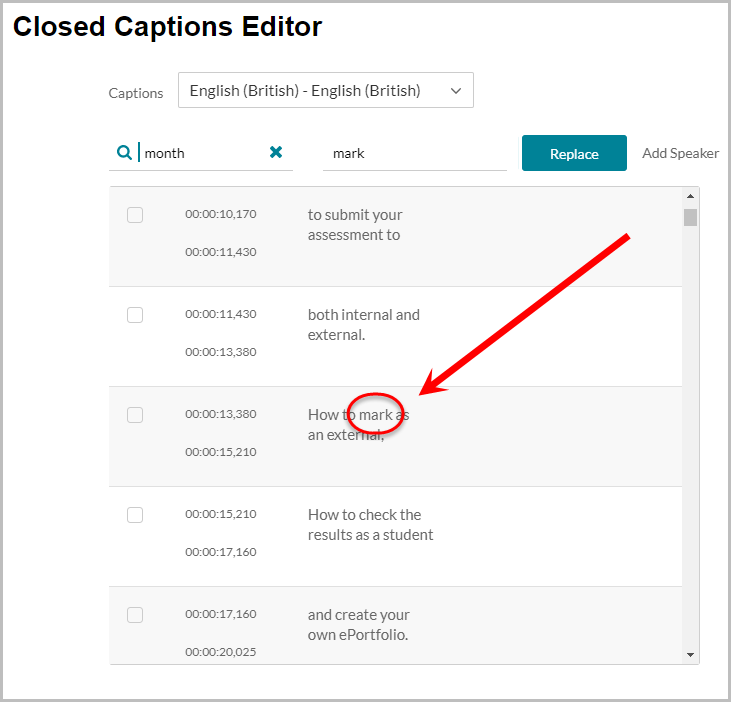
- Click on the Replace button.
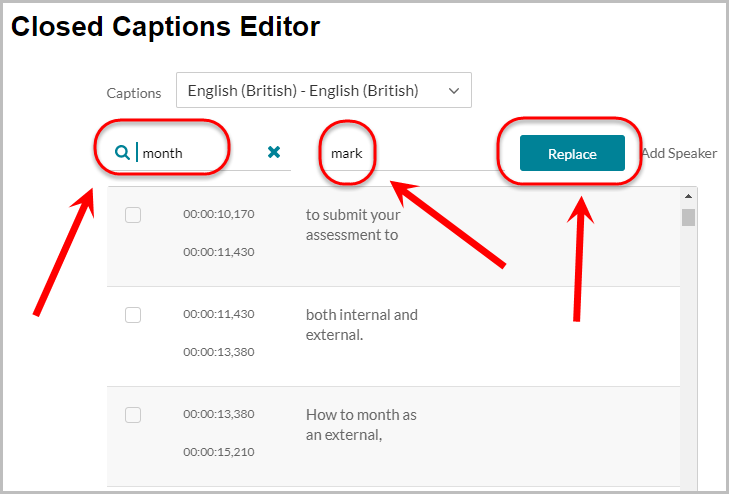
- The word will be replaced in the editor.
Editing Timestamp
- Locate the section that requires the captions to change their start and/or end time.
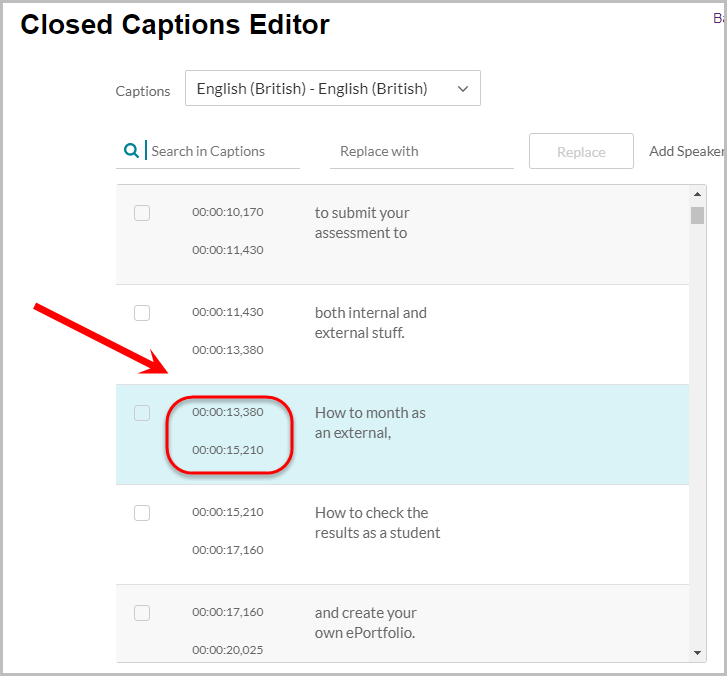
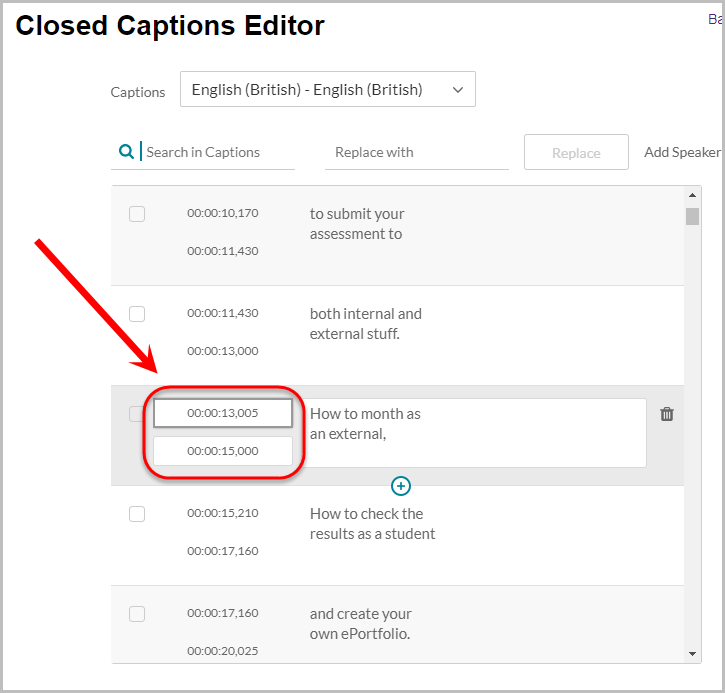
- Enter the required time in the textfield.
Note: The time is set as hh:mm:ss,msmsms
- Click outside of the textbox to save those changes.
Note: All changes need to be saved by clicking on the Save button.
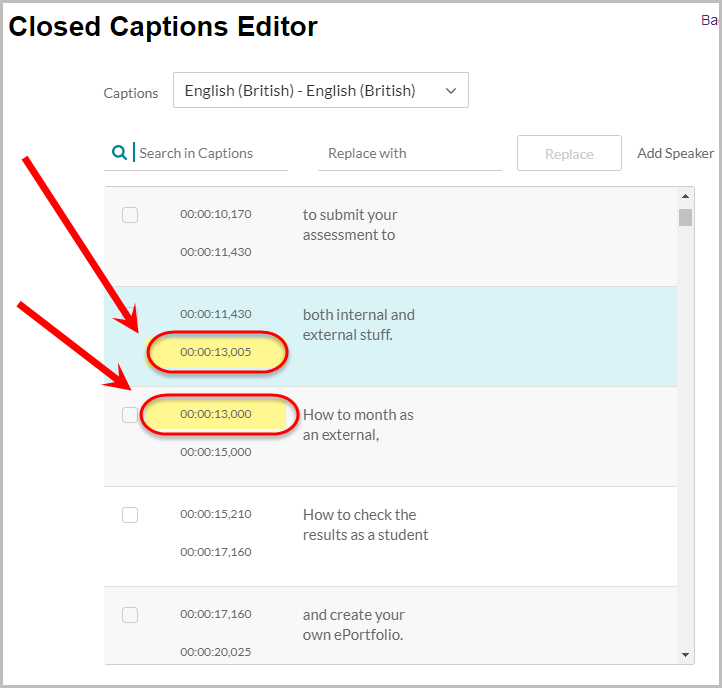
Note: If a section's time has been amended e.g. 00:00:13,000 to show a time after the previous section, it will be highlighted to show a time conflict and must be changed.
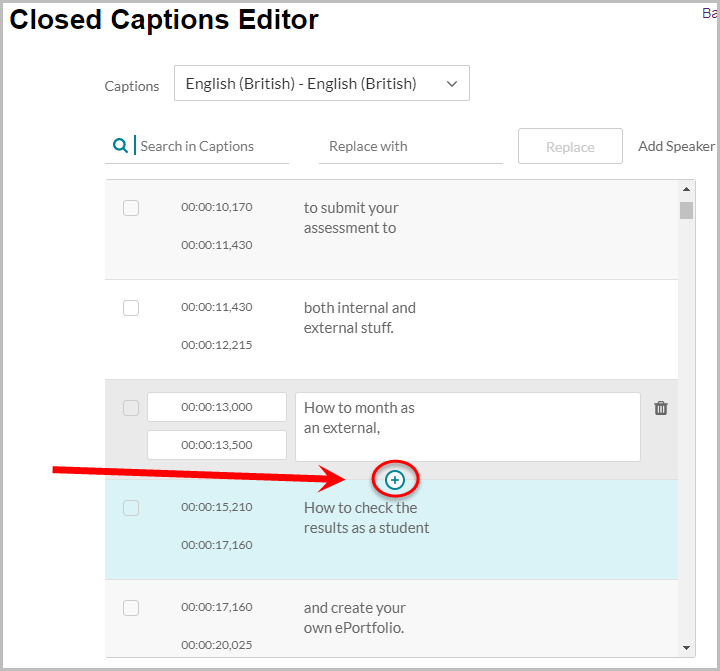
Add Copy of Captions
- Locate to a section between two existing captions.
- Click on the plus icon to create a copy of it.
- Edit where required and replace them with the appropriate words.
- Click outside of the textbox to save those changes.
Note: Refer to the Editing Timestamp section for information on timing the captions.
Note: All changes need to be saved by clicking on the Save button.
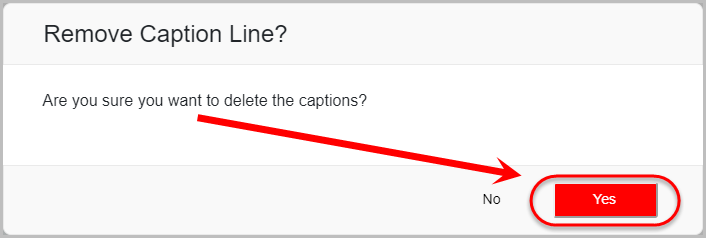
Delete Captions
- Locate the captions that require deleting.
- Click on the bin icon.

- Click on the Yes button.
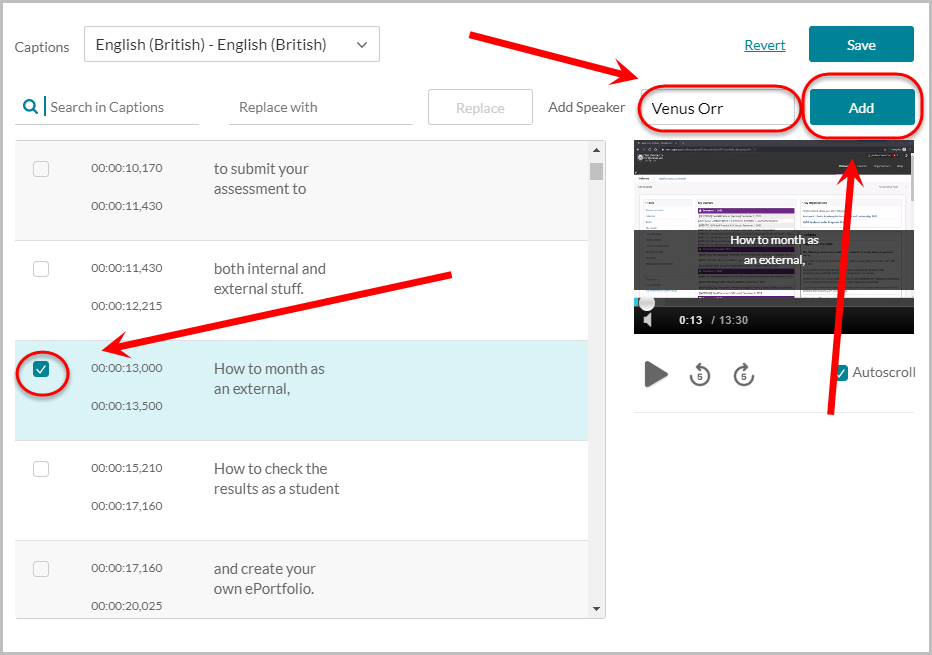
Attribute Speaker to Captions
- Check the appropriate checkbox or checkboxes.
- Enter a name in the Add Speaker textbox.
- Click on the Add button.
Revert to Original Version
- Click on the Revert link.
Warning: There is no confirmation asking if the reversion is required.

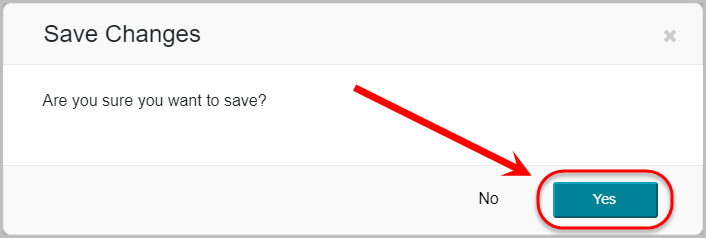
Save Changes
- Click on the Save button.

- Click on the Yes button.
Tip: Watch the video again to ensure captions are accurate.