Universal Capture - Create a Recording (Original)
Launch Universal Capture
For step-by-step instructions, refer to the Universal Capture - Getting Started guide.
Recording Options
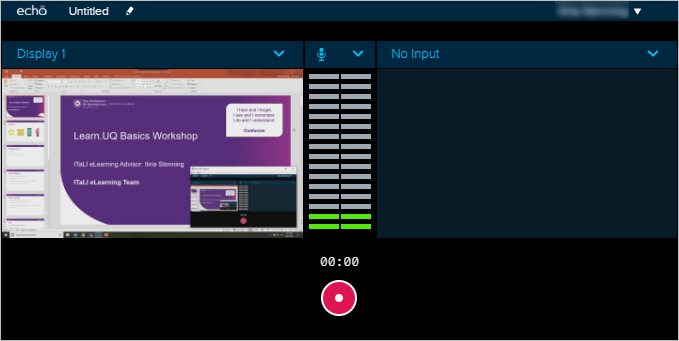
Audio and screen capture
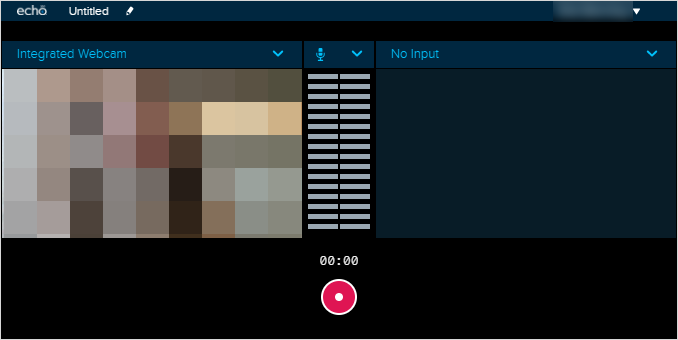
Audio and a webcam
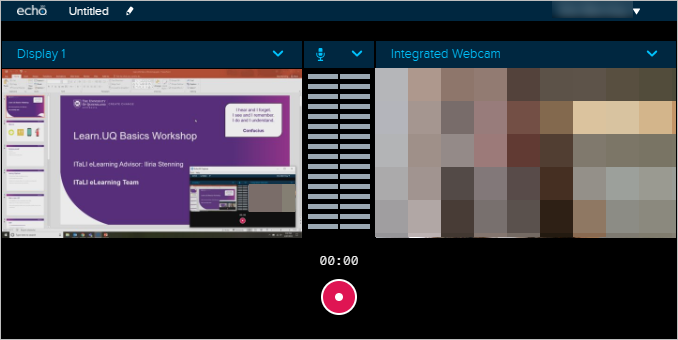
Audio, screen capture and a webcam
Note: Regardless of the option you select, you can decide to publish only the audio file to your course (i.e. create a podcast) if you wish.
Recording Settings
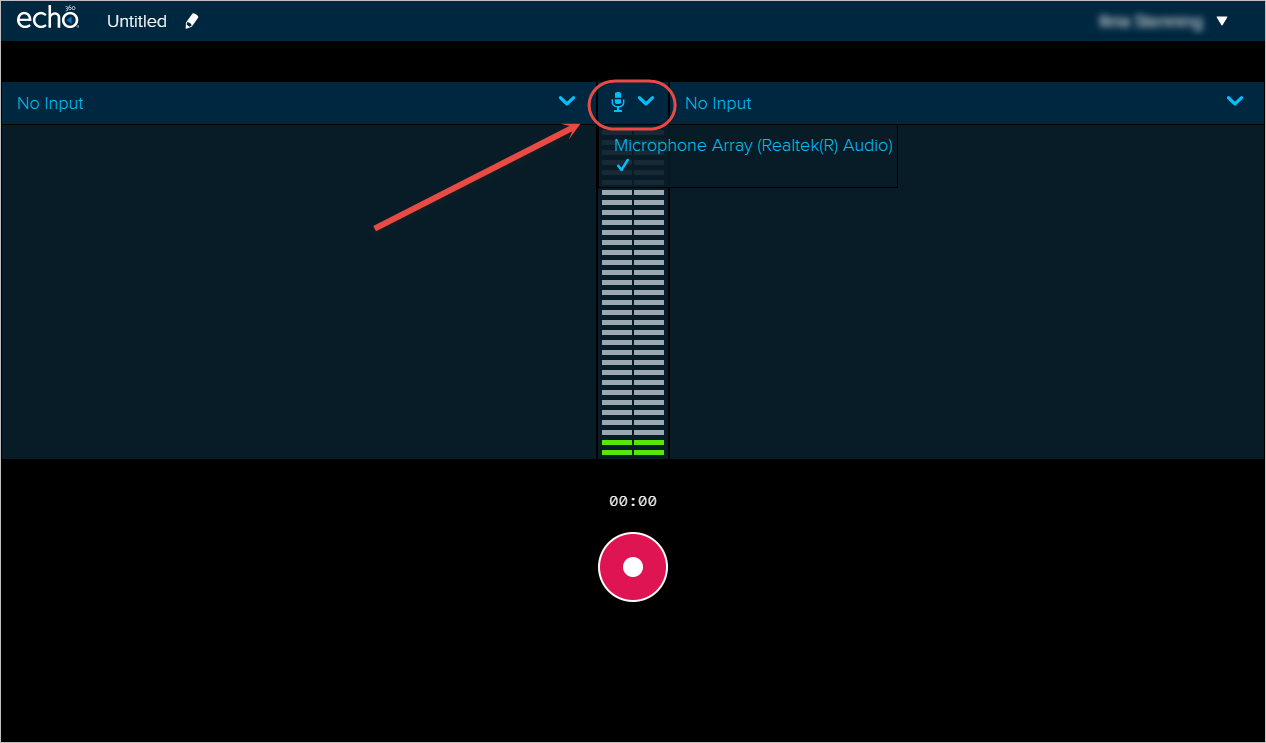
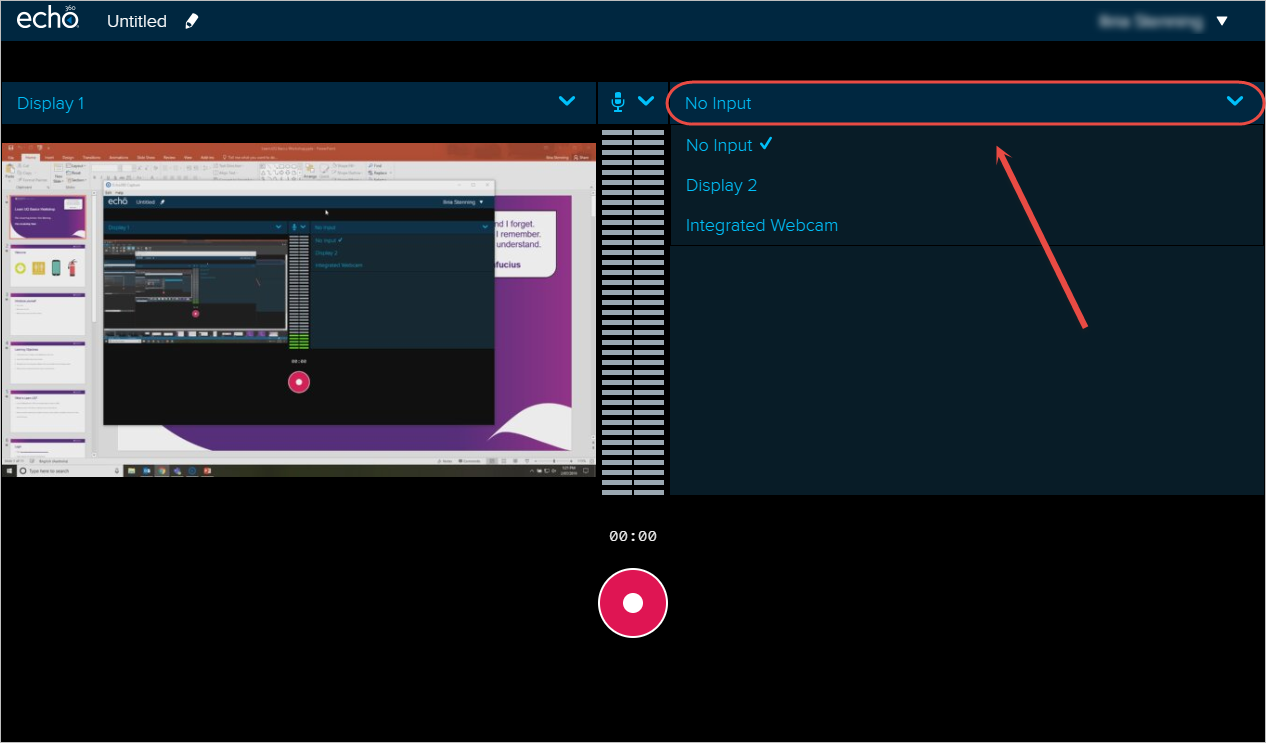
- Click on the Microphone Array button.
- Select the required microphone from the dropdown list.
Tips:
- If you are not sure which microphone to select, trial the different options until you see green appear in the audio meter.
- If you are using audio from a webcam, you will need to select the webcam.
- If your microphone is not shown in the list, close the program, replug in your microphone and restart the program.
- Click on the Primary Display dropdown list.
- Select the required display from the dropdown list.
Note: If you want a webcam only recording, you will need to select the required webcam as the Primary Display.

- Optionally, click on the Secondary Display dropdown list.
Note: Secondary Display refers to your second monitor (if you have one).
- Optionally, select the required display from the dropdown list.
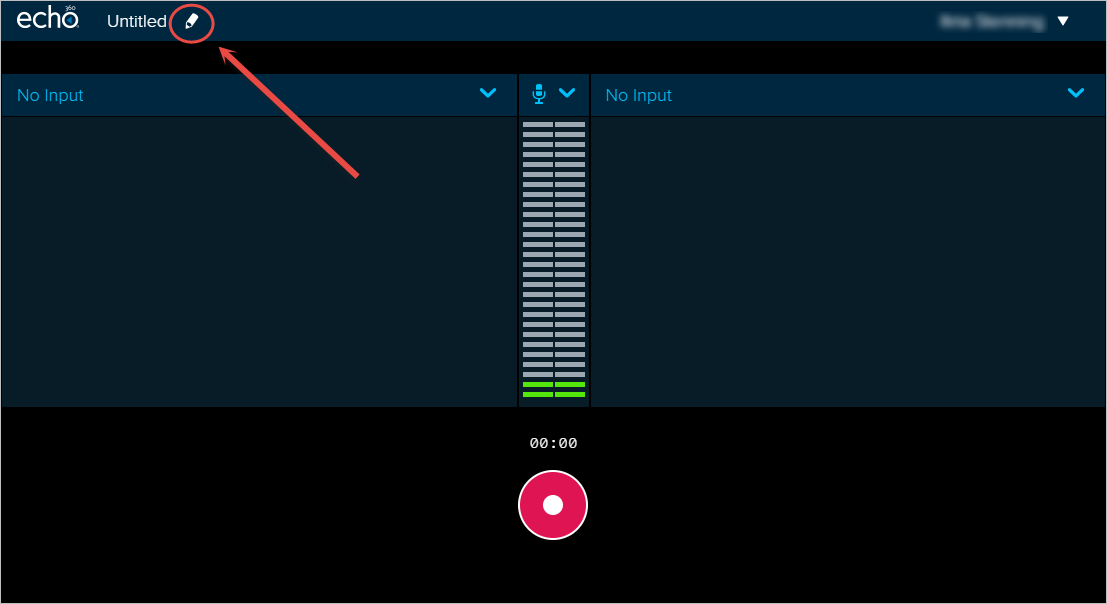
- Click on the pencil icon next to 'Untitled' to edit the recording details.
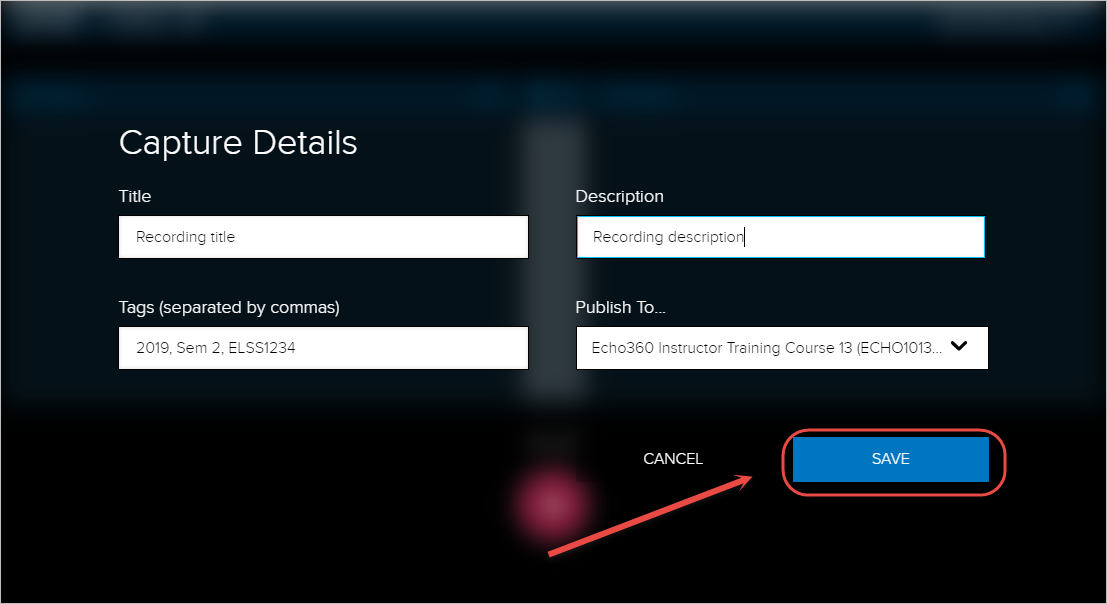
- Enter a title in the Title textbox.
- Select a course or your personal Library from the Publish To... dropdown list.
Tip: If you do not want to publish the video to a particular course, you can publish it to your personal Library instead.
- Optionally, enter a description in the Description textbox.
- Optionally, enter any tags separated by a comma (i.e. 2019, Sem 2, ELSS1234) in the Tags textbox.
- Click on the SAVE button.
Start the recording
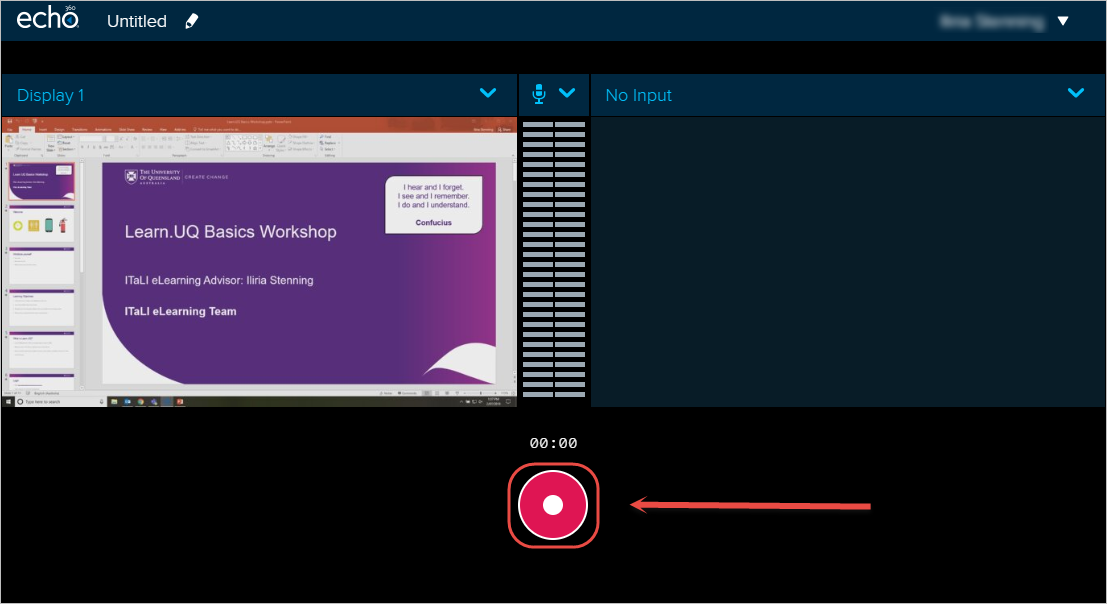
- Click on the Record button.
- A five second countdown will be displayed.
- Once the countdown has finished, the application will be minimised to your taskbar and all your actions on the screen will be recorded.
Note: A preview of the webcam will not be displayed while you are actually recording. The final recording will display the screen and webcam video side by side.

Pause, Cancel or Stop the recording
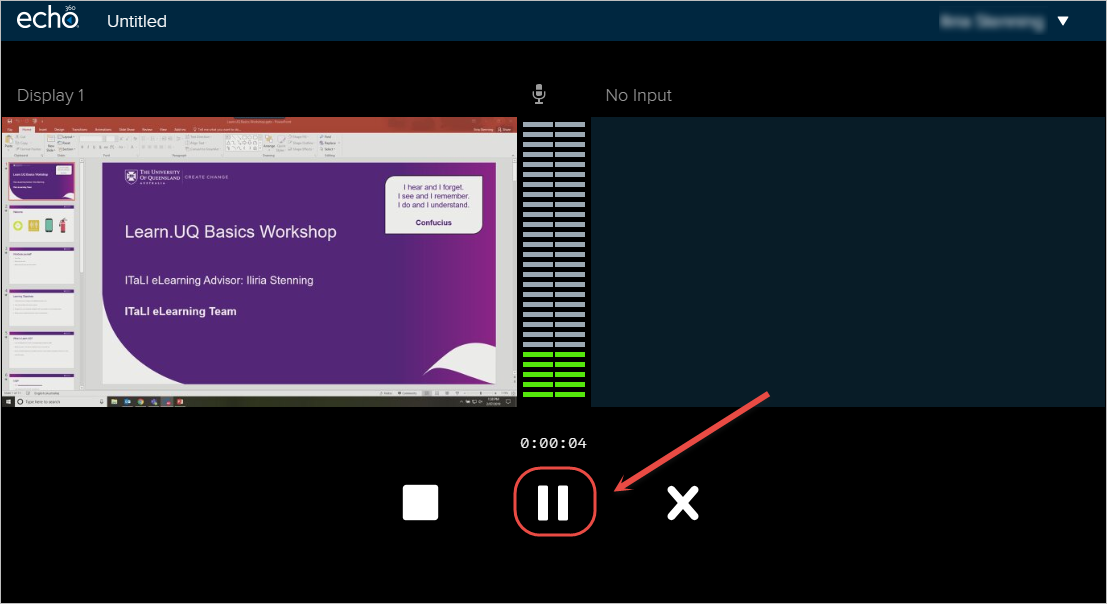
Pause the recording
- Click on the Pause button (or press Alt and F5 key on your keyboard) to pause the recording.
Note: You can only pause a recording for a maximum of 15 minutes. After 15 minutes Universal Capture will stop the recording and save it.
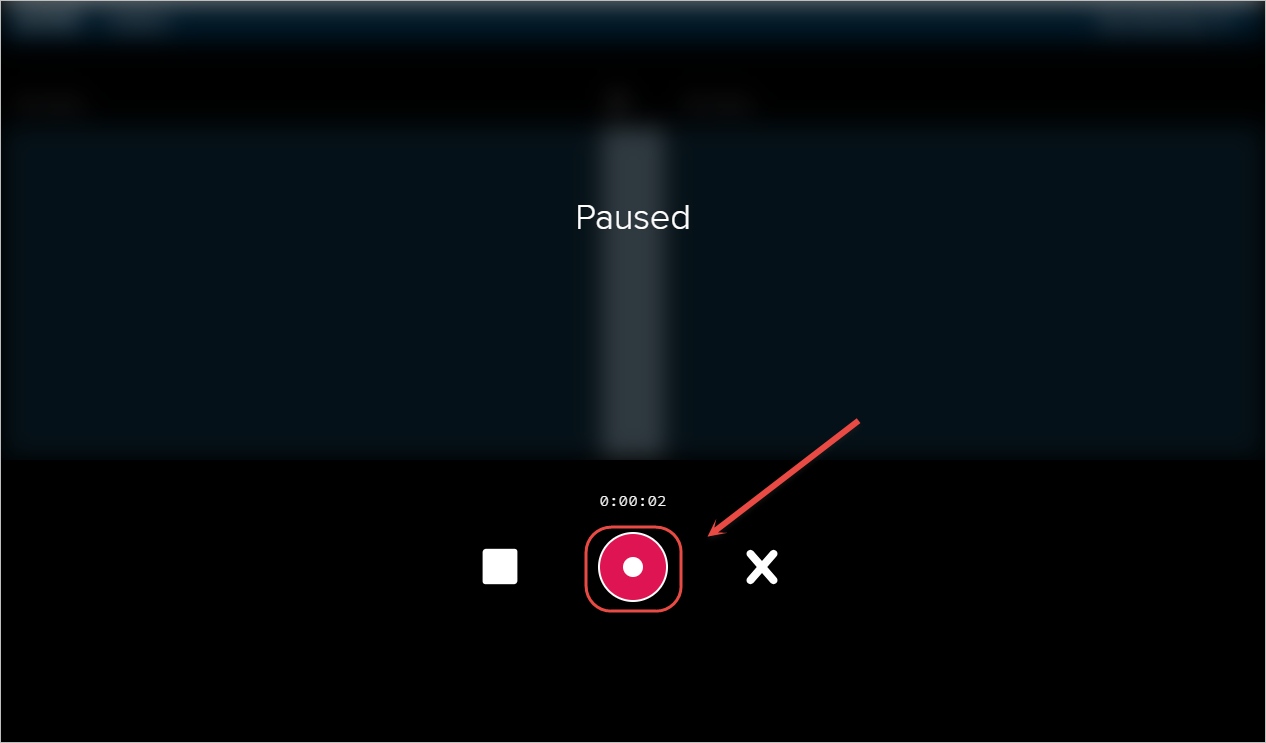
- Click on the Record button (or press Alt and F5 key on your keyboard) to resume the recording.
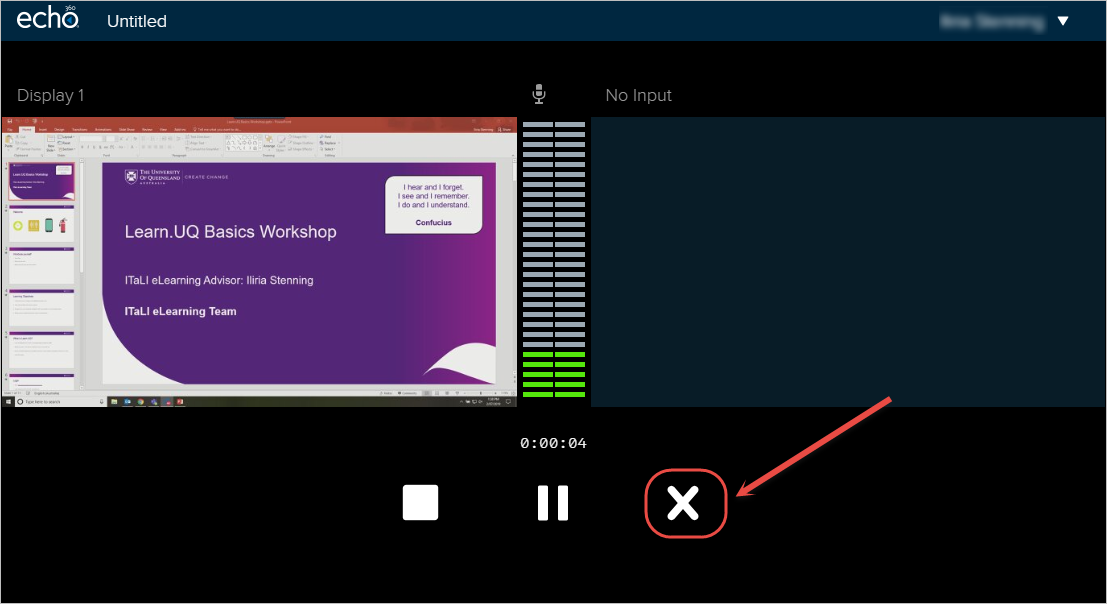
Cancel the recording
- Click on the Cancel button to cancel and disgard the recording.
- Click on the YES, CANCEL button to confirm deletion of your capture.
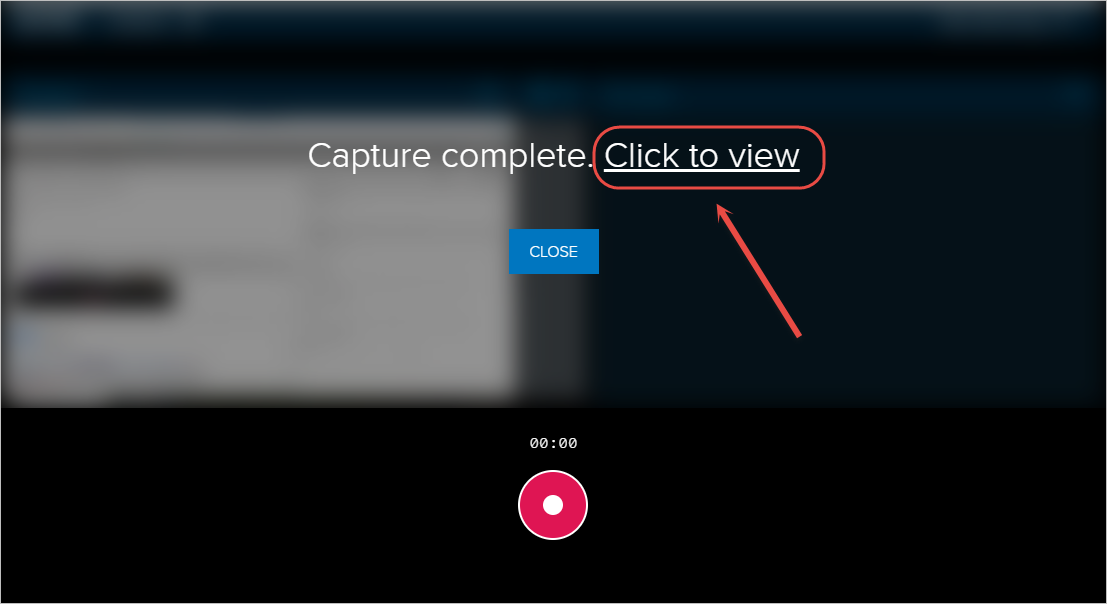
Stop the recording
- Click on the Stop button (or Alt and F6 on your keyboard) if you are ready to save your recording.
- The uploading process make take a minute or two.

- Click on the Click to view link to view the saved recording.
Managing your recordings
For step-by-step instructions on how to manage your recordings, refer to the Access, Edit, Download and Delete a Recording guide.