Create an Echo360 video (Original)
This guide describes how to create a desktop recording video in Echo360. For more information about editing your video, please refer to Edit an Echo360 video guide.
Choose settings
- In the main menu, click on Create and select New Browser Capture.

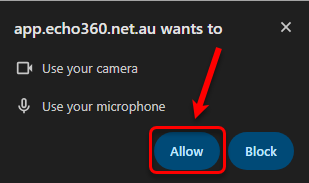
- If prompted, click on the Allow button in the pop-up to provide Echo360 with access to your camera and microphone.
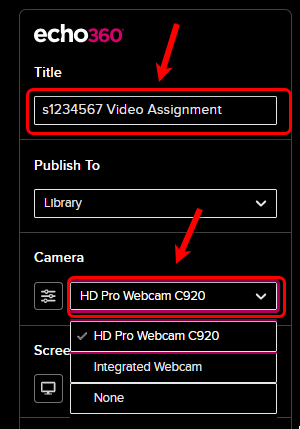
- Enter a title in the Title textbox (e.g. Course Code + Airway surgery recording).
- Select the correct webcam from the Camera dropdown.
Note: If you only want to record audio, select None.
- Optionally, click on the Settings button and select a virtual background.
Tip: Select Blur if you would like to avoid your surroundings being captured in detail.

- Optionally, click on the Add Screen button to share your screen.
- Select either a Window, App or Screen and click on the Share button.
Note: Once you have selected the screen you would like to share, you will need to navigate back to the Echo360 settings window to finish setup and begin recording.

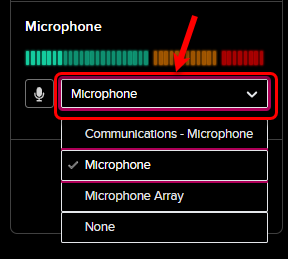
- Select the correct microphone from the Microphone drop down.
Record your video
Record your video
- Click on the REC button to begin recording.

Note: A countdown timer will appear before recording.
- To pause the recording, click on the Pause button.
Tip: Use the Pause Recording function to pause between slides/delivering content to ensure the recording is efficient. It can also help you to avoid recording in one long take.
Note: There is no way to redo a certain part if a mistake was made. You can either delete the recording by clicking on the Cancel recording icon (x icon) and start again or cut out that incorrect part via Editing.
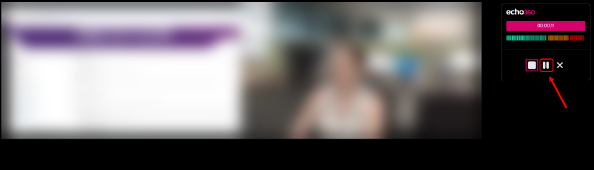
- To resume the recording after pausing, click on the Pause button again.

- When done, click on the Stop Recording icon.
Warning: Once you stop the recording, the video will begin processing and you will be unable to resume recording.

- Your video will be stored in the Library section.
Note: The processing process will take longer depending on the internet connection, the length of the recording and its quality.
- Access Echo360
- Access your Echo360 account
- Create an Echo360 video
- Desktop Recording Options Comparison
- EchoVideo Deep Linking Tool
- Edit an Echo360 Video
- Insert a Video using the Text Editor
- Kaltura to Echo migration embeds
- Share your Echo360 video
- Universal Capture - Access, Edit, Download or Delete a Recording
- Universal Capture - Create a Recording
- Universal Capture - Download for PC or Mac
- Universal Capture - Getting Started
- Zoom - Using Zoom for Personal Capture