Edit an Echo360 Video (Original)
This guide explains how to edit your Echo360 video and provides instructions for a basic set of video editing functionality including:
- Edit the video title
- Trim start and/or end
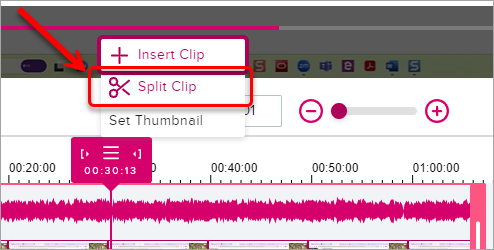
- Split clip into multiple
- Remove segments
- Insert media
- Create thumbnail.
Access the Media Editor
Option 1: though your Echo360 account Library
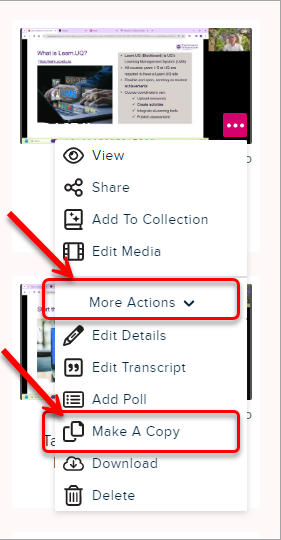
- Click on the More (3 dots) icon at the bottom right-hand corner of your video you want to edit.
- Select Edit Media from the drop-down list.
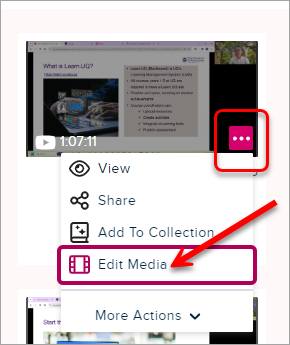
- Review a warning message about edits carrying through all published versions.
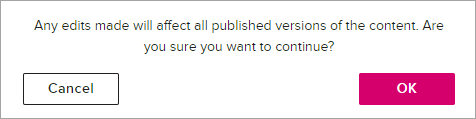
- If you select OK to continue, video opens in the editor and ready for changes to be made.
Option 2: from a video in playback mode
- Click Edit Media option in the preview panel

- Review a warning message about edits carrying through all published versions.
- If you select OK to continue, video opens in the editor and ready for changes to be made.
Edit video's title and transcript
Edit title
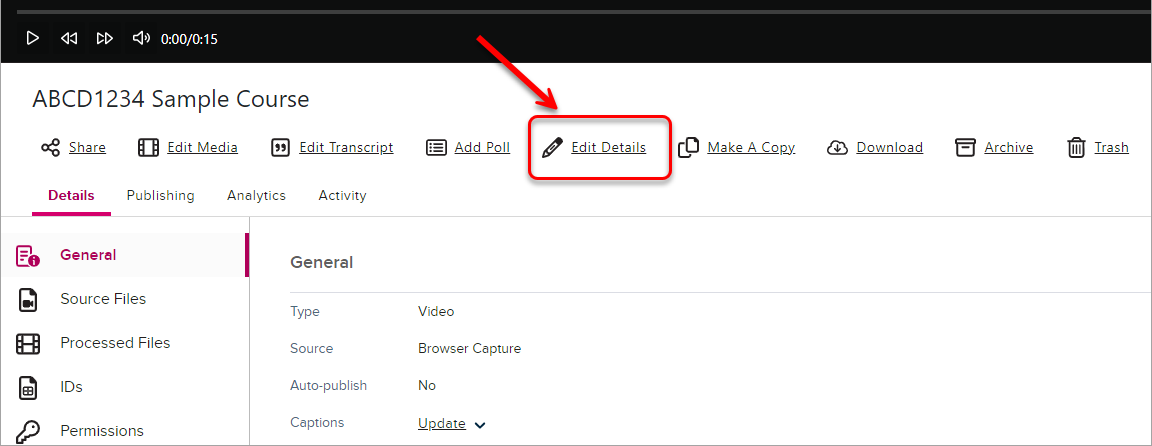
- Click on Edit Details link.
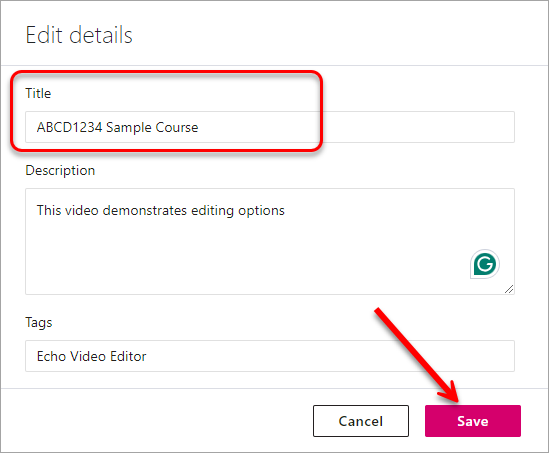
- Make required changes in the relevant boxes (title, description, tags) and click on the Save button.
Edit transcript
- Click on the Edit Transcript link.
![]()
- It will open the auto-captured transcript with timestamps and editable text.
![]()
- Make required changes and click on Save As New Version button.
![]()
Trimming Videos (start/end)
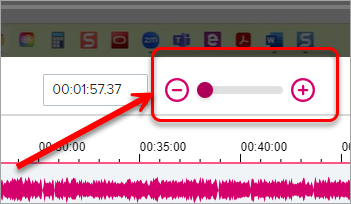
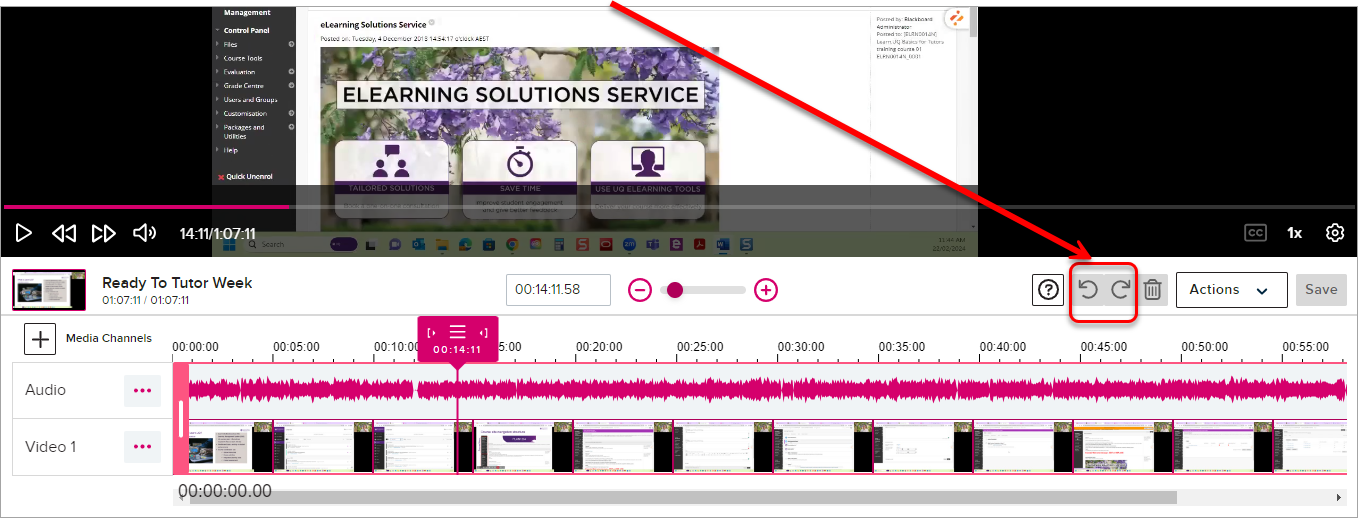
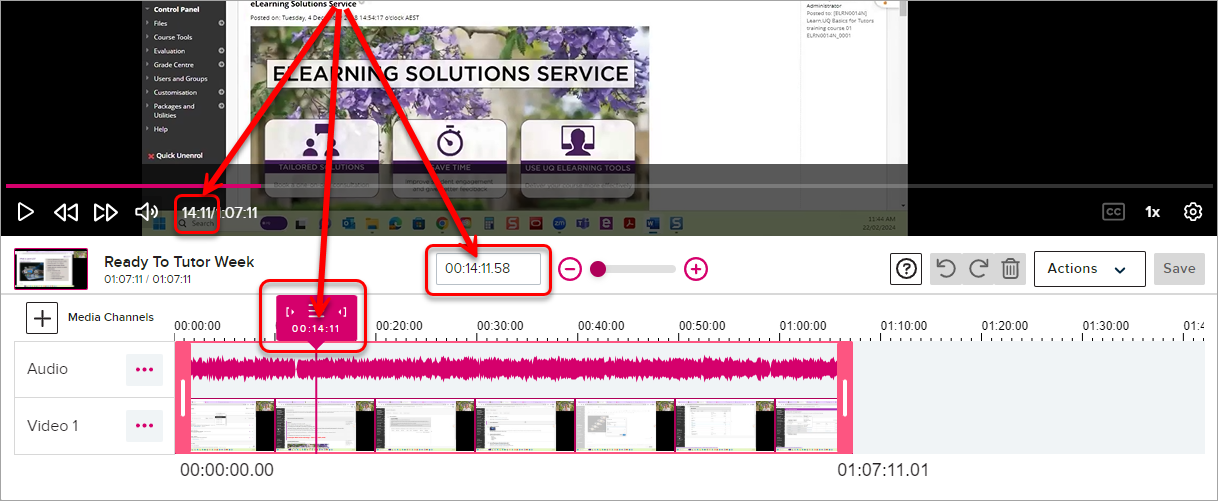
While editing a video, at any time, you can zoom in or out on the timeline for a more precise view of a section you want to edit. The Zoom In/Out buttons and the slider are located to the right of the timestamp location box, between the playback panel and the editing panel of the editor.
Trim the start of the recording
- In the playback panel, put the playhead/cut marker at the desired new start position
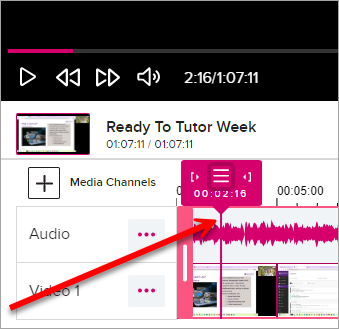
- Click the trim-in icon on the cut marker, located left of the cut marker menu button.
![]()
- The playback panel will move to the set location.
- Check if the new start point of your media is correct.
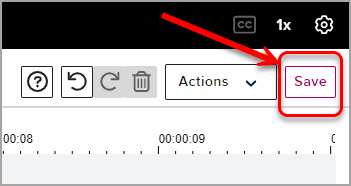
- Click on the Save button.
Note: If you have more changes to make, be sure to make all changes before saving. You cannot make further edits to video until processing of saved edits is completed. Processing time will depend on the length of your video and number of edits.
Trim the end of the recording
- Move the playhead/cut marker to the location where you want the video to end.
- Click on the trim-out (right square bracket) icon on the cut marker.
![]()
- The playback panel will move to the new location.
- Check of the end point of your media is correct. If you cut too little or too much, you can use undo button and re-adjust end position.
- Click on the Save button.
Note: If you have more changes to make, be sure to make all changes before saving. You cannot make further edits to video until processing of saved edits is completed. Processing time will depend on the length of your video and number of edits.
Make a copy
Staff is encouraged to review the information below and to experiment safely with the EchoVideo Editor by using the Make A Copy command. This creates a copy of the original video, which can be used to make changes, review results, and sharpen editing skills, without changing the original.
In your EchoVideo account Library
- Click on the More (3 dots) icon at the bottom right-hand corner of your video.
- Click on More Actions to extend a drop-down list.
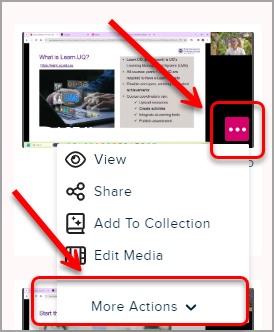
- Select Make A Copy from the drop-down list.
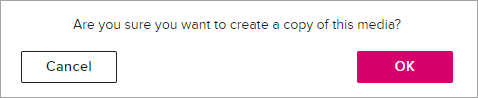
- Click OK to confirm if you want to create a copy.
- A copy of video will appear in your Library with the same title and the word (Copy) appended. If required, change the file title (repeat steps 1 and 2). Select Edit Details and edit the title if needed.
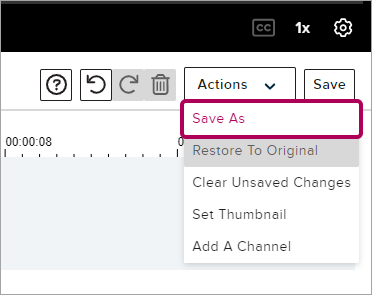
Actions Button
The Actions button is a drop-down menu containing multiple commands or actions.
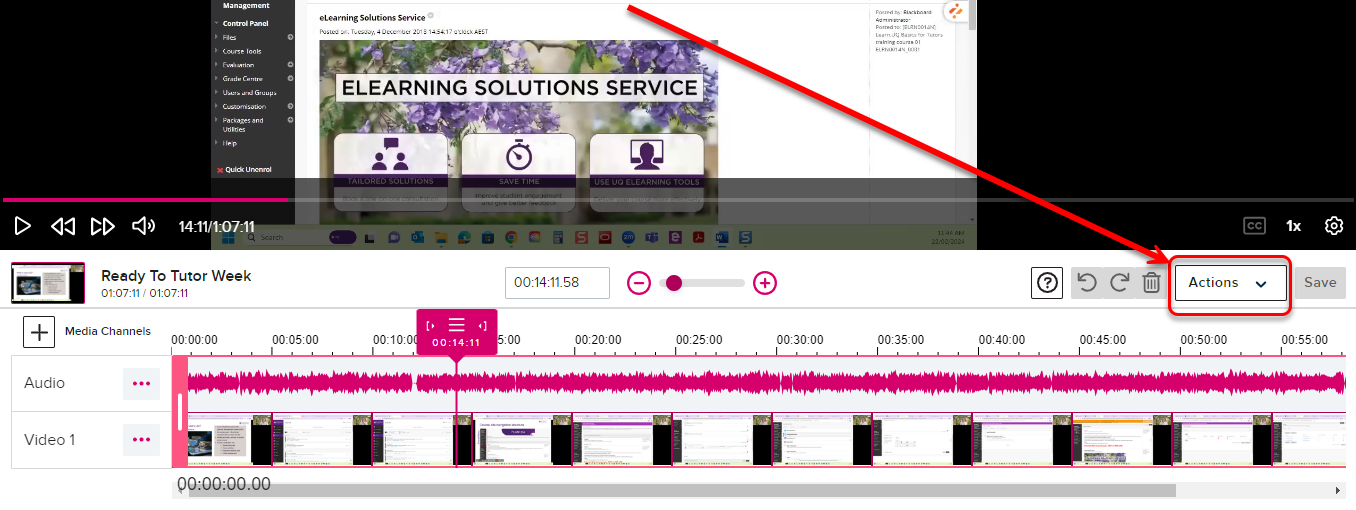
Save As creates a new version of the media from the changes you made.
Restore To Original reverts all changes ever made to the video and restores the original video file. Using this command removes all earlier edits as well as any in progress.
Clear Unsaved Changes reverts all changes made during the current editing session, or since you last clicked Save.
Set Thumbnail allows you to choose a new thumbnail for your video from a still frame within the video or you can upload a custom image.
Add a Channel allows to add an additional audio channel.
Moving the playhead/cut marker
The cut marker is always in sync with the playhead in the playback panel at the top of the editing page.
There are several ways to move the playhead/cut marker to the location you want:
• Play the video to the location you want to work with.
• Use the Skip Forward/Back buttons in the video player to move the playhead by 10 seconds in either direction.
• Click on the playhead and use your right and left arrow keys to skip forward or back 10 seconds.
• Click and drag the playhead to any location in the video.
• Click ON the playback timeline to move the playhead to that location.
• Click and drag the cut marker to an approximate location. You can then use the player to play or scrub and fine-tune that location.
Furthermore, the timestamp box will also be in sync with the playhead. You can type time into the timestamp box to move the playhead and cut marker to a very precise location that you cannot get to by dragging or playback.
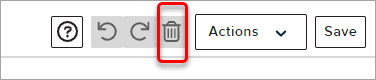
Delete segment
The Trash Can icon is used for deleting any segment of the video that you have placed cut marks around.
To cut a part of your video:
1. Mark the beginning of the segment you want to remove.
2. Mark the end of the segment you want to remove.
3. Click on the segment between the marks.
Note the pink trim handles will appear on either end of the selected segment. Unless you need to change either end location of the segment, you can ignore them.
4. Click on Trash can button.
You can also place a cut mark near the beginning or end of the video, then select and delete the segment between the mark and the beginning or end of the video.
Advanced functionalities
- Removing Video Segments and Inserting Other Media (by Echo360)
- Adding, Removing, and Replacing Video or Audio Tracks (by Echo360)
- Video Editor Shortcuts (bu Echo360)
- Applying a Custom Thumbnail / Preview Image for Video or Audio Media (by Echo360)
- Access Echo360
- Access your Echo360 account
- Create an Echo360 video
- Desktop Recording Options Comparison
- EchoVideo Deep Linking Tool
- Edit an Echo360 Video
- Insert a Video using the Text Editor
- Kaltura to Echo migration embeds
- Share your Echo360 video
- Universal Capture - Access, Edit, Download or Delete a Recording
- Universal Capture - Create a Recording
- Universal Capture - Download for PC or Mac
- Universal Capture - Getting Started
- Zoom - Using Zoom for Personal Capture