Inspera Recommended Assessment - Standard (non-exam) assessment (Original)
This guide provides the recommended setting for non-exam (typically at-home, low-stakes) assessments in Inspera.
Getting started
Create a Question Set prior to setting up the Test. Please refer to Create a Question Set guide.
Create a Test in Inspera
- Log in to Inspera Assessment (https://uqi.inspera.com/admin).
- Select Tests from the Deliver drop-down menu.
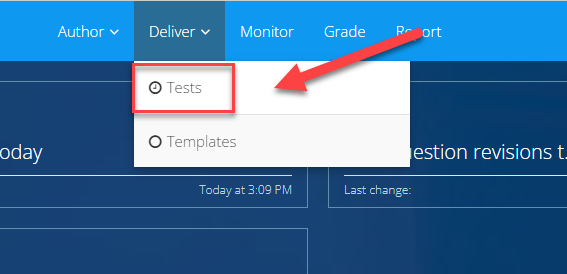
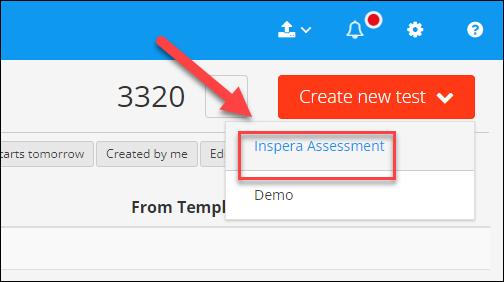
- Click on the Inspera Assessment from the Create New Test drop-down list.
Create a Test via an Inspera link in Learn.UQ course
- Click on the Inspera link in your Learn.UQ course.
Note: please follow this guide on creating an Inspera link in Learn.UQ course.

- A new test will be created in Deliver with the same test name from the Learn.UQ course.
Assessment name, question set, template and timing
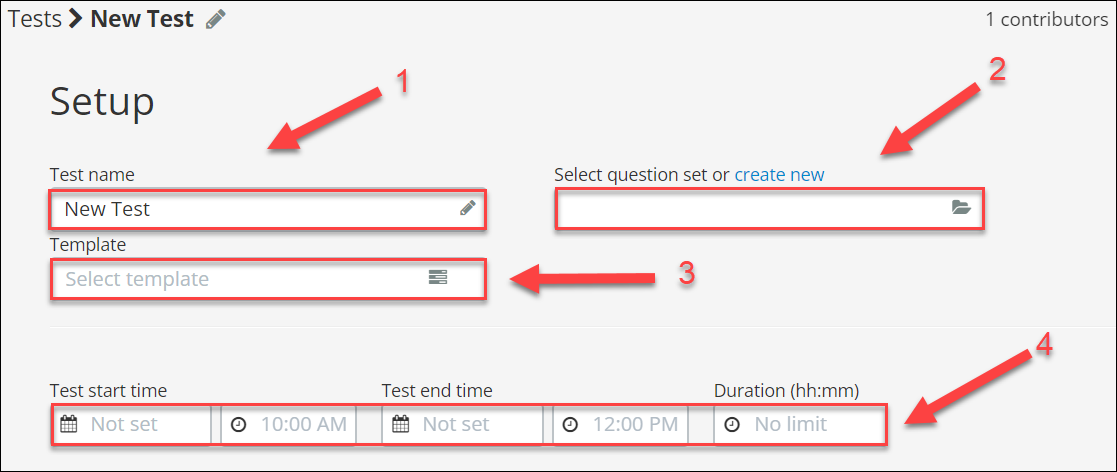
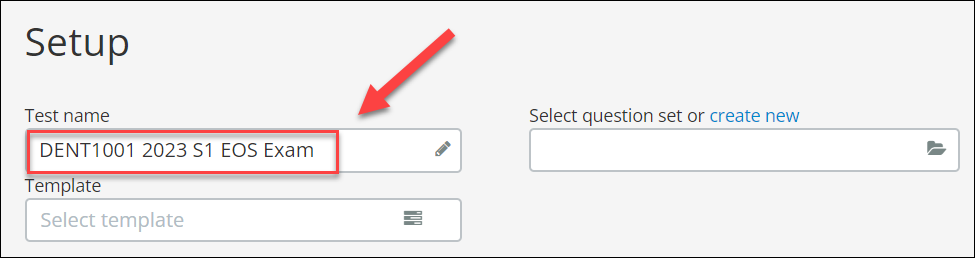
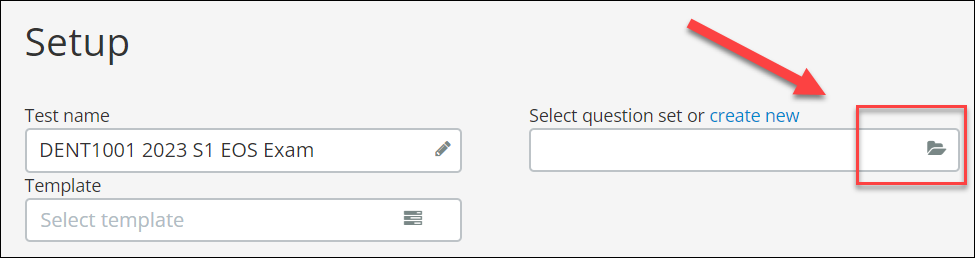
1. Test name
- Enter the quiz/exam name on the Test name textbox, using the naming convention.
Question set
- Click on the book icon to select the required question set.
- Select the required question set.
Tip: Click on the Created by me button to filter your own question sets.
- Click on the Save button.
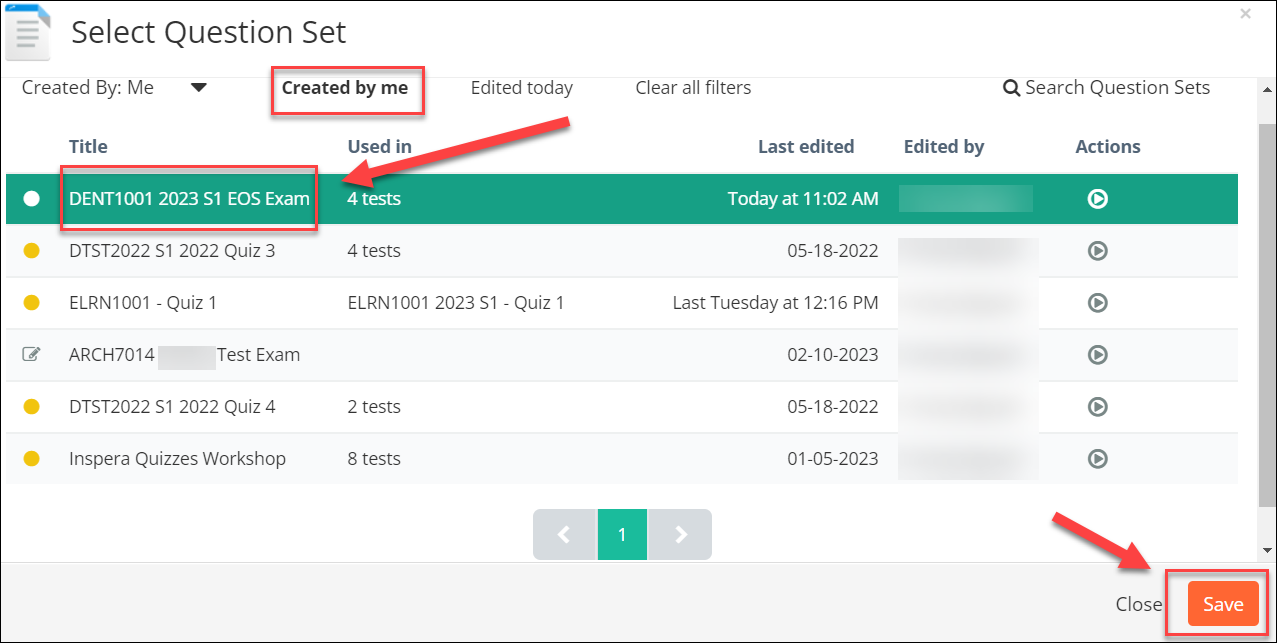
The selected question set has been added to your test.
Note that the test name might be slightly different from the question set name in case you use a question set created in previous years. The test name will be presented to the students.
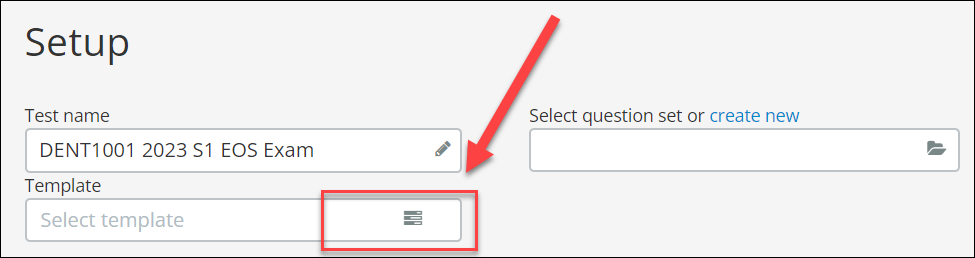
Template
- For a non-exam assessment, the following shared templates are available:
- TEMPLATE: Assignment (ongoing submission),
- TEMPLATE: Quiz (submit once).
- If the template Assignment (ongoing submission) is selected, the Late submission functionality will be enabled.
- When a template is applied, most of the critical settings will be applied for the test you are creating.
- The use of a template in an assessment task is to make sure that the critical settings are applied thoroughly and consistently.
- Important: In order for AskUs to have oversight of your assessment to support your students, you must apply a Template. If you do not use a template, AskUs cannot see your assessment to provide student support.
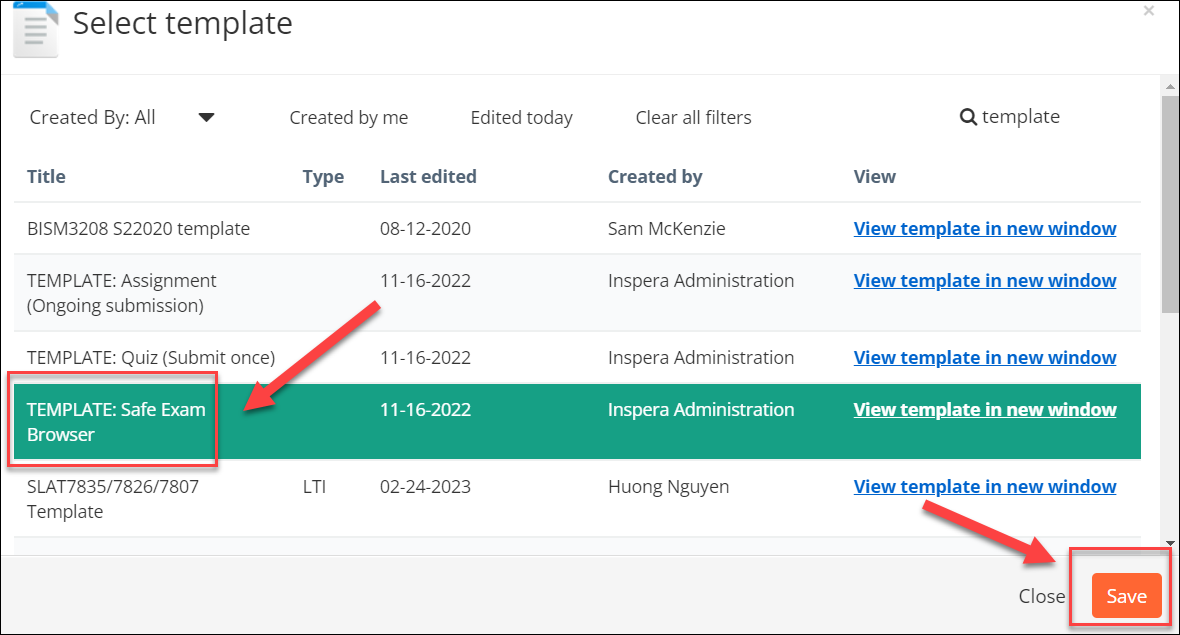
- Click on the list icon to select a template.
- Enter 'template' in the search box.
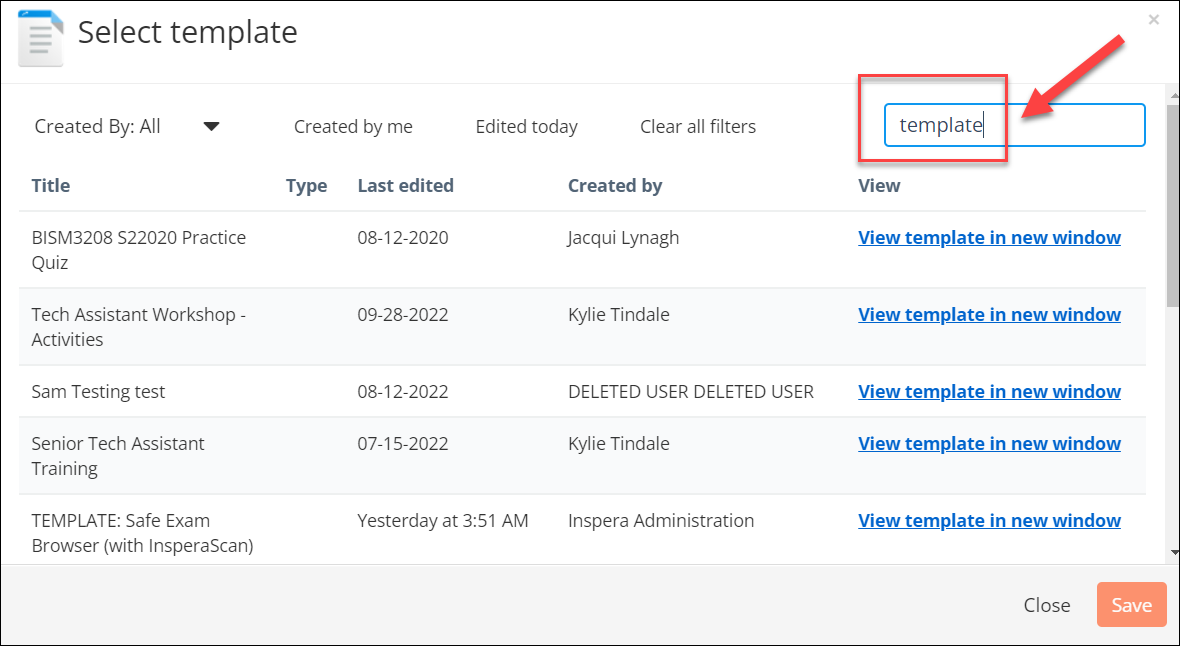
- Select the required, e.g. Safe Exam Browser template.
- Click on the Save button.
- Click on the Save button to confirm the template selection.
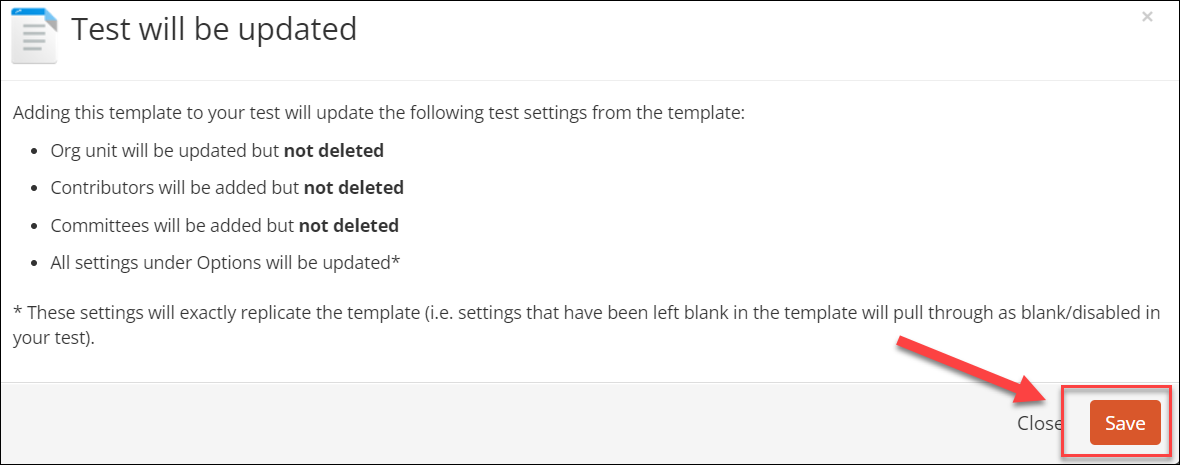
The template will be applied to your test.
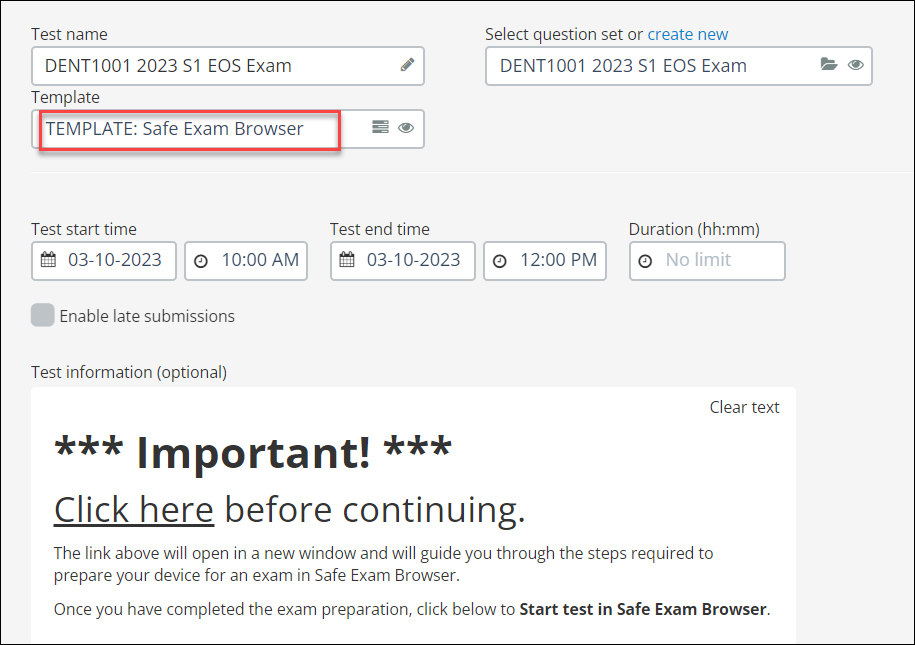
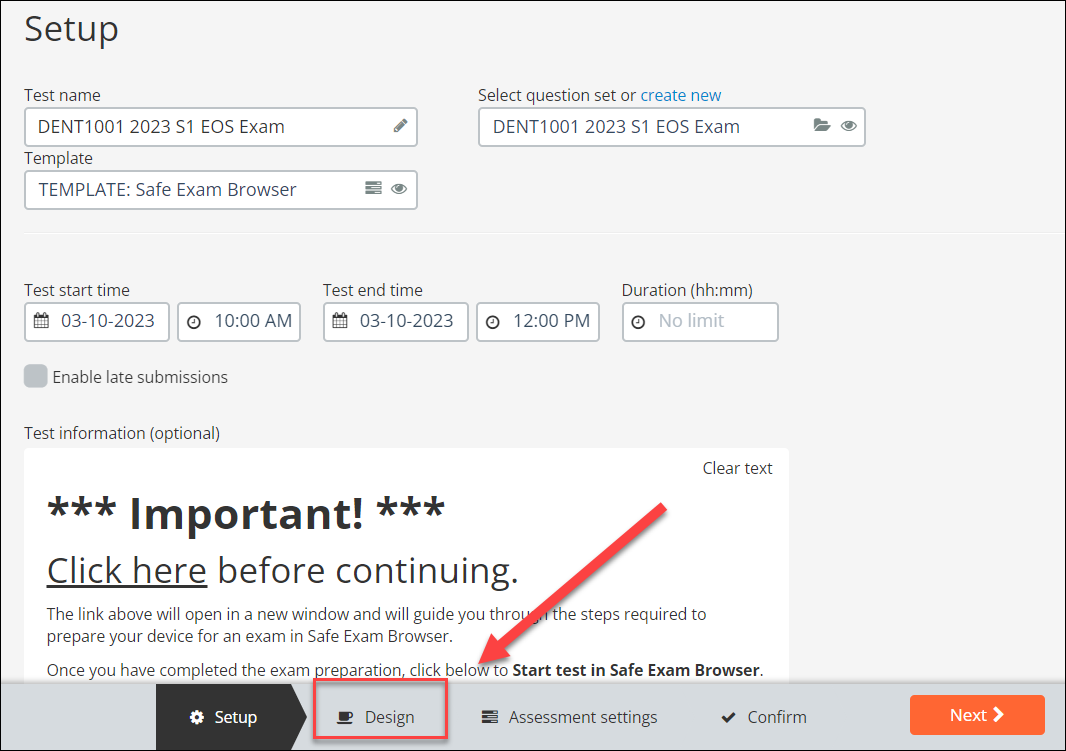
Test date, time, and duration
- Enter the required test date, time, and duration in the relevant text boxes as follows:
- Set the Test start time to when you wish for the assessment to be open.
- Set the Test end time to when you wish for the assessment to be closed.
- Set the Duration if this is a timed assessment. For assignments and projects, you would typically give students access for the entire assessment window, hence leave this field empty.
Note: this information does NOT get imported when using a Template.

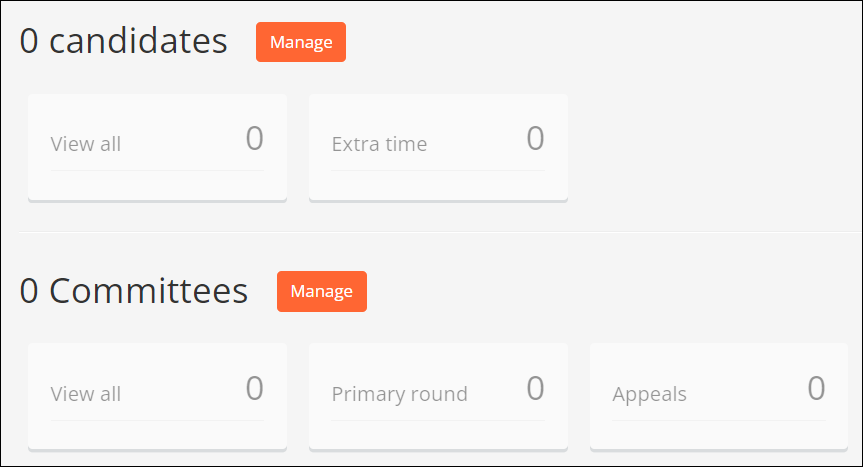
Candidates and marking committees
Candidates and Committees
In the case where students access the Inspera exam via the Inspera link in their Learn.UQ course, there is no need to add the candidates because they are automatically enrolled in the assessment when they click the link in Learn.UQ.
For student enrolment options see:
- Providing students with access to Inspera assessments via Learn.UQ
- Enrol students in an Inspera assessment using CSV file
- Invite students to an Inspera assessment via Test Code
Committees are used for distributing groups of students to different markers. Committees can be added later in Grade if required. Please refer to Create marking committees guide.
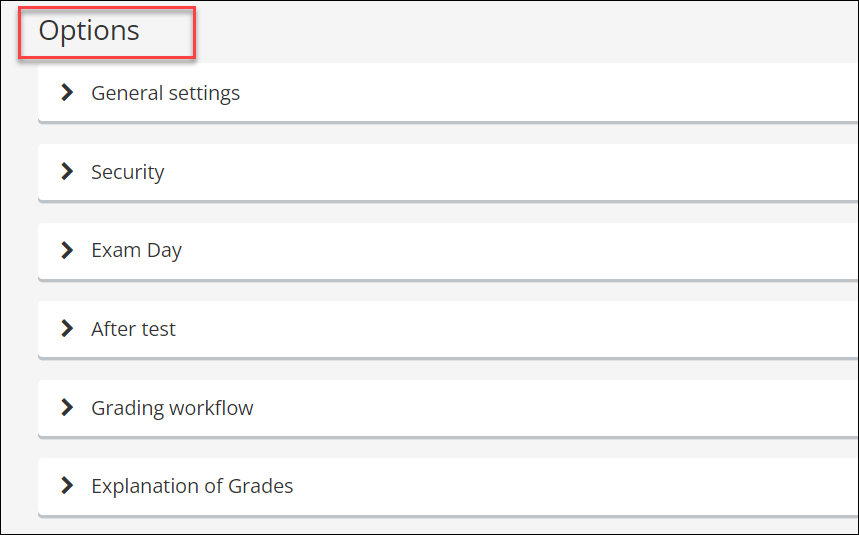
Test settings
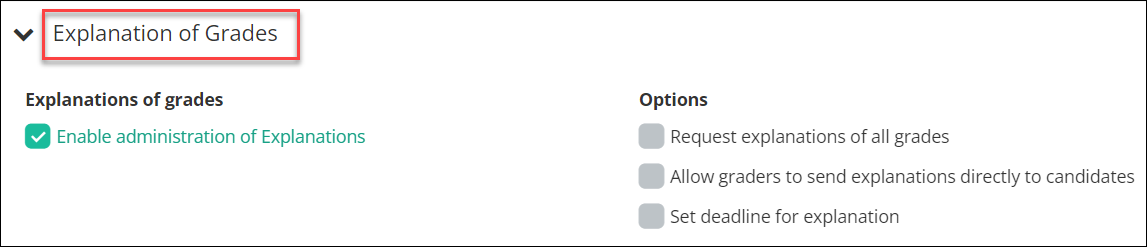
The settings under options, including General settings, Security, Exam Day, After Test, Grading workflow, and Explanation of Grades are pre-applied by the template you select. That means you do not need to change the settings in these areas.
In case you create a test for an assignment or a quiz, you can look through the settings and adjust those required.
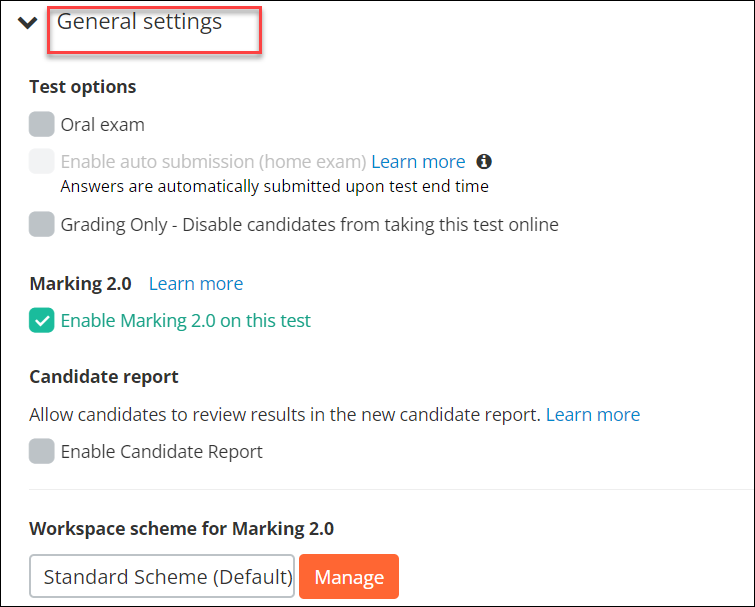
General settings
Security
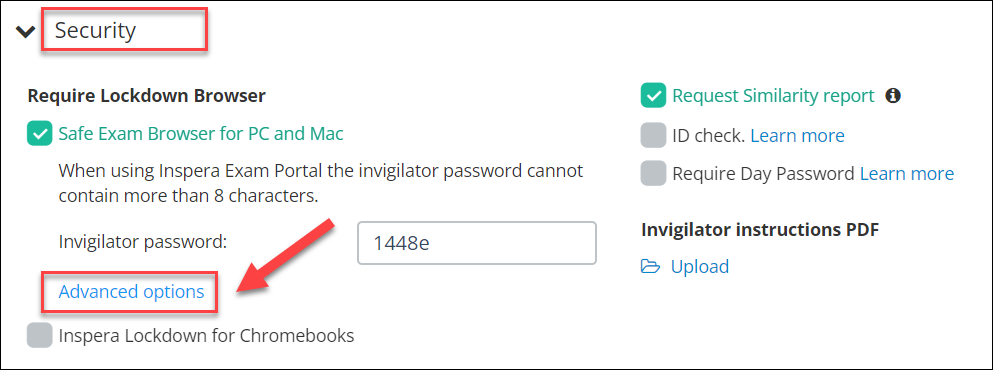
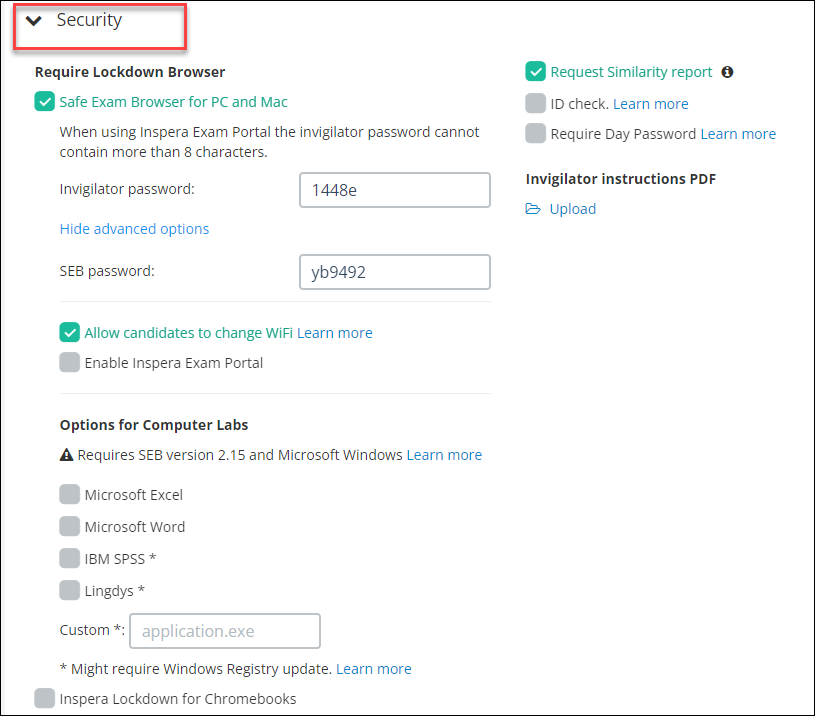
Always tick Request Similarity report, even if you don’t think you’ll need it. This setting cannot be enabled later so should be enabled now during set -up.
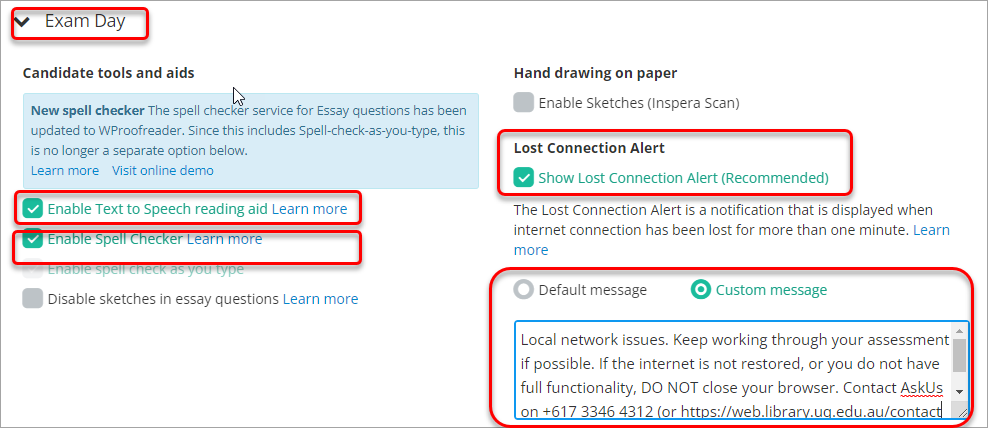
Exam Day
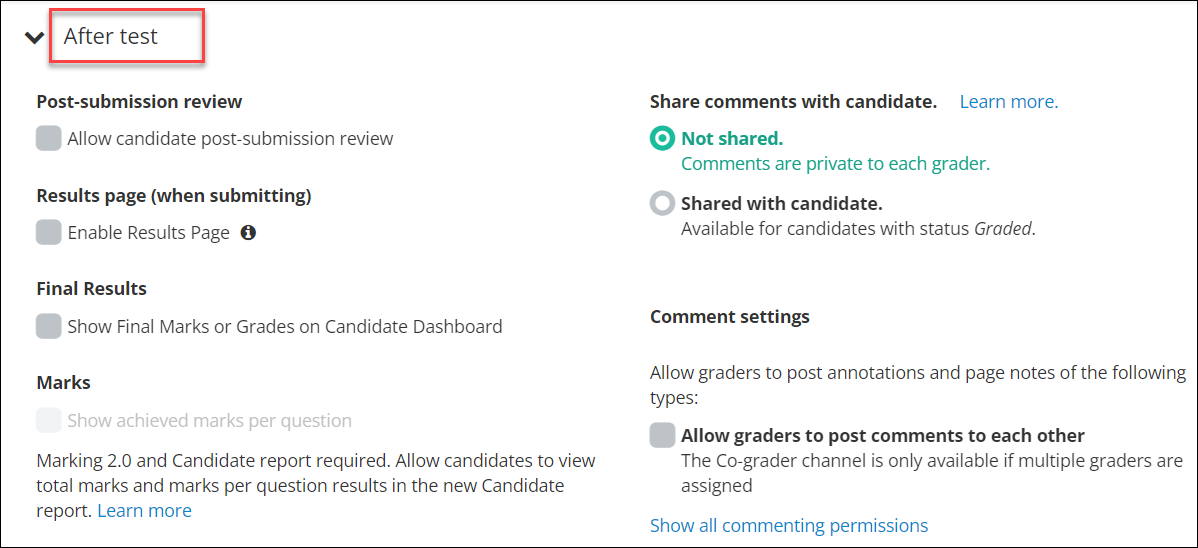
After Test
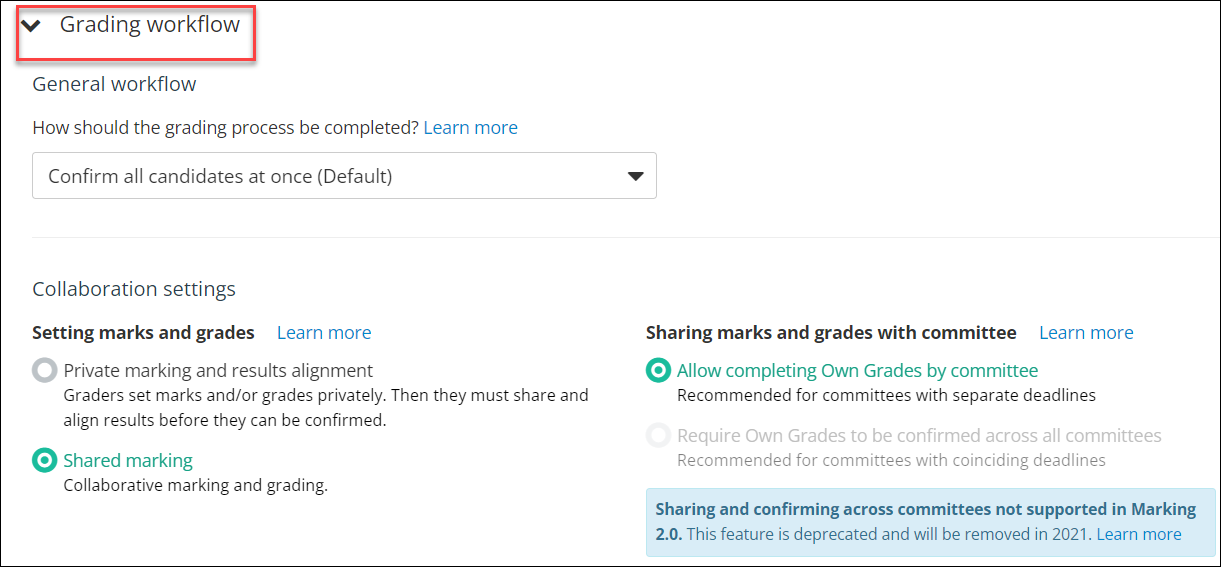
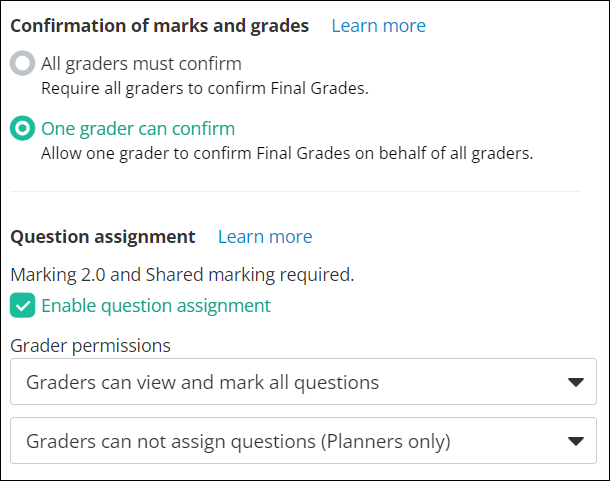
Grading workflow
Explanation of Grades
Design
- Click on the Design button to apply assessment design settings.
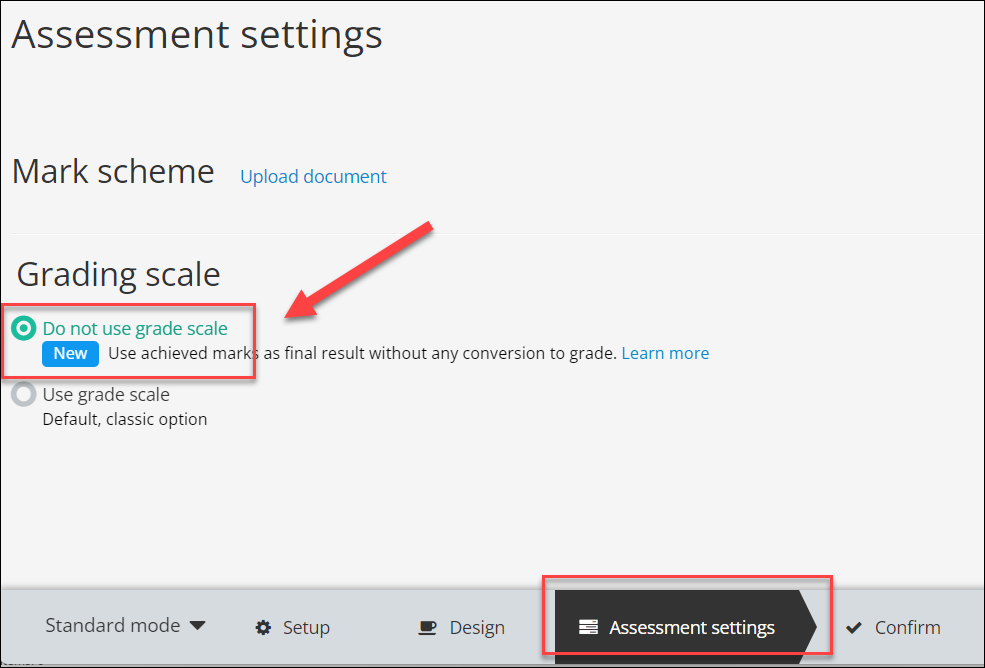
Assessment settings
- Click on the Assessment settings tab.
- Select the option Do not use grade scale. It means you will mark the exam out of its total mark and not use the 1-7 grading schema.
Confirm and activate the Test
- Click on the Confirm button to review all settings.
Note: Check all settings before activating the assessment to ensure they are all correct. This is important because some settings cannot be changed after the assessment is activated and students have entered.
- Add Graders to your assessment now if you know who will be assisting you with marking. See the Adding staff (contributors) to an Inspera assessment guide for instructions.
- Click on the Activate test button.

Note: Students who require extra time as an Alternative Exam Arrangement (AEA) will need to be enrolled in advance so that their extra time can be applied. Refer to Apply Alternative Exam Arrangements (AEAs) and Time Zone Adjustments guide.
Modify settings after activation
Some settings can be modified after the assessment has been activated by returning to the Activated page. Other settings cannot be changed and will be disabled. Settings such as the opening time and duration cannot be changed unless the assessment is deactivated first, using the Deactivate button:

Note: The Deactivate button is only available while no students have entered the assessment. After the first student enters the assessment, the Deactivate button will disappear.
- Academic Integrity & Assessment Security in Inspera
- Access Inspera
- Access your Inspera test for marking
- Add graders to an Inspera test
- Add media content to questions in Inspera
- Add one-time users to an Inspera test
- Add the Assumption and Queries question in an Inspera exam
- Adding Resources (pdf files, links) to a Question Set
- Adding staff (contributors) to an Inspera assessment
- Adding the Academic Integrity Statement to your assessment
- Additional pages required for Inspera exams
- Alternative method for downloading Final Marks from Inspera
- Answer key corrections - MCQ
- Apply Alternative Exam Arrangements (AEAs) and Time Zone Adjustments in Inspera
- Assign questions to graders in Inspera
- Complete an Inspera test as a student
- Confirm grades in Inspera
- Copy a question set from Inspera Training to Inspera Admin (Original)
- Create Inspera practice exam with Safe Exam Browser
- Create an Inspera submission link in Learn.UQ
- Create an Inspera test in Deliver
- Create bands and criteria
- Create marking committees in Inspera
- Create marking committees using CSV
- Creating Questions
- Downloading responses to Assumptions and Queries
- Edit question weight in Inspera
- Enable After-test settings in Inspera
- Enrol students in Inspera test using CSV file
- Explanations on student responses
- Export questions from Blackboard to Inspera (Original)
- Exporting a Question Set to PDF
- False Start
- Filter functionality in Inspera marking
- Flag students in Inspera test
- Getting started with Inspera
- Grading workflow for Planners and Graders
- Incident Adjustments for students who experience technical delays
- Inspera Assessment Design Settings
- Inspera Assessment Environments and their Purposes
- Inspera Assessment User Roles
- Inspera Assessment access methods for students
- Inspera Exam Requests
- Inspera Grade Workspaces
- Inspera Observed User Testing
- Inspera Question Set Version Control
- Inspera Recommended Assessment - Standard (non-exam) assessment - webpage
- Inspera Rubrics
- Inspera School-based Exams
- Inspera Test settings
- Inspera analytics
- Inspera central on-campus and non-invigilated exams (Original)
- Inspera marking navigation
- Inviting students to an assessment via Test Code
- Late submissions and extensions in Inspera Assessment
- Manually marked questions: Mark and feedback
- Monitor Assessment
- Name and label questions in Inspera Assessment
- Navigate Inspera
- Override scoring of questions in Inspera
- Pilot an Inspera assessment
- Question sets in Inspera Assessment
- Sections in Question Sets
- Sharing a question set in Inspera Assessment
- Student Arrives Late
- Supporting students to use Inspera Assessment
- Things to look for in review
- Transfer results from Inspera to your Learn.UQ course
- Turnitin similarity report in Inspera
- View student responses in Inspera