Faculty of Science Employability Framework Marking of Reflections (Original)
This guide is designed to show the process of providing marks for the self-reflections completed by students in Science courses.
Before proceeding please ensure that your account has been granted the Limited Admin access level. The Limited Admin access level is indicated by a gold +AL (see below screenshot) symbol next to your name in the top right corner.

If your account does not have the Limited Admin access level please log a job with the eLearning Helpdesk to have your account upgraded.
2. Download reflections
- Log into the UQ ePortfolio.
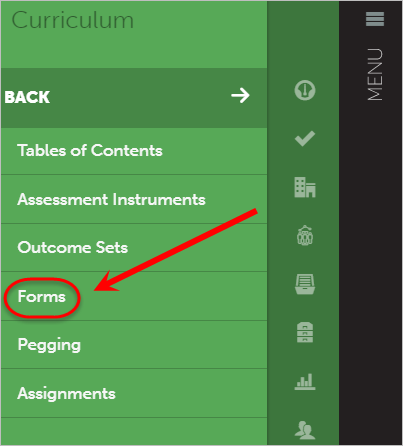
- Click on Menu > Curriculum > Forms.
- Locate and select the Employability Framework Self-Reflection Form.
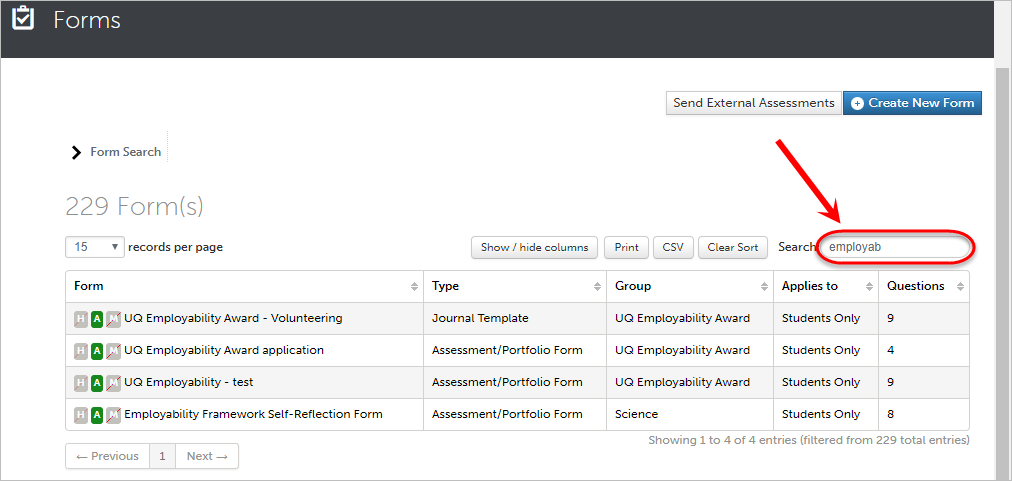
Tip: The search bar can be used to assist in locating your desired form.
- Click on the form.
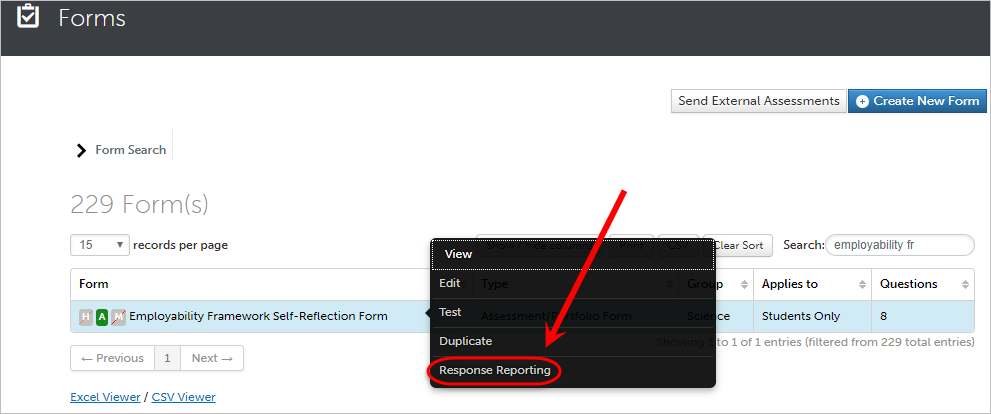
- Select Response Reporting from the drop-down menu.
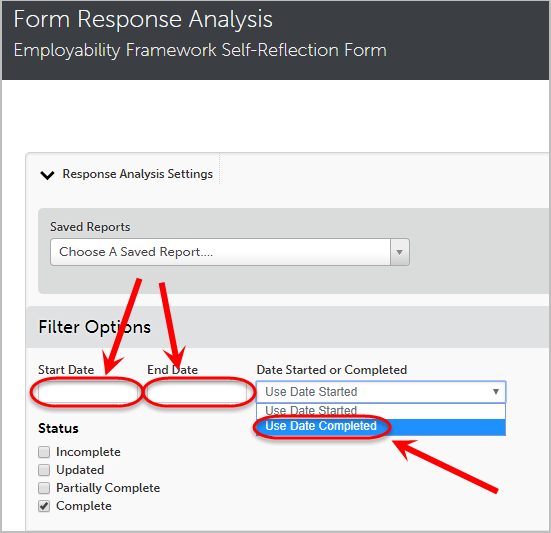
Filter Options
- Select the Start Date field and choose the required date.
- Select the End Date field and choose the required date.
- Select Use Date Completed from the Date Started or Completed drop-down menu.
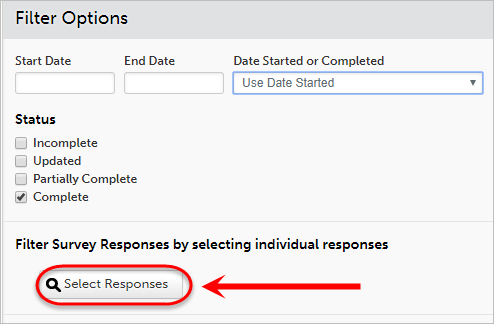
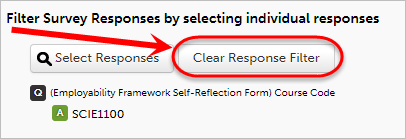
- Click on the Select Responses button under Filter Survey Responses by selecting individual responses.
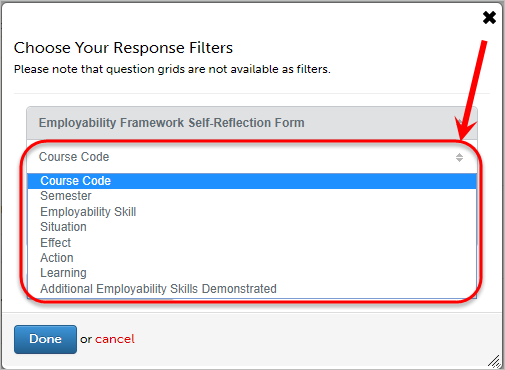
Warning: The first drop-down list controls what form/journal you are going to use to filter questions. You will not need to change the form as it will automatically default to the current form you are generating responses for.
- Select the Course Code question from the Second drop-down list.
- Enter your Course Code in the Response equals textbox eg. SCIE1000.
Note: It is not case sensitive when it pulls out results and will include the results of students that put in a course code in lower case eg. scie1000. Some students do add a space inbetween the letters and numbers eg. SCIE 1000, so you may need to add that as an option too.
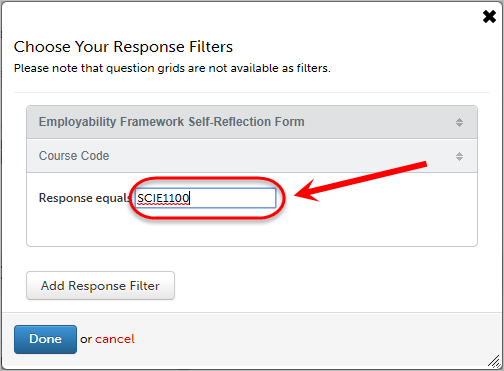
- Click on the Done button.

Tip: Click on the Clear Response Filter button to remove the filter if you make a mistake.
Output Options
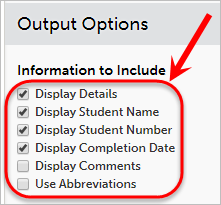
- Check the following checkboxes from the Information to Include list.
- Display Details: Must be selected so that student data is displayed.
- Display Student Name: Displays the student's name on the report as it appears in the ePortfolio.
- Display Student Number: Displays the student's username on the report as it appears in the ePortfolio.
- Display Completion Date: Displays the date in which the student completed the Form/Journal.
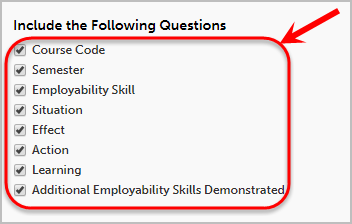
- Check the required checkboxes from the Include the Following Questions list.
- Click on the Generate Report button.
Exporting data to Excel
Tip: You may find it easier to read the reflections from the ePortfolio interface, however you will need the excel document if you wish to upload a mark to Grade Centre.
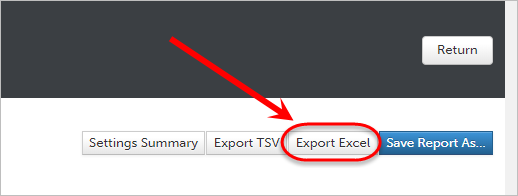
Once your report has generated you can export the data to excel by following the below steps:
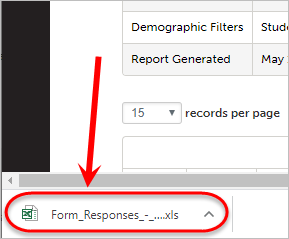
- Click on the Export Excel button.
- Click on the downloaded spreadsheet to open it in Excel.