Create a Gradebook column (Ultra)
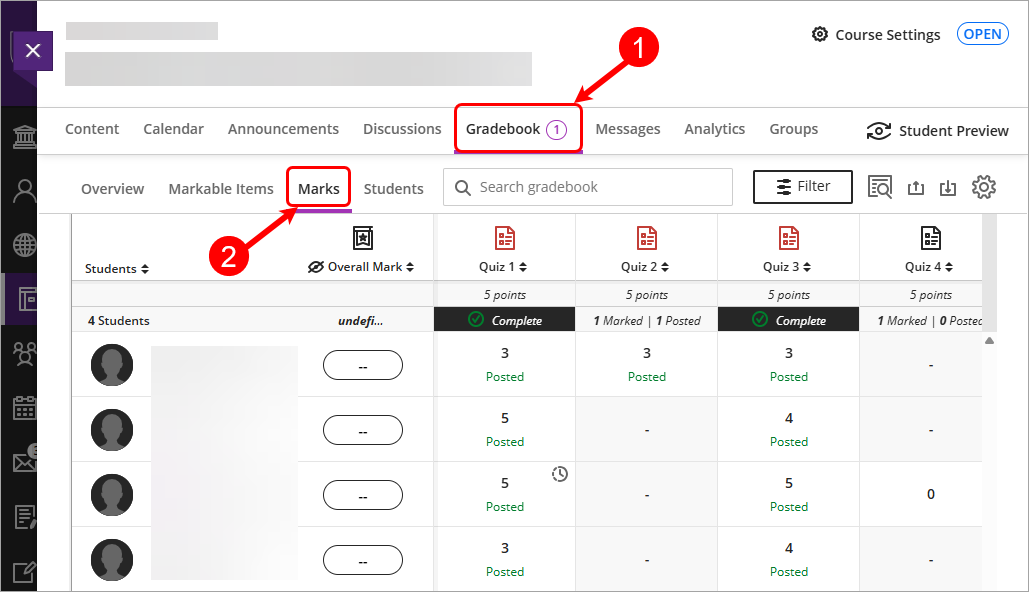
Why would I create a Gradebook column?
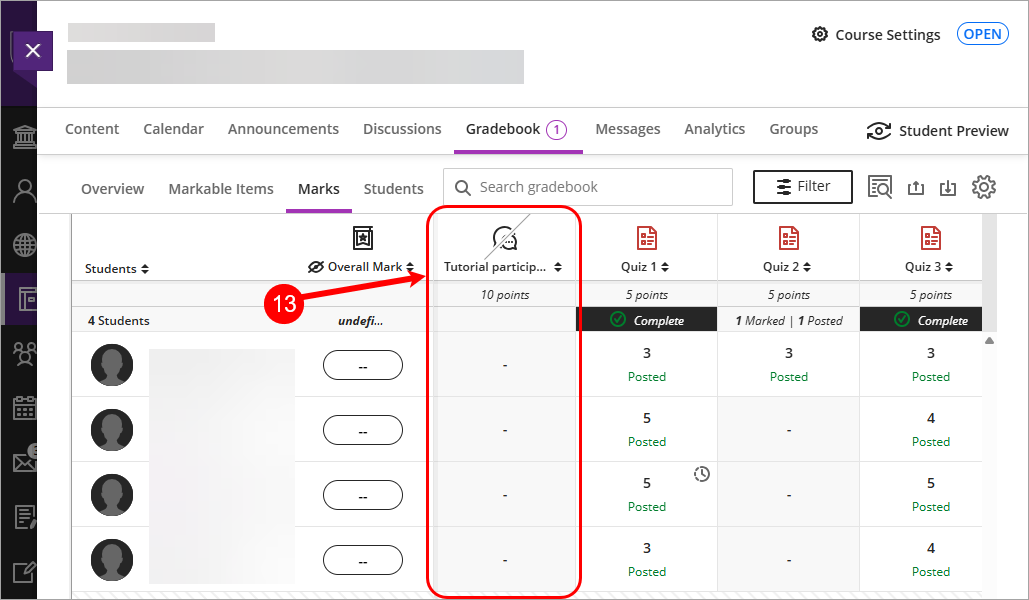
A gradebook column can be created independently of other assessment items which create columns automatically. These created Gradebook columns can be used for the purposes of recording formative or summative assessments that require no submissions, for example completion of Placement or participation in classes.
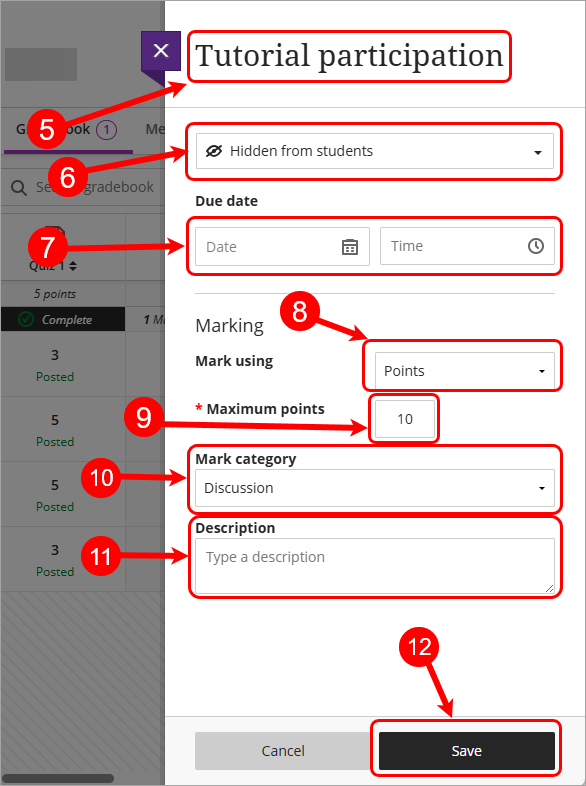
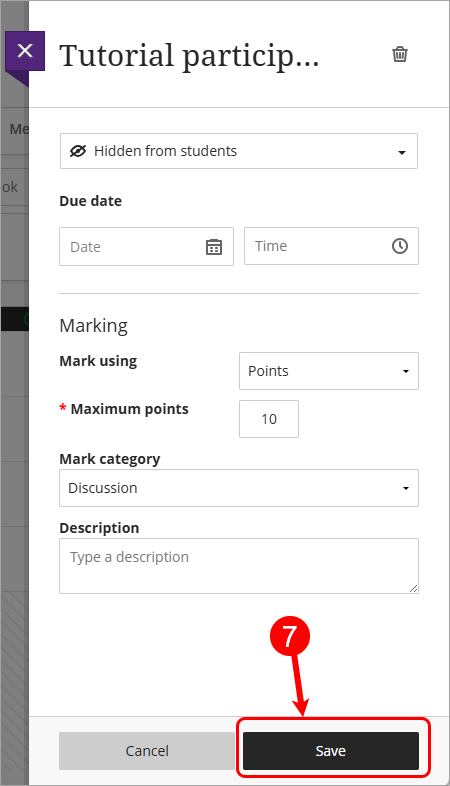
Note: When releasing marks for a created Gradebook column you will need to make the column visible to students as well as posting the mark. For instructions on posting marks, refer to the Control the release of results guide.