Bulk create individual student Padlets
Individual student Padlets
Using the PadletUQ tool, staff can bulk-create individual Padlets based on an existing Padlet template for all students in their course. The tool allows staff to create a web link in their Learn.UQ course which automatically generates an individual Padlet for each student when they click on the link. Staff will also need to create a Blackboard assignment submission link for students to submit their Padlet URL for feedback and/or marking.
Group functionality
While students are able to manually share their Padlet with their other students (i.e. group members), it is difficult for staff to locate group Padlets, as only the student who originally clicked on the link in Learn.UQ to generate the Padlet will appear in the initial search results. Therefore, the PadletUQ tool is recommended for individual use only due to the limited group functionality.
Marking
The tool unfortunately doesn't integrate with Grade Centre. Therefore, staff should create a Blackboard submission link for students to copy and paste their Padlet URL and submit. Instruction should be provided to students to add their names to the URL, so staff will be able to identify students' works for assessment purposes.
Four major steps need to be done in bulk-creating individual Padlets and assessing students' Padlets:
- Create a Padlet for the activity
- Change the notification setting
- Link the Padlet in the Learn.UQ course
- Create the submission link for the activity in the Learn.UQ course
- Mark students' Padlet through Grade Centre
3. Link Padlet to Learn.UQ course
If this Padlet activity is an assessment task in the course, a folder should be created in the Assessment. Then in the folder, you will:
- link the Padlet so that students can access, and
- create a submission link for students to submit their Padlet URL for assessment
Create a folder
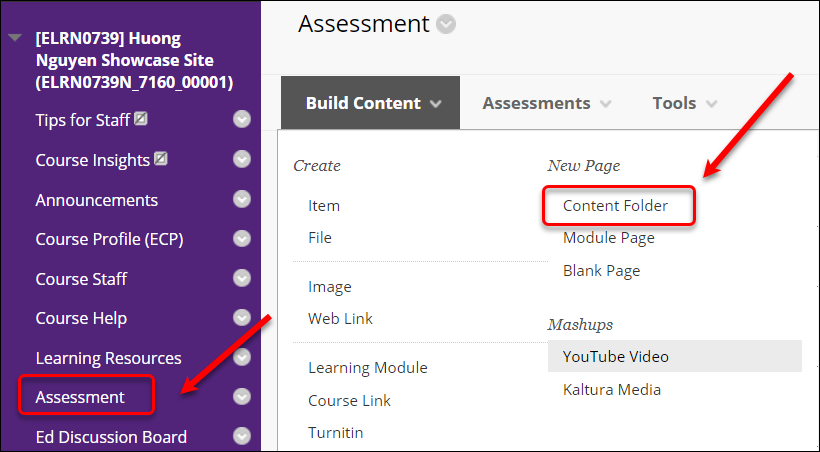
- Under the course menu, click on the Assessment button.
- Under Build Content, select Content Folder.
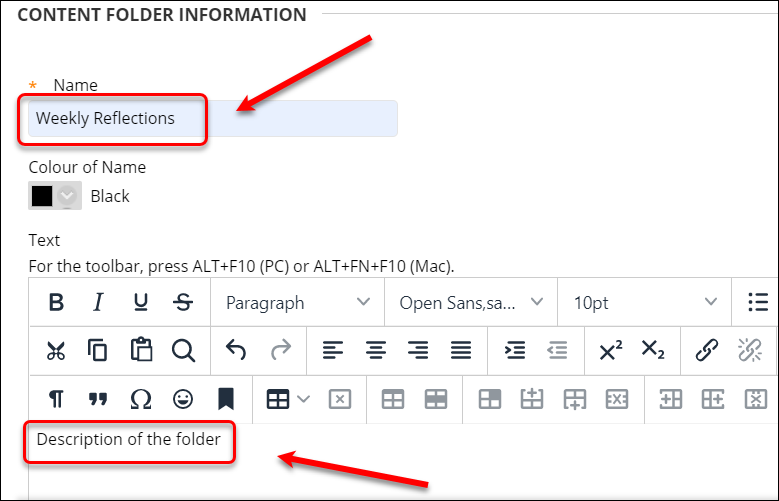
- Enter the assessment name (as specified in the ECP) in the Name textbox.
- Enter the description of the folder in the textbox.
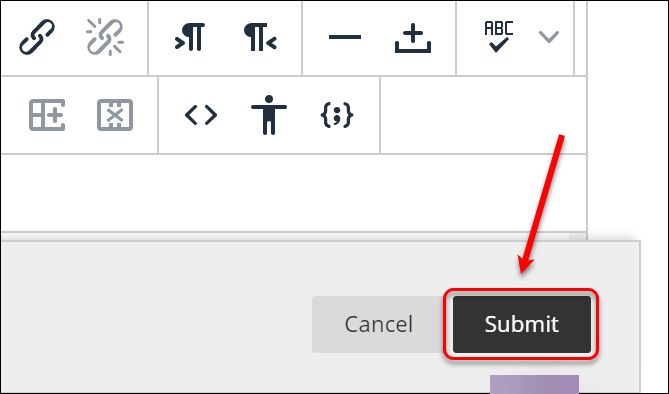
- Click on the Submit button.
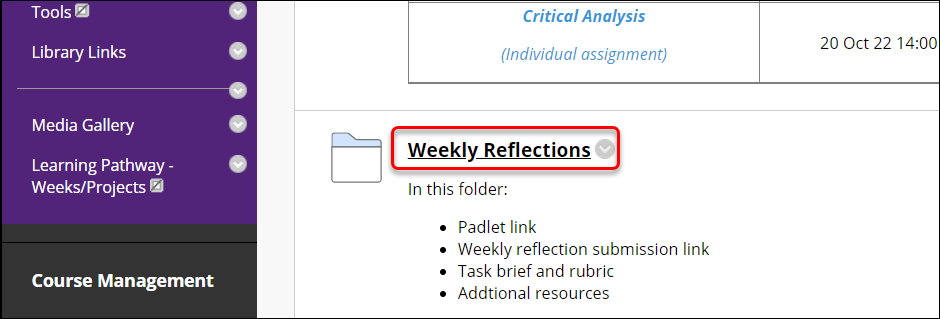
A folder for the Padlet assessment task has been created.
Link a Padlet to Learn.UQ course
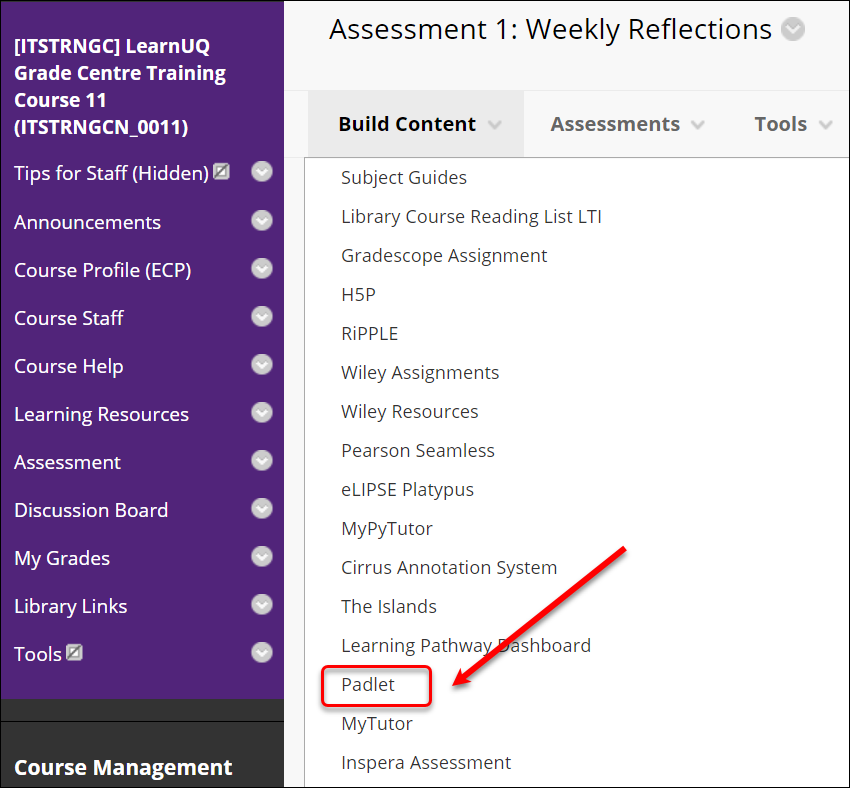
- In the relevant Assessment folder, select Build Content > Padlet.
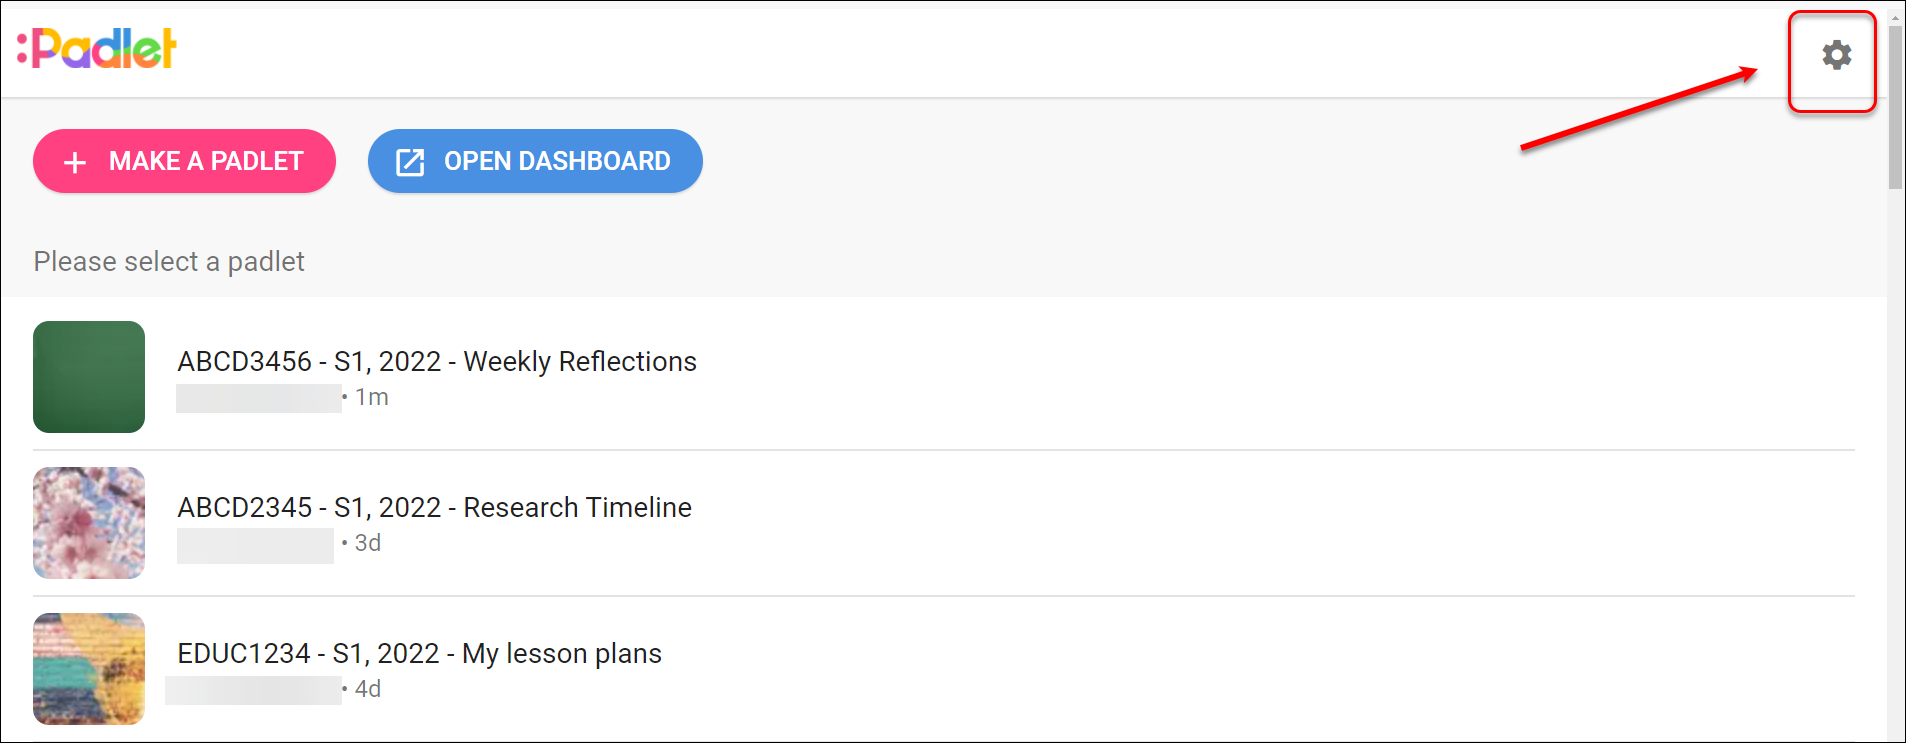
- Click on the cog button to change the setting
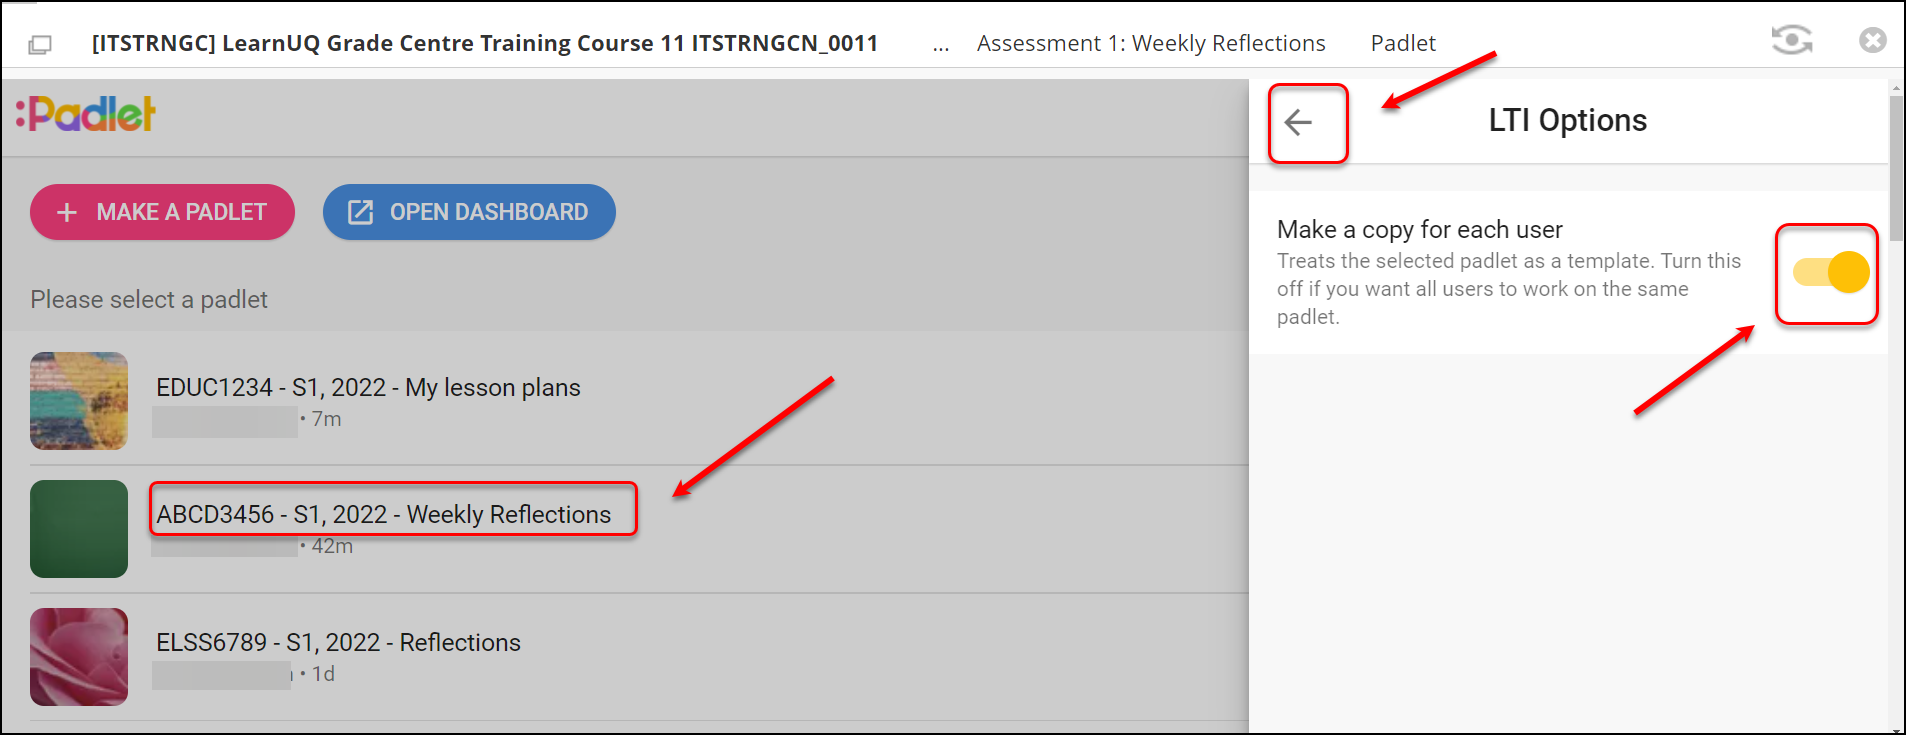
- Enable the option Make a copy for each user
- Click on the left arrow to go out
- Select the required Padlet for the activity.
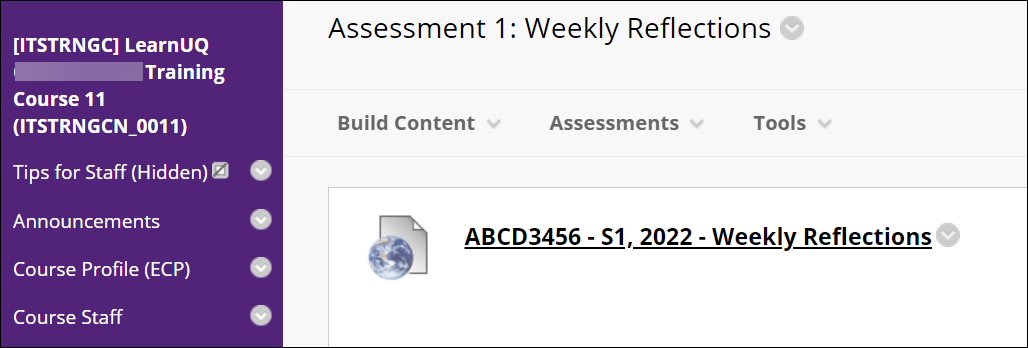
The link to the Padlet page will be added.
Edit the link
The link needs to be edited so that additional instructions are provided to the students.
- Hover over the link title.
- Click on the down arrow and select Edit from the drop-down list.
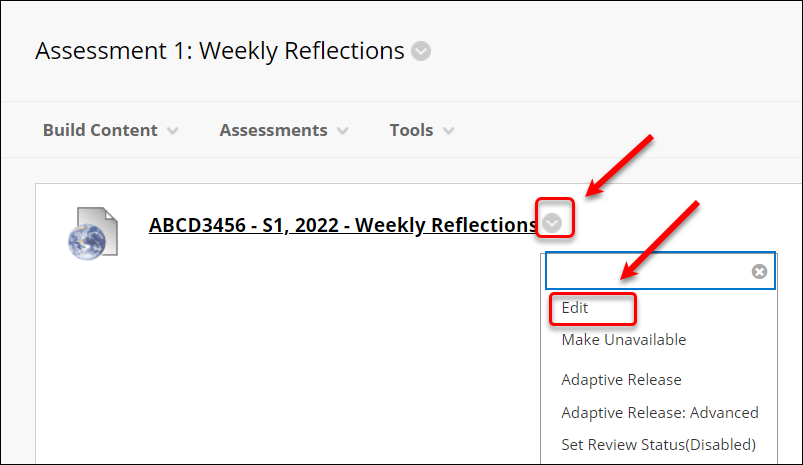
- Edit the name to clearly label the link (e.g., STEP 1: Creating your own Padlet)
Note: Clear labels will help students navigate through the steps in this activity.
- Enter student instructions in the Description textbox
Notes:
- Provide instructions and highlight that students can personalise their Padlet
- You should add a screenshot to the instruction to visualise the steps
- Mention that students can only access their individual Padlet via this link (i.e. Not via logging into Padlet in their website browser or via the Padlet app).

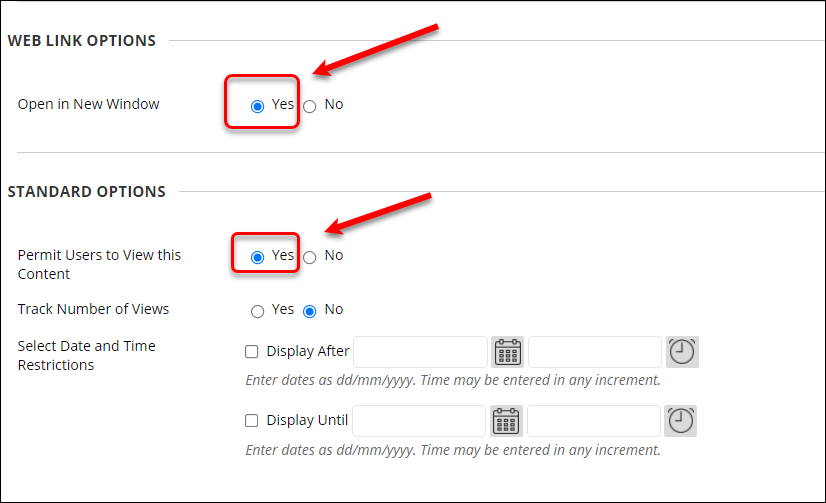
- Select the Yes radio button for the setting Open in a New Window.
- Select the Yes radio button for the setting Permit Users to View this Content.
- Click on the Submit button.
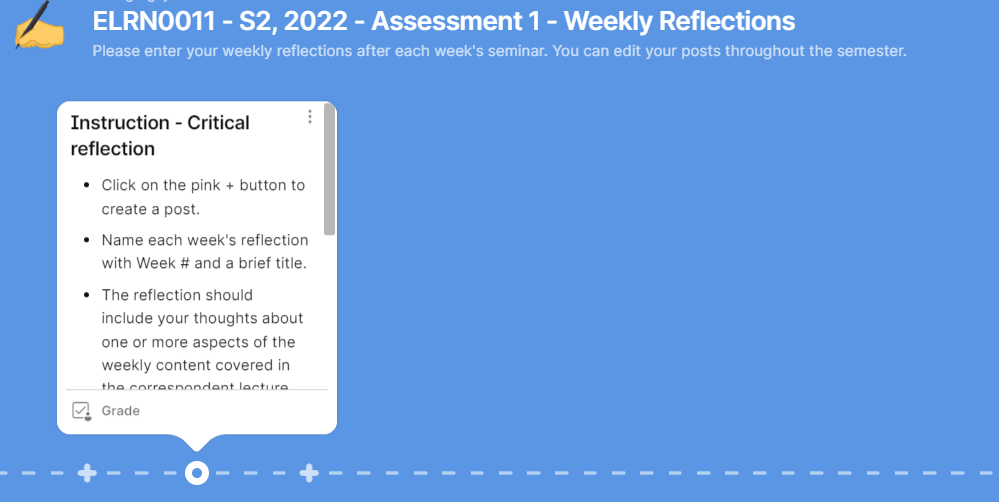
As each student clicks on this link, their own individual Padlet board will be created.
Note:
Any changes to the template after the initial set-up will only show in individual student padlets created after the change; i.e. students who click on the link for the first time after the change.