Deploy a Test (Original)
Video Guide
Deploy Tests (YouTube, 7m 18s)
Overview
Once you have created a test and added the required questions, the final step is to deploy the test.
3. Test Availability
Link availability and announcement
From the Make the Link Available radio buttons:
- Yes, makes the link appear to students immediately or once the Display After date has been reached.
- No, the link will not be displayed to students.
Note: Use the Display After option to determine when the students can access the test.
- From the Add a new Announcement for this Test radio buttons:
- Yes, an automatic announcement will be posted when the test link becomes available.
- No, recommended option
Note: This automatic announcement is not very informative, therefore it is recommended that you create your own. Refer to the Add an Announcement guide.

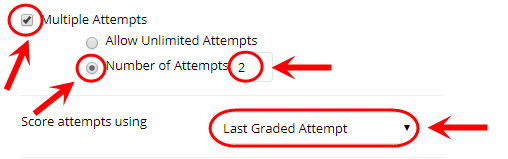
Mutliple Attempts (optional)
- Check the Multiple Attempts checkbox, if you wish the students to be able take the test multiple times.
- Allow Unlimited Attempts, there is no restriction on how many times the test may be taken by a student.
- Number of Attempts, enter the number of times the student can take the test.
- Select whether to keep score attempts using the last graded attempt, highest grade, lowest grade, first graded attempt, average of graded attempts.
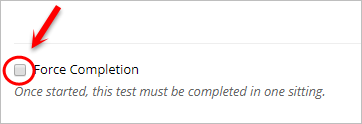
Force Completion
DO NOT check the Force Completion checkbox. Once the student opens the test they must complete it. If they navigate away from the test or lose their internet connection they cannot re-enter and complete the test.
Tip: If you set a timer and turn on auto-submit, the test will be submitted automatically when the time is up, therefore achieving the same objective of force completion without the reconnection issue.
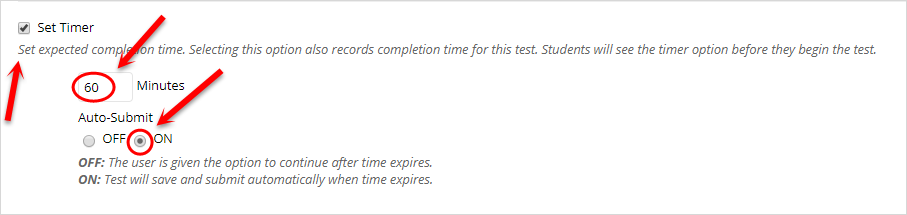
Set Timer (optional)
- Check the Set Timer checkbox, if you wish to add a clock to the test.
- Enter the required time in the Minutes textbox.
Note: The elapsed time is displayed to the student during the test. A one minute warning is also displayed as the student approaches the time limit.
- From the Auto-Submit radio buttons:
- Off, students can continue after the time is up.
- On, the test is automatically submitted when the time is up.
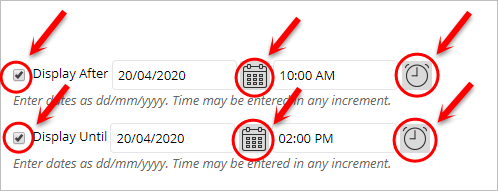
Display until or after (optional)
Use the Display After and Display Until to set specific times the test link is available to students.
- If required, select the Display After checkbox and enter the date using the Date Selection Calendar and enter the time using the Time Selection Menu.
- If required, select the Display Until checkbox and enter the date using the Date Selection Calendar and enter the time using the Time Selection Menu.
Warning: There is a known issue whereby images will no longer be available to students after the Display Until date/time has passed. To avoid this occuring, consider using the due date option instead, which will mark a test as late if completed after the due date has passed and can then be graded manually.
Note: Once the student has entered the test the Display Until date/time does not affect them completing the test.
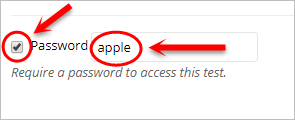
Password (optional)
- Check the Password checkbox, if you wish students to enter a password before they can start the test.
- Enter the password in the textbox.