Create a Small File Size (Ultra)
To ensure resources in your Learn.UQ course are easily accessible to students with low-bandwidth internet connections it is important that there file sizes are small. For more information refer to Understanding Download Speeds guide.
File sizes of resources can be reduced by optimising images they contain and by splitting the resources into multiple files. Dcouments can be used to link multiple files to your Learn.UQ course. (Refer to the Create a document guide).
6. Reduce an image file size
Graphic design software such as Paint, Paintbrush and Adobe Photoshop can be used to reduce the file size of images. Another easy option is to use the functionality available in Microsoft Word to compress images and therefore reduce the file size.
- Open a blank Word document.
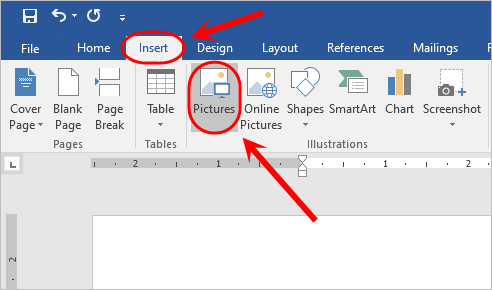
- Click on the Insert tab and select Pictures.
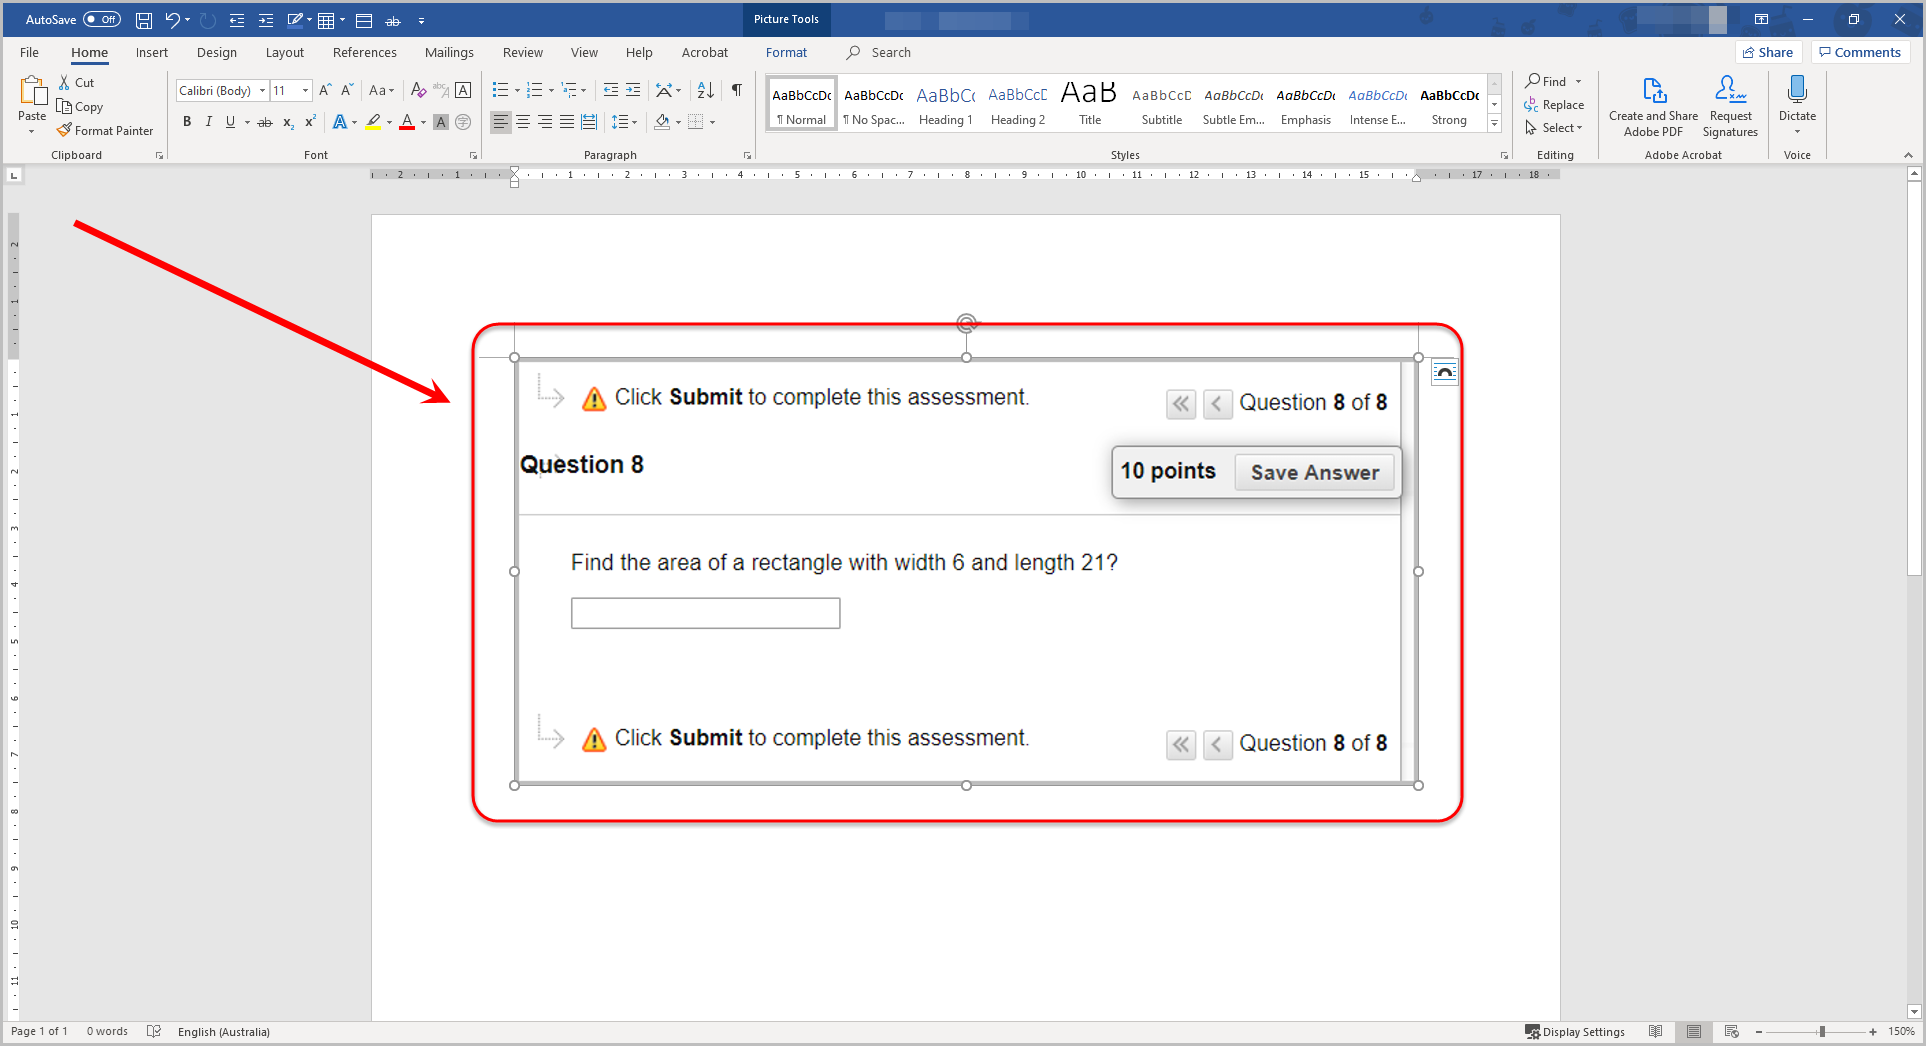
- Choose the images you want to compress on your computer and click on the Insert button.
- Click on any of the images.
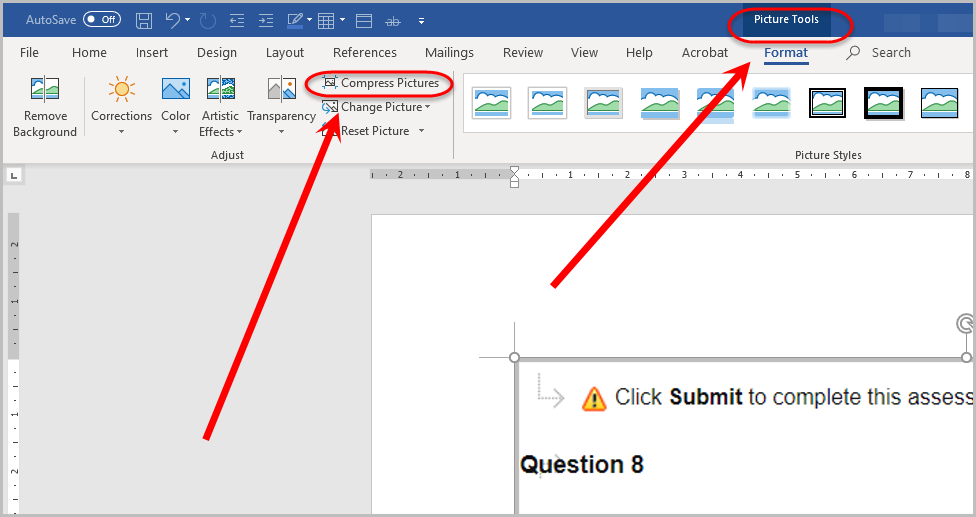
- Click on the Picture Tools tab and select Compress Pictures.
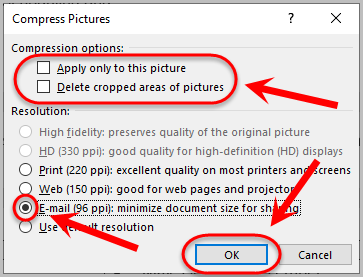
- Uncheck the Apply only to this picture checkbox.
- Uncheck the Delete cropped areas of picture checkbox.
Note: All images in the document will be optmised to reduce their file size.
- Select the Email (96 ppi) minimise document size for sharing radio button.
- Click on the OK button.
- Right-click on any image and select Save as Picture... from the dropdown list.

- Choose a location on your computer and click on the Save button.
- Repeat Steps 10 and 11 for all the images in the Word document.