Add a Content block to document (Ultra)
Why would I use a Content block on a document?
Content blocks allow you to add content via the content editor.
Create Content block on document
- Open the desired document. If you haven't created your document, refer to the Create a document guide.
- Click on the Edit content button.
Note: If you have just created your document you will already be in the Edit content mode.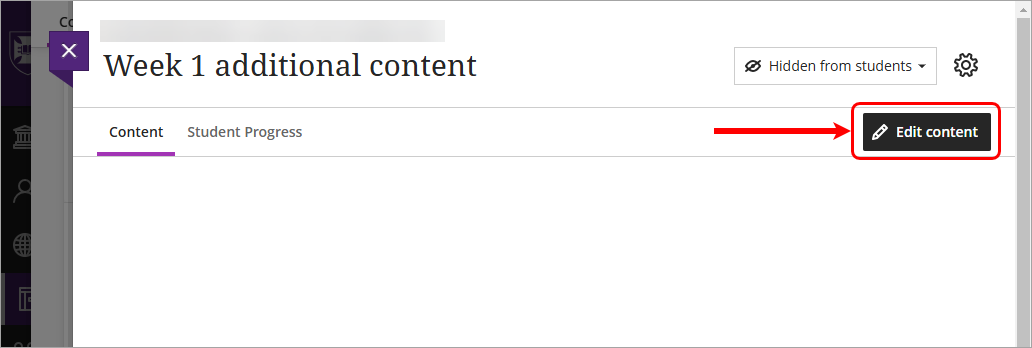
- Click on the Content button from Select a type of content to add a block menu.
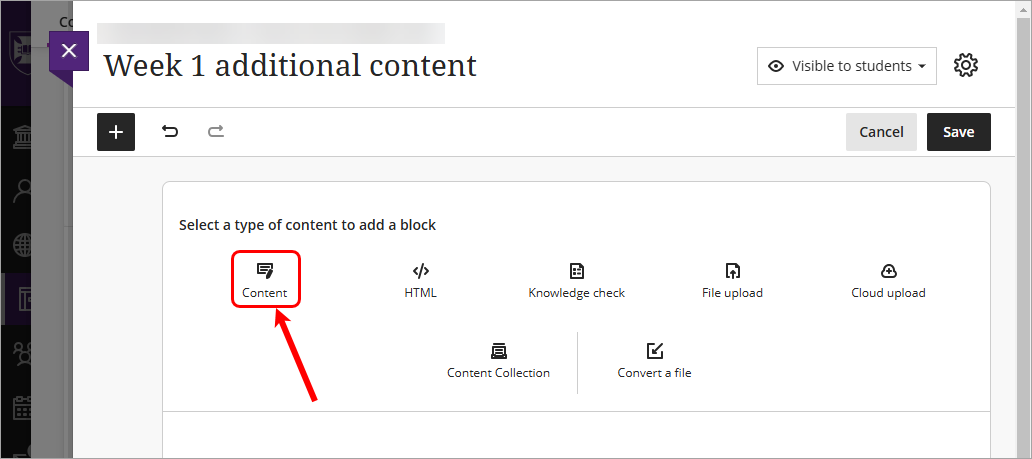
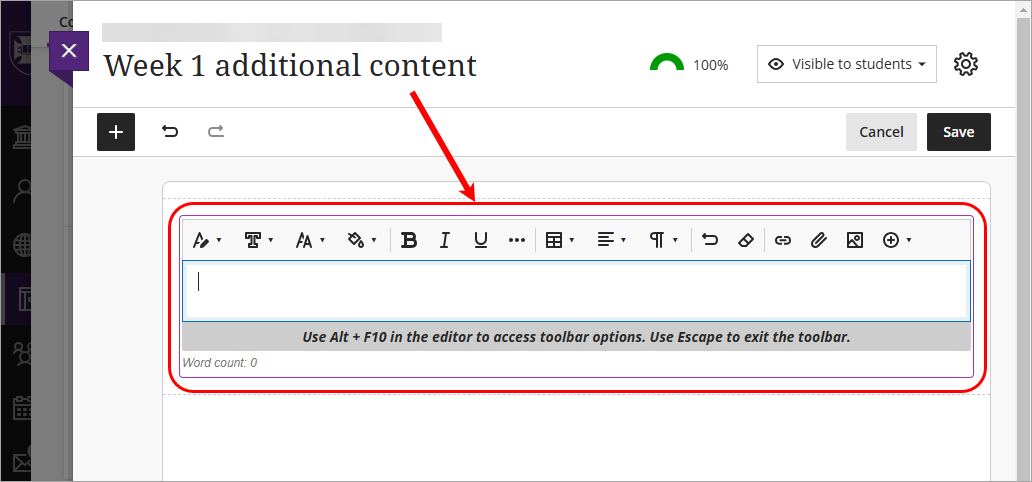
- The Content block editor will open. For instructions on using the Text Editor Toolbar, refer to the Overview of Text Editor Toolbar guide.
- Add content from the list below.
Add text to a document Content block
- Add the desired text to the Content block.
- Use the text editor toolbar to add formating to the text. For instructions on using the Text Editor toolbar, refer to the Overview of Text Editor Toolbar guide.
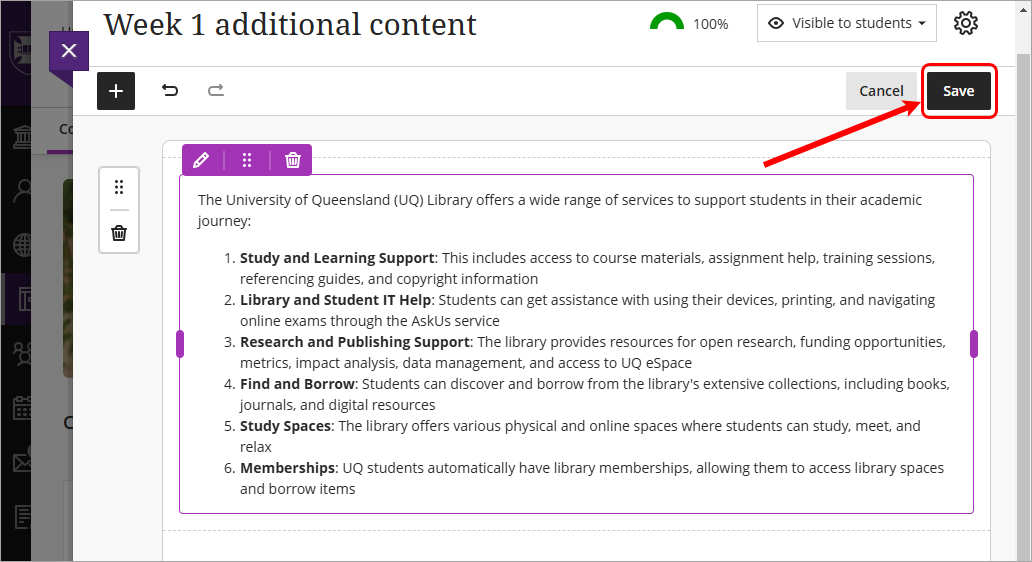
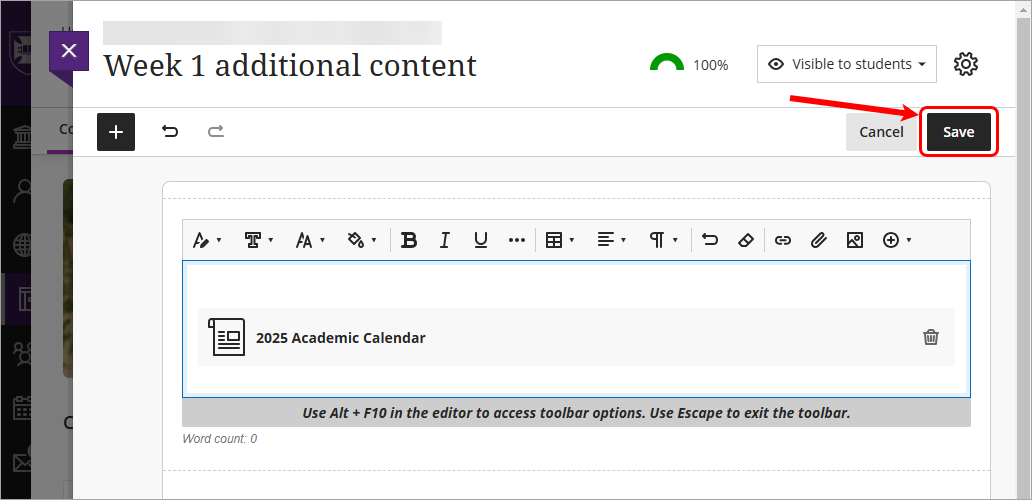
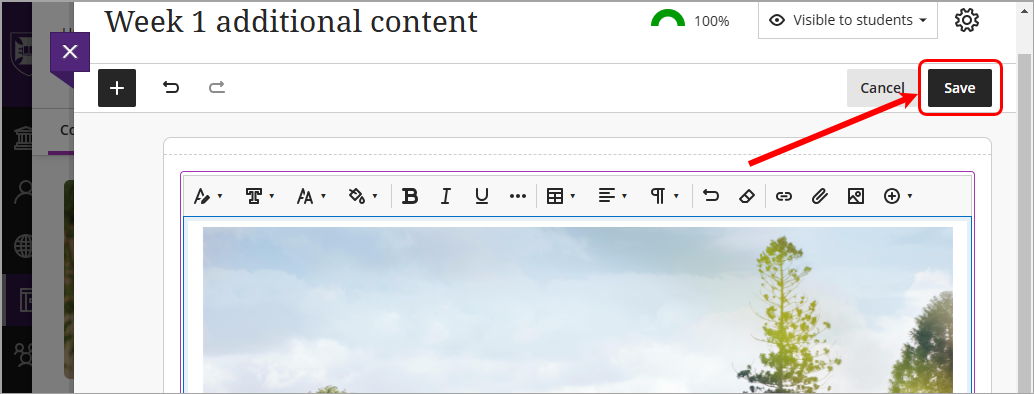
- Click off the Content block to add additional blocks or click on the Save button to finish editing the document.
- For instructions on arranging course content on a document, refer to the Arranging course content on a document guide.
Add a file to a document Content block
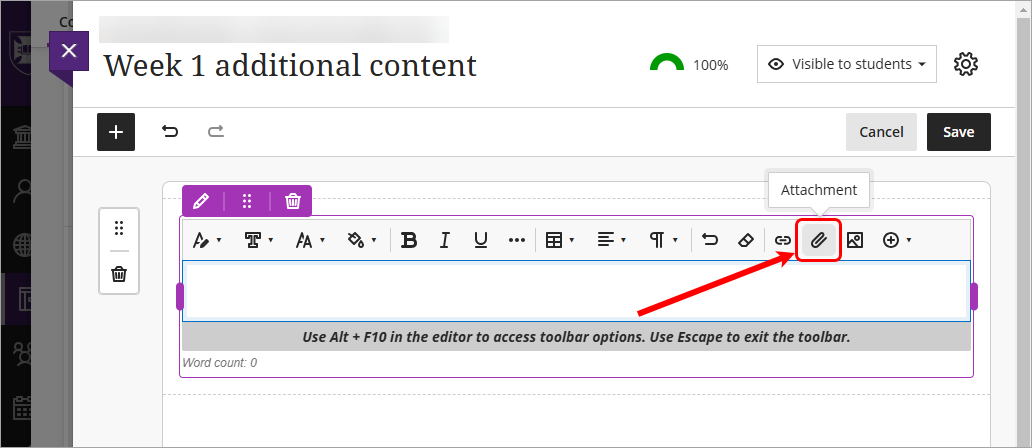
- Click on the Attachment button.
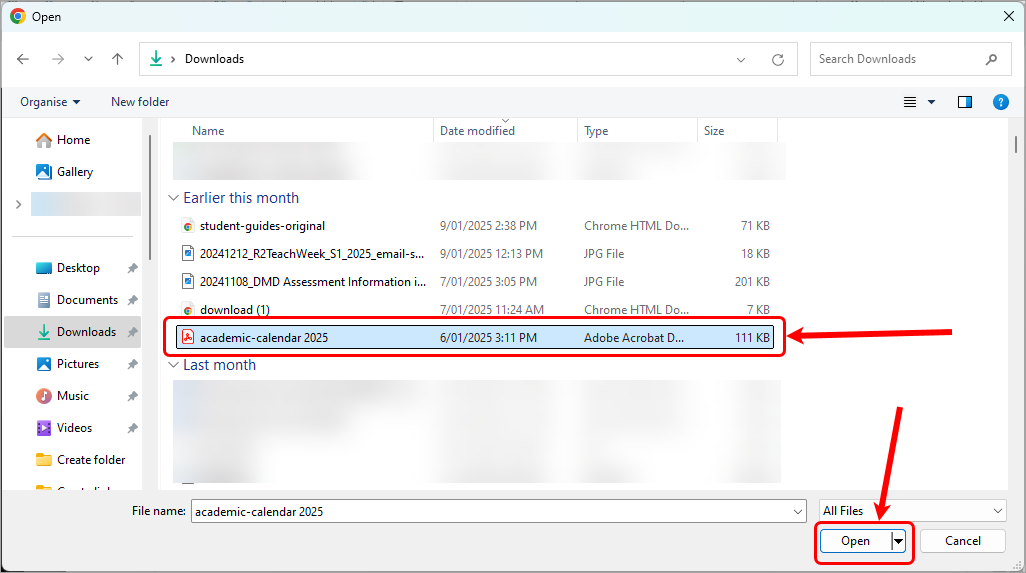
- Locate your file in the file browser and click on the Open button.
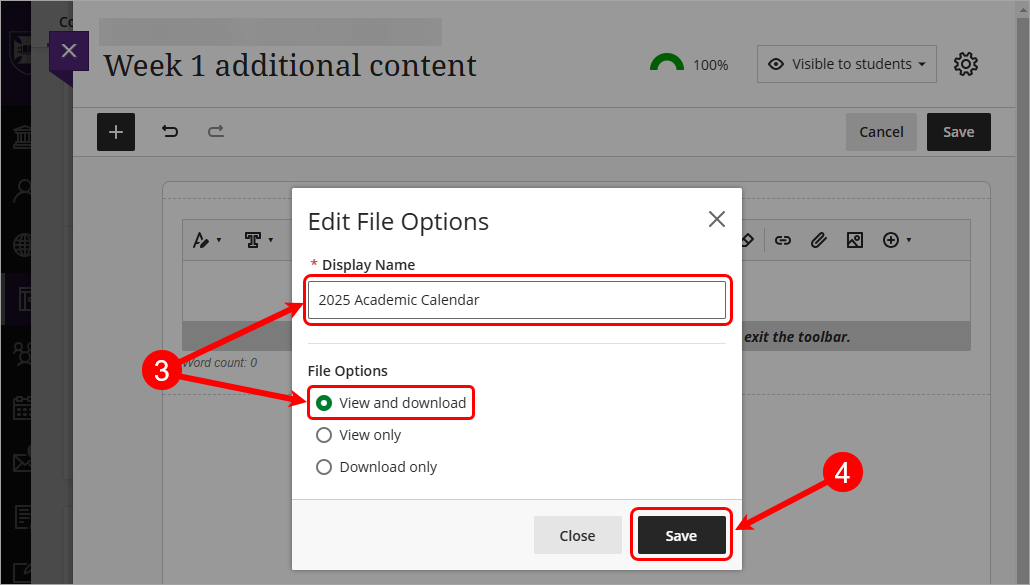
- The file will begin uploading, once completed set the edit file options. If necessary update the following:
- Click on the Display name textbox, enter a [meaningful display name] for the document. eg. 2025 Academic Calendar.
- Select the desired File options, View and Download is selected by default and recommeded for most files.
- Click on the Save button.
- The file will be added to the Content block.
Tip: The document can be deleted by clicking on the Delete File (trash can) button. Alternatively you can just use the delete or backspace key on your keyboard.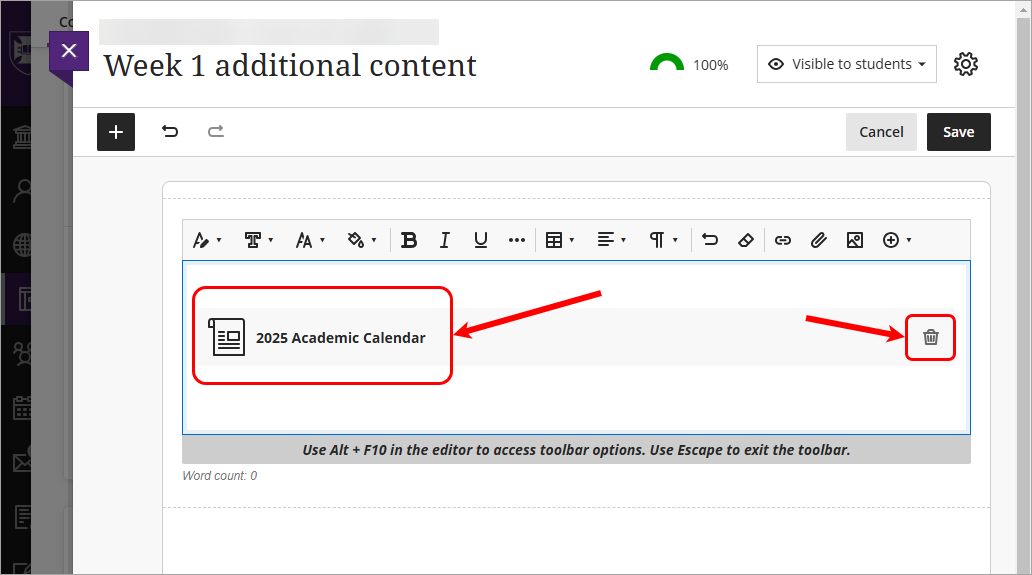
- Click off the Content block to add additional blocks or click on the Save button to finish editing the document.
- For instructions on arranging course content on a document, refer to the Arranging course content on a document guide.
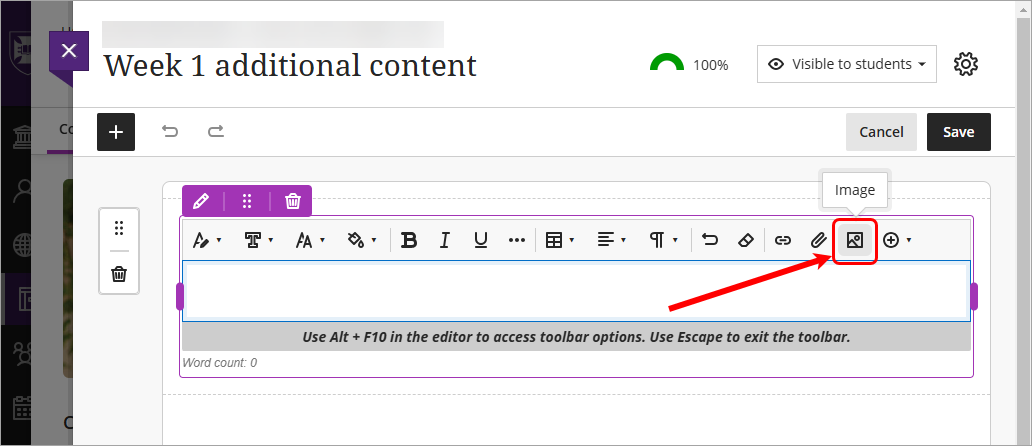
Add an image to a document Content block
- Click on the Image button.
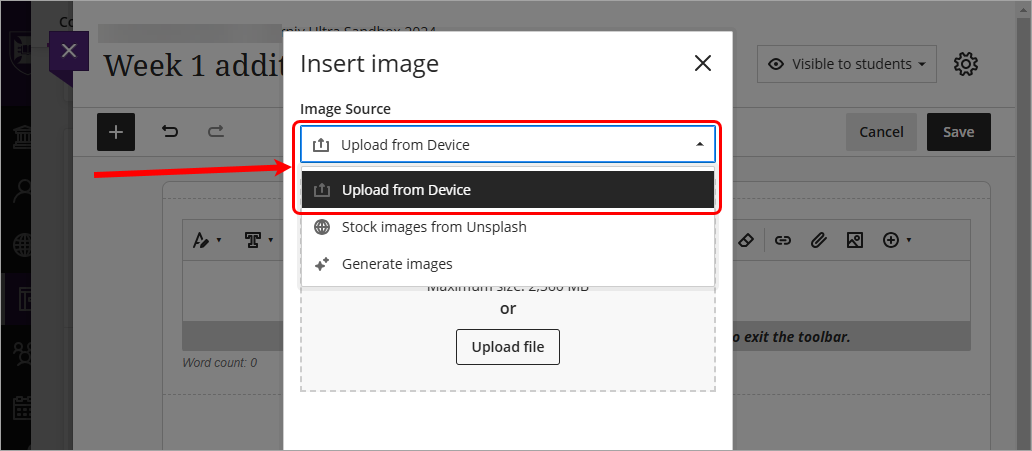
- There are 3 options for inserting images that are available in the Image Source drop-down list. These are:
- Upload from device
- Stock images from Unsplash for instructions on using the Stock images from Unsplash, refer to the AI Design Assistant guide by Anthology.
- Generate images, for instructions on using the Generated Images, refer to the AI Design Assistant guide by Anthology.
- To upload an image from your computer. Select Upload from device from the Image Source drop-down list.
- Drag your image file into the Drag files here box or click on the Upload file button to browse your computer.
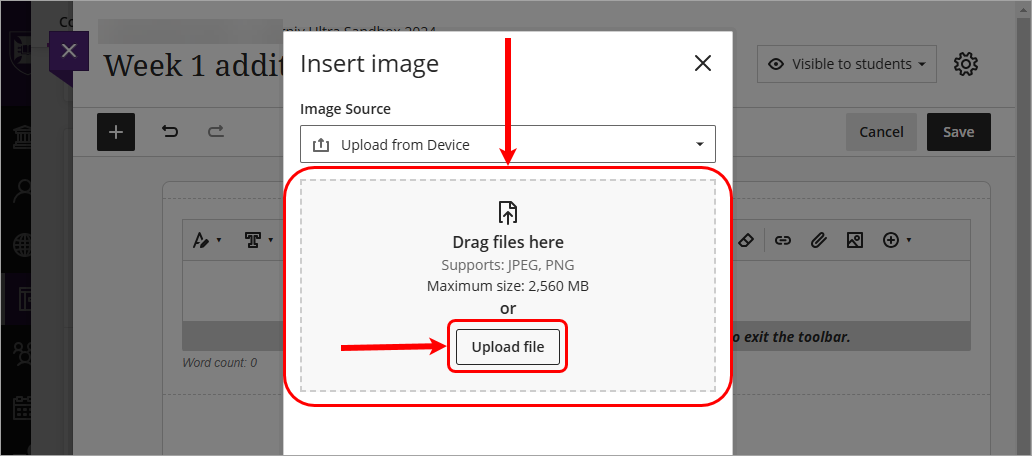
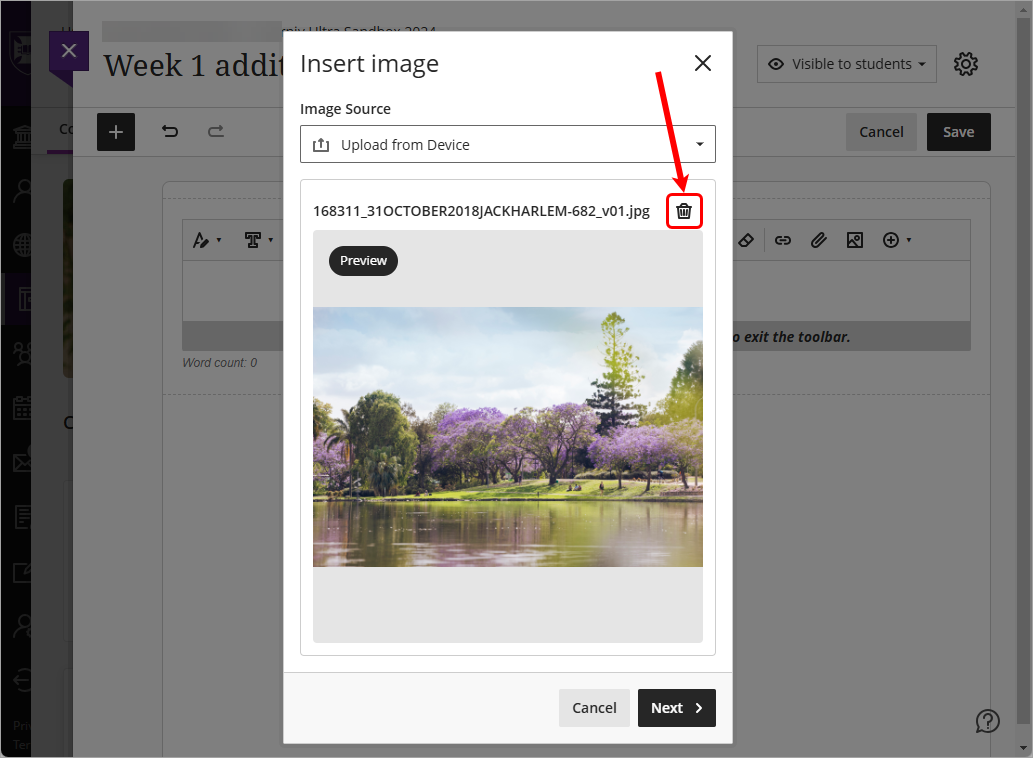
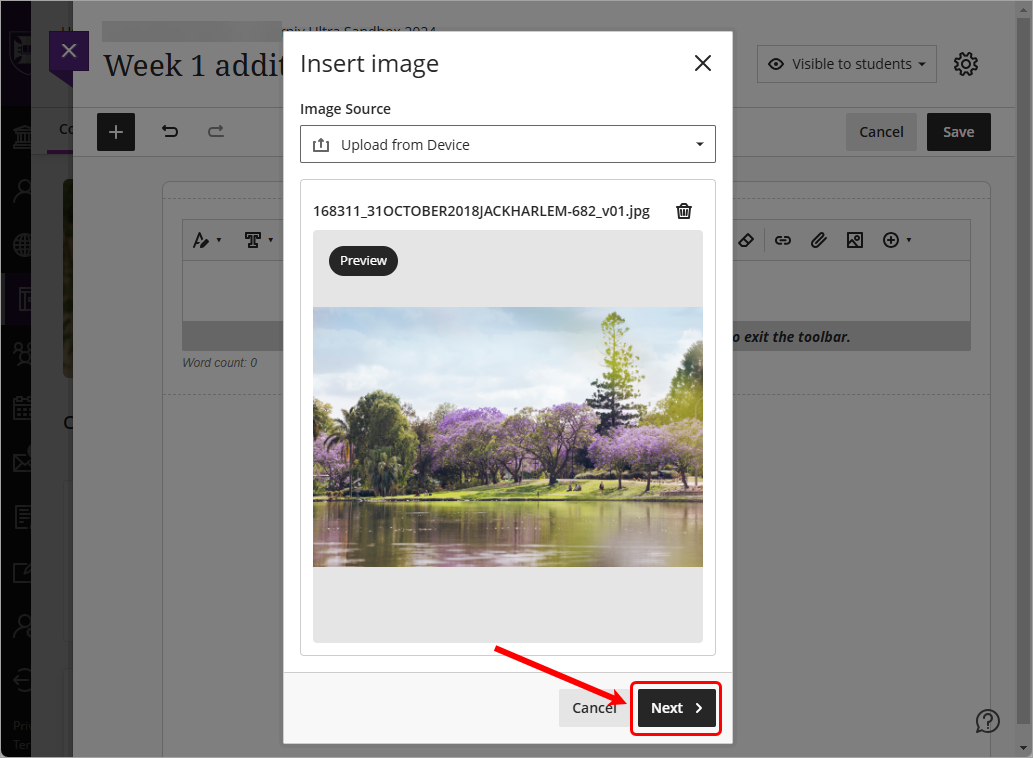
- Once the image is attached a preview will be provided. Incorrect image uploads can be removed by clicking on the Remove upload (trash can) button.
- Click on the Next button.
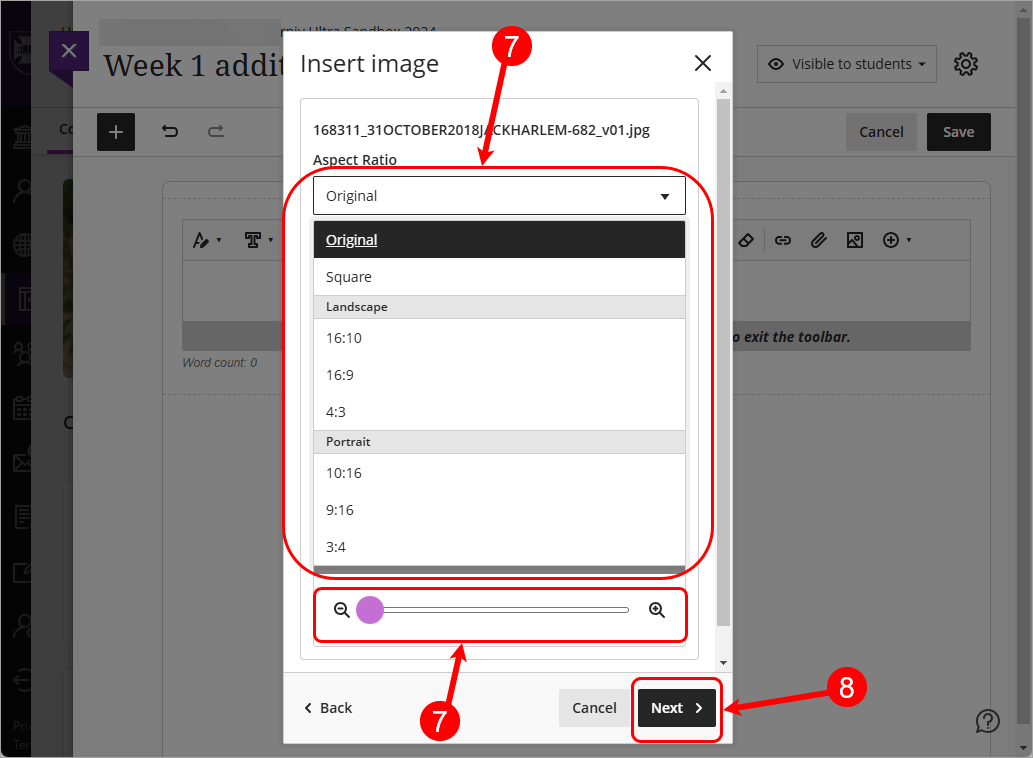
- Use the Aspect Ratio drop-down list to adjust the image to preset ratio's or use the Slider to zoom in our out on the picture.
- Click on the Next button.
- Click on the Display name textbox, enter a [meaningful display name]. e.g. UQ lakes
- Click on the Alternative text textbox, enter [meaningful alternative text] e.g. UQ lakes
Tip: Alternative text for images is strongly encouraged to help improve accessibility. It makes it easier to connect the image to its context and allows people with visual impairments to perceive the image.
Note: If the image is purely for decorative purposes you can check the Mark the image as decorative to disbale alternative text. - Select the desired File options radio button. View and Download is selected by default and recommeded for most images.
Note: Use View only for images that are not essential to learning progress. - Click on the Save button.

- The image will be added to the Content block.
Tip: The image can be deleted by clicking on the Delete Image (trash can) button. Alternatively you can just use the delete or backspace key on your keyboard.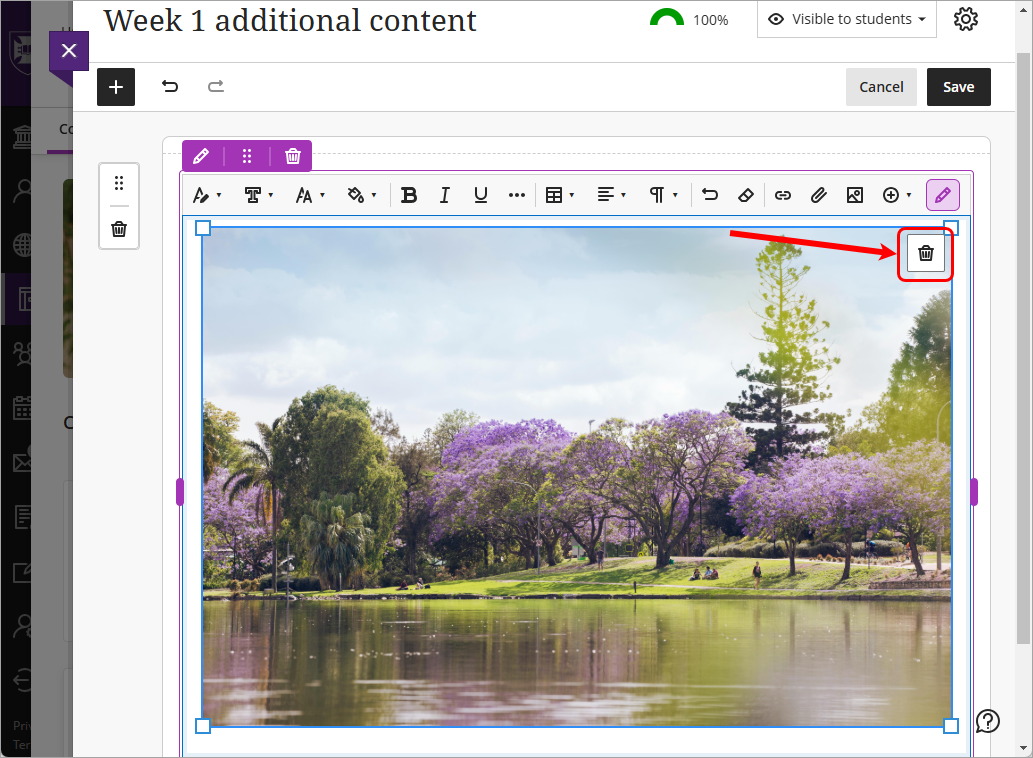
- Click off the content block to add additional blocks or click on the Save button to finish editing the document.
- For instructions on arranging course content on a document, refer to the Arranging course content on a document guide.
Add a weblink to a document Content block
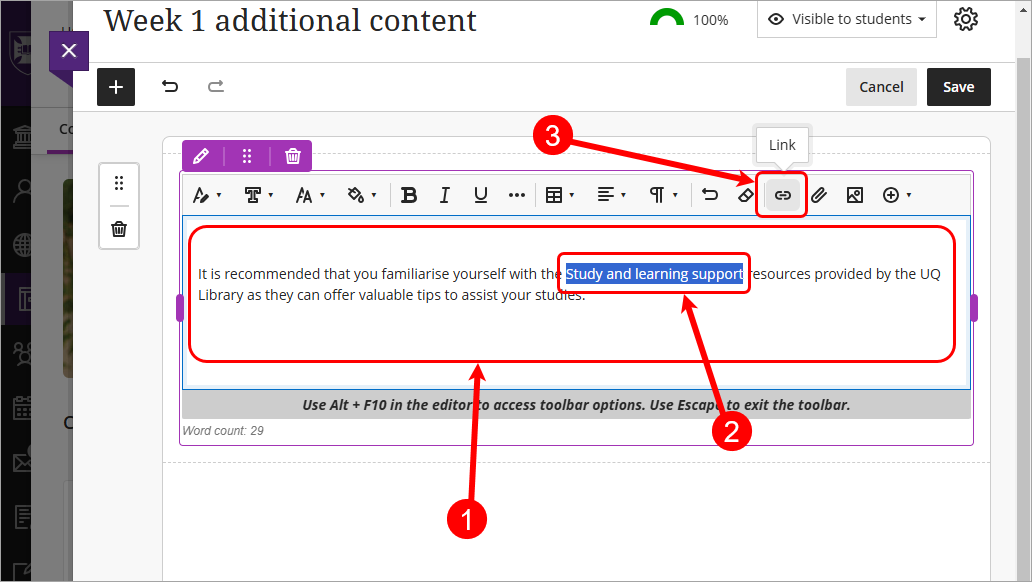
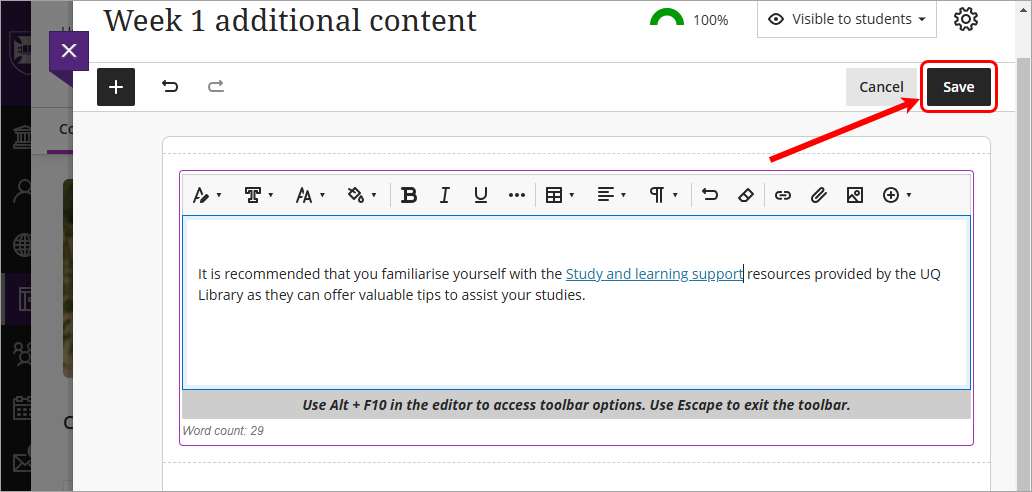
- Add the desired text to the Content block that will become the weblink.
Tip: Include meaningful instructions with the link so that students understand why they are accessing it. - Highlight the text that will become the weblink.
- Click on the Link button.
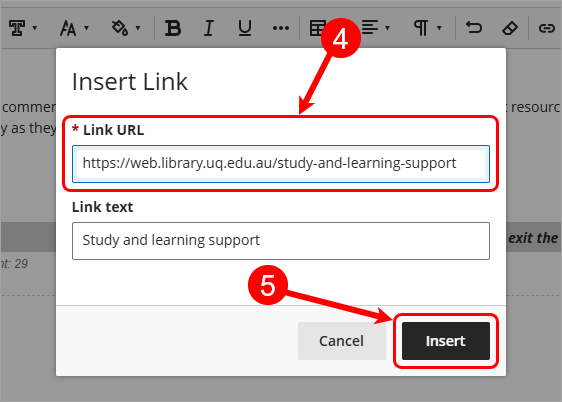
- Click on the Link URL textbox, enter the [link URL]. e.g. https://web.library.uq.edu.au/study-and-learning-support
- Click on the Insert button.
- The highlighted text will become a weblink.
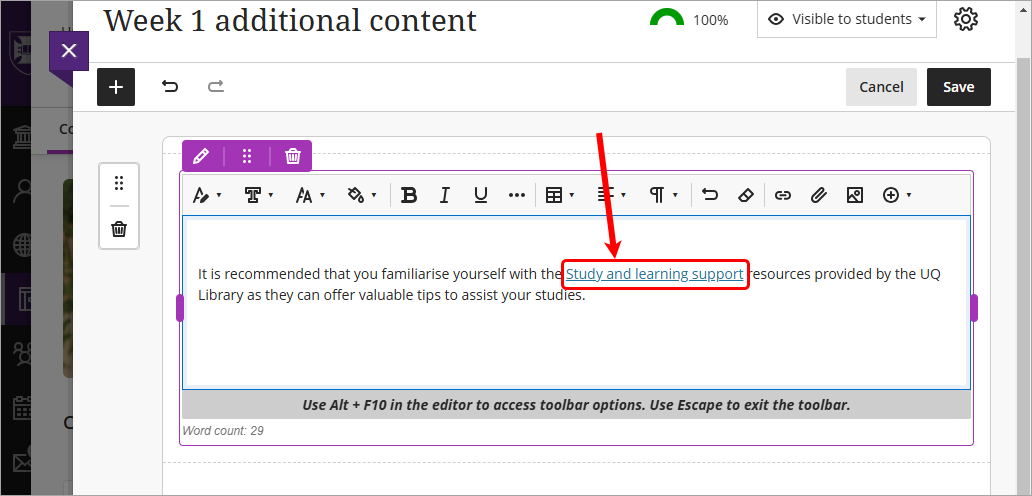
- The weblink can be edited by repeating steps 2-5 or deleted using the delete or backspace key on your keyboard.
- Click off the Content block to add additional blocks or click on the Save button to finish editing the document.
- For instructions on arranging course content on a document, refer to the Arranging course content on a document guide.
Add a math equation or latex to a document Content block
For instructions on how to add math equations or latex, refer to the Math Editor guide by Anthology.
For instructions on arranging course content on a document, refer to the Arranging course content on a document guide.
Add a YouTube video in a document Content block
- Click on the Insert content button.
- Select Media from the drop-down list.
Tip: For YouTube videos we recommend using the Media option instead of the YouTube video option as not all videos are accessible via the YouTube option.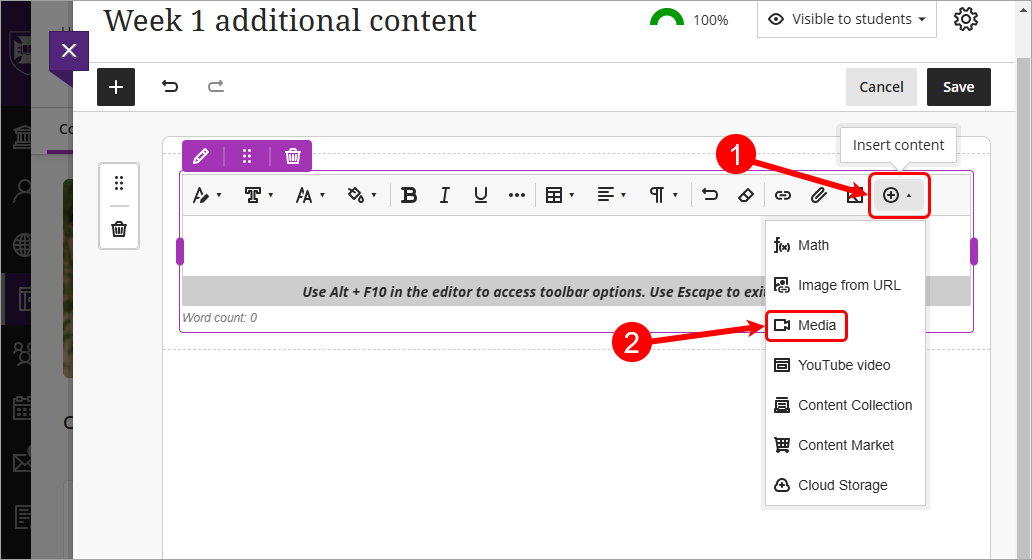
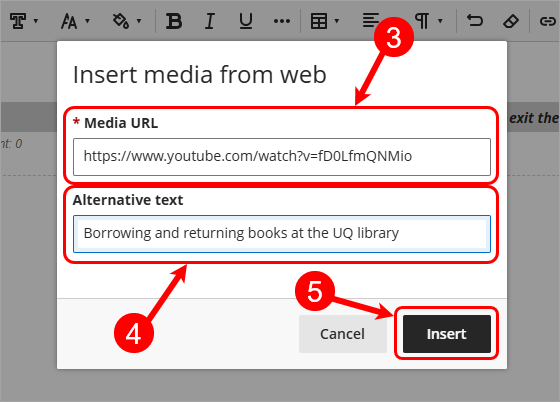
- Click on the Media URL textbox, enter the [media URL]. e.g. https://www.youtube.com/watch?v=fD0LfmQNMio
- Click on the Alternative text textbox, enter [meaningful alternative text] e.g. Borrowing and returning books at the UQ library
Tip: Alternative text for media is strongly encouraged to help improve accessibility. It assists people with visual impairments to connect the media to its context. - Click on the Insert button.
- Your media will be added to the Content block.
Note: The media is always centre alligned in the Content block.
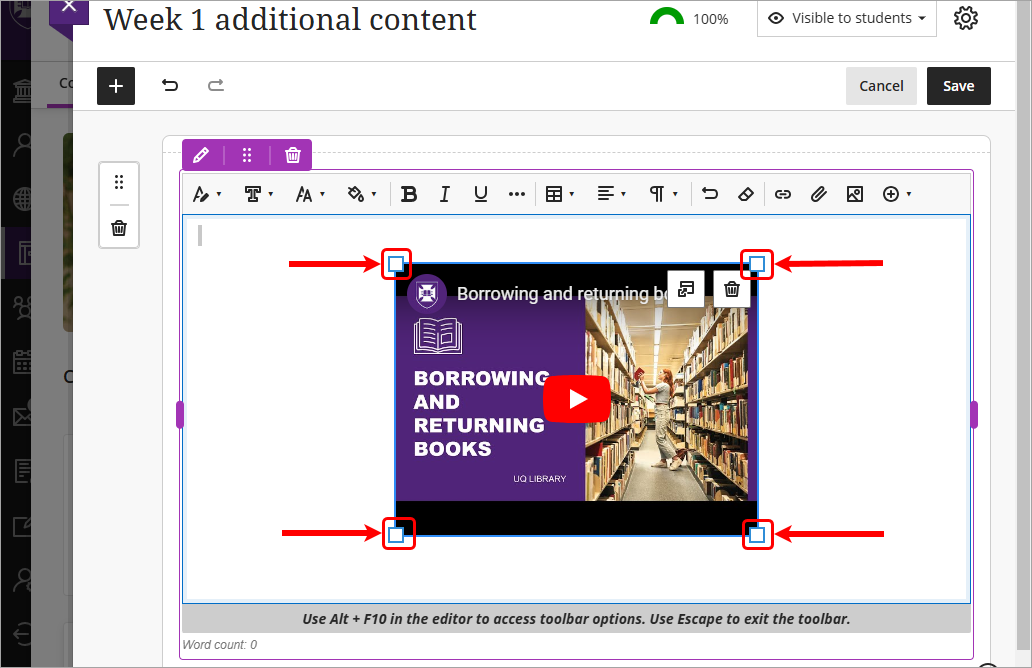
Tip: The image can be deleted by clicking on the Delete Media (trash can) button. Alternatively you can just use the delete or backspace key on your keyboard. You can also preview the media by clicking on the Preview button.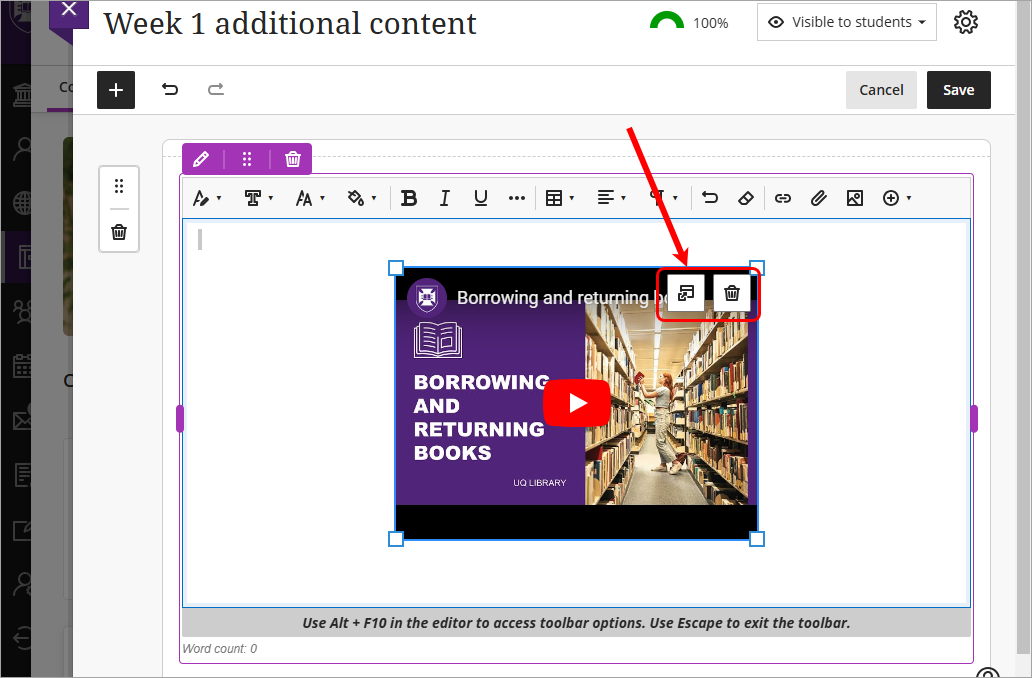
- You can adjust the size of the media by clicking on the squares in each corner and dragging the media to the desired size.
- Click off the Content block to add additional blocks or click on the Save button to finish editing the document.

- For instructions on arranging course content on a document, refer to the Arranging course content on a document guide.
Add an EchoVideo in a document Content block
For instructions on how to add an EchoVideo in a document Content block, refer to the EchoVideo Deep Linking Tool guide.
For instructions on arranging course content on a document, refer to the Arranging course content on a document guide.
- Add a Content block to document (Ultra)
- Add a HTML block to a document (Ultra)
- Add a Knowledge check block to a document (Ultra)
- Add a file to a document (Ultra)
- Add an Image block to a document (Ultra)
- Add assessment technical submission instructions (Ultra)
- Add block styling to a document (Ultra)
- Arranging course content on a document (Ultra)
- Assessment summary (Ultra)
- Copy course content (Ultra)
- Course template (Ultra)
- Create a Small File Size (Ultra)
- Create a document (Ultra)
- Create a folder (Ultra)
- Create a link (Ultra)
- Create learning module (Ultra)
- Move course content (Ultra)
- Overview of Text Editor Tools (Ultra)
- Understanding Download Speeds (Ultra)