A document serves as the primary method for adding and presenting content to your students. It can include numerous content blocks, combining both visual and textual elements.
Create a document
Navigate to desired location where folder is to be created.
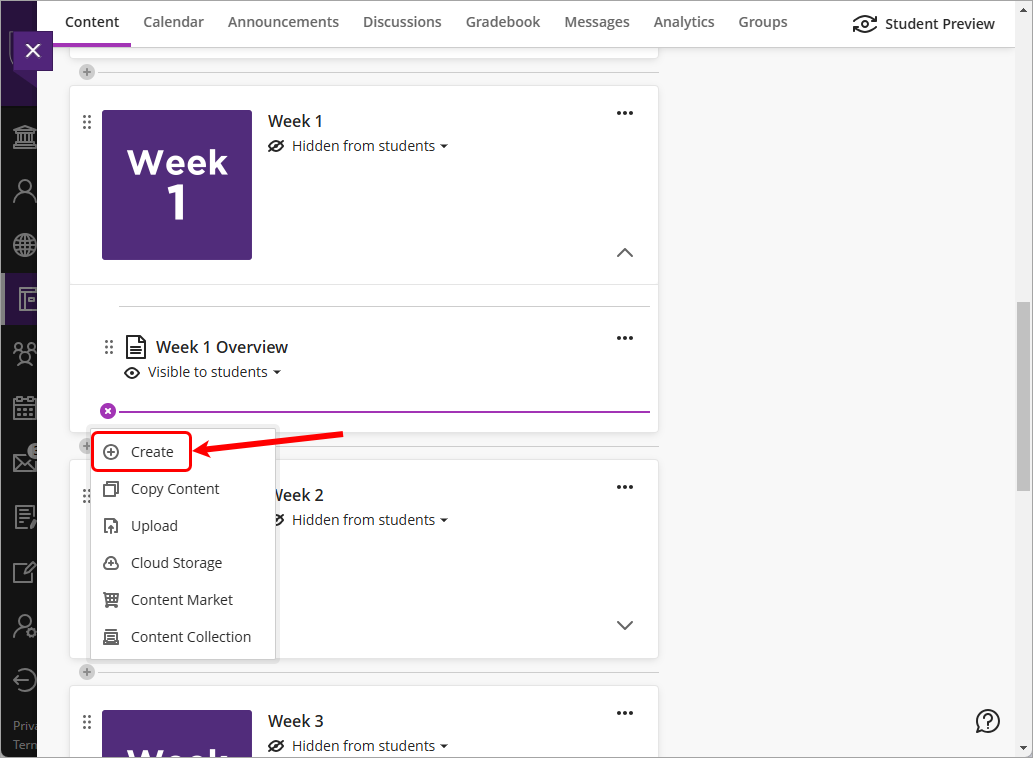
Click on the Add new content (+) sign.
Select Create from the drop-down list.
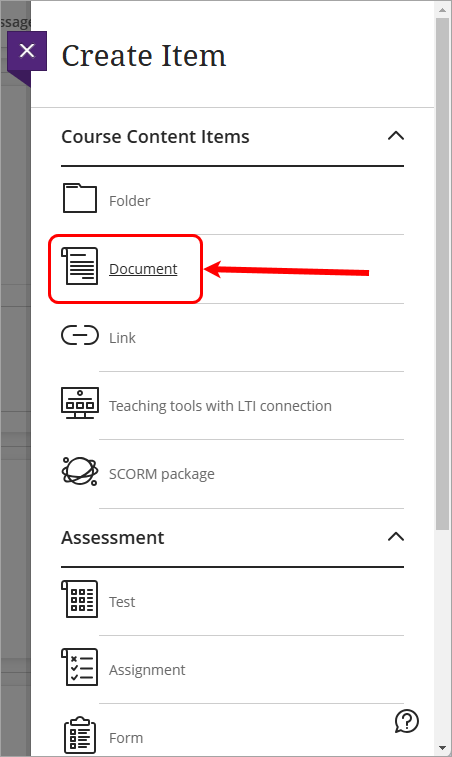
Select Document from the Create Item menu.
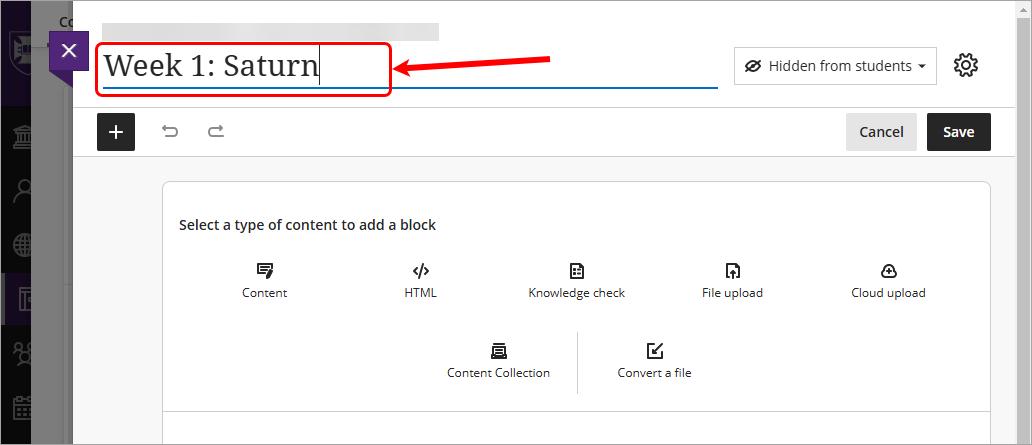
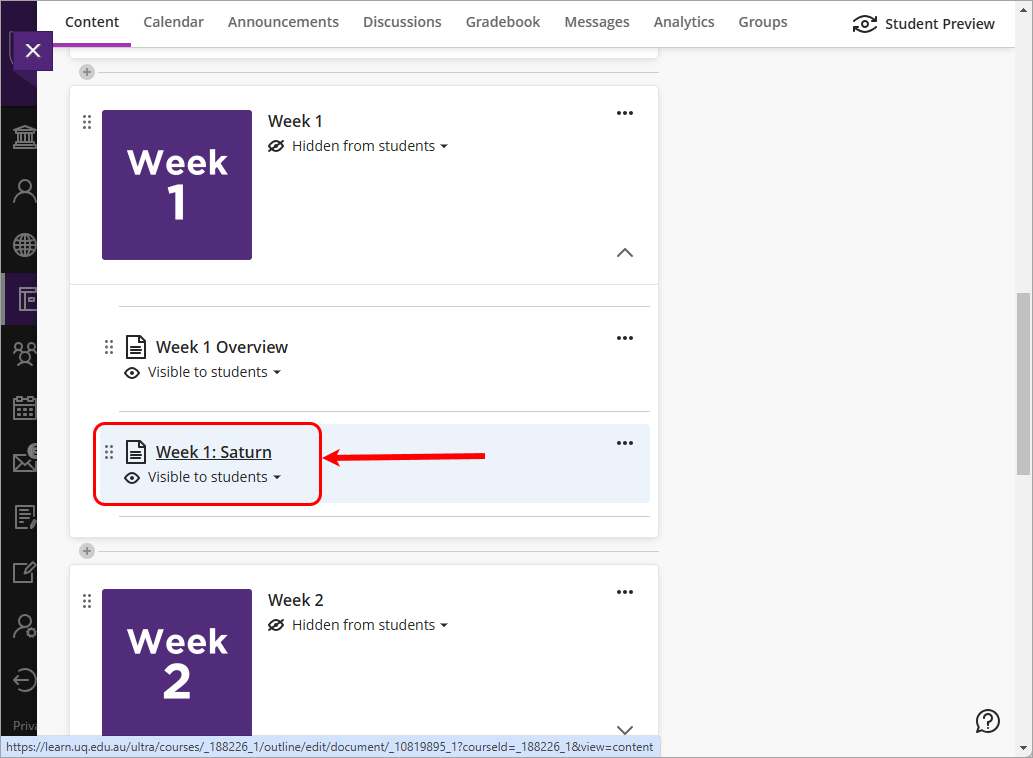
Click on the Document Title and enter a meaningful title. e.g. Week 1: Saturn Tip: The document title will save automatically when you click anywhere else on the screen.
Select Visible to students from the Visibility drop-down list.
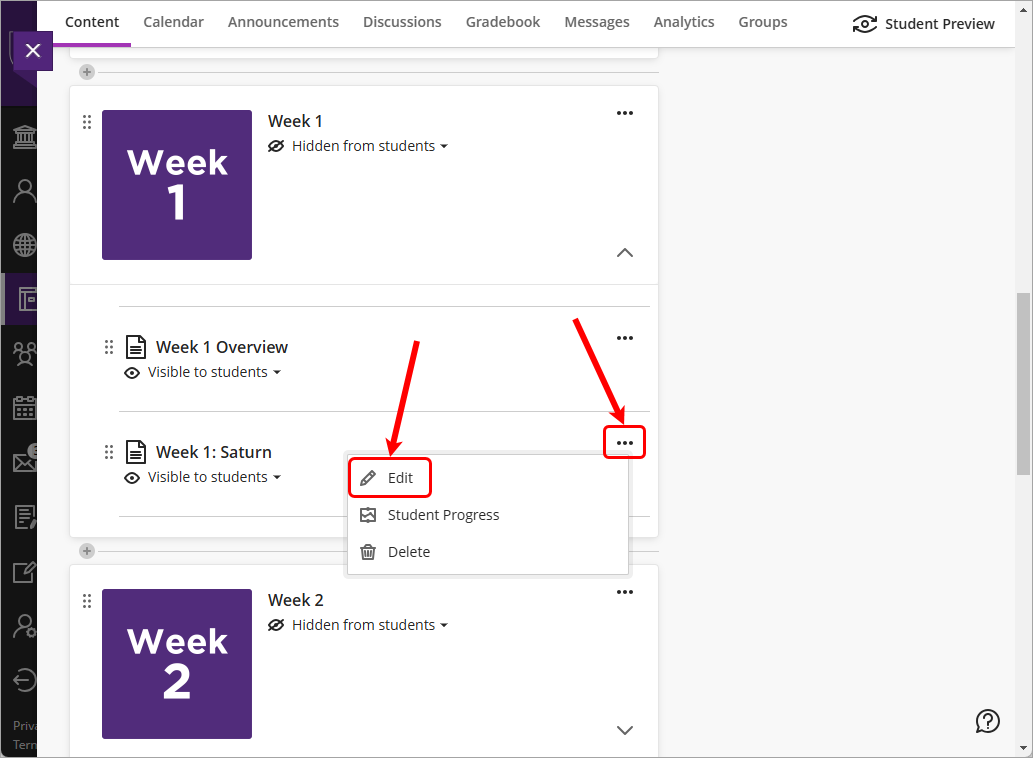
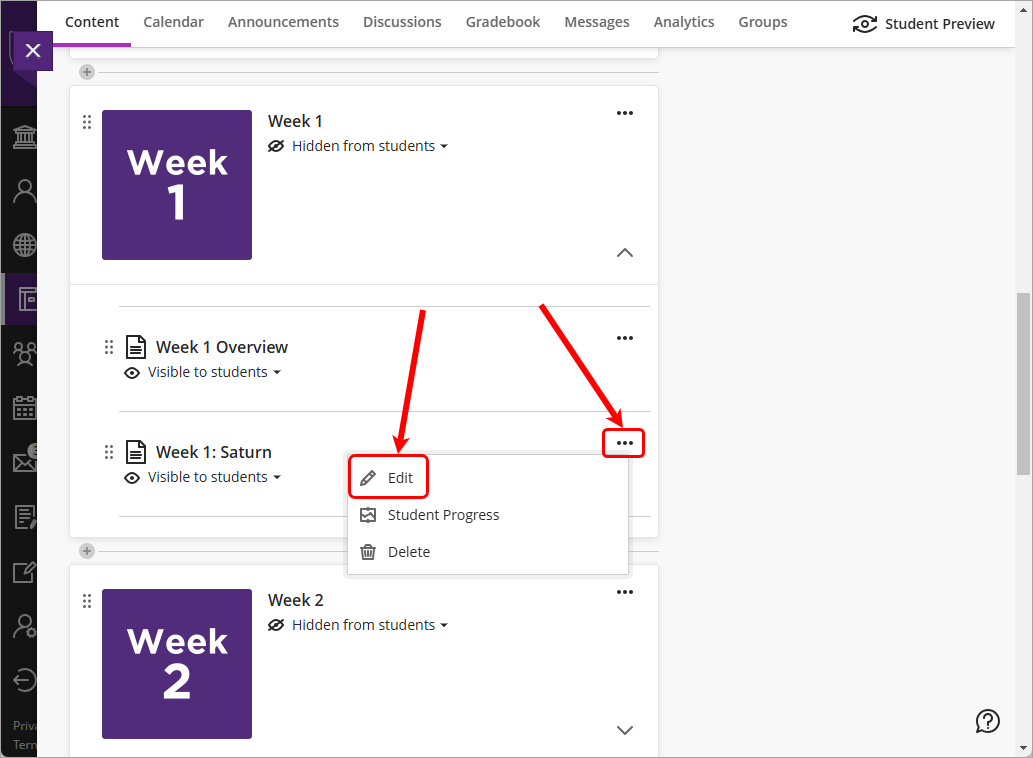
Click on the More options for [name of document] elipsis (3 dots) button and select Edit from the drop-down list. e.g. Click on the More options for Week 1: Saturn elipsis (3 dots) button and select Edit from the drop-down list.
Alternatively, click on the Document title to enter document.
Edit document title or add course content to your document. For further information on adding course content to your document, refer to the Add course content to a document guides. Tip: The document title will save automatically when you click anywhere else on the screen.
Delete a document
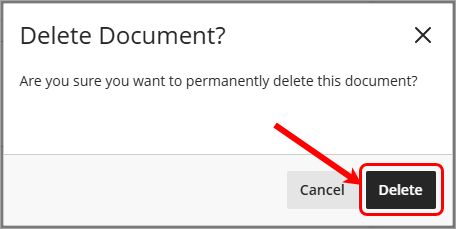
Click on the More options for [name of document] elipsis (3 dots) button and select Delete from the drop-down list. e.g. Click on the More options for Week 1: Saturn elipsis (3 dots) button and select Edit from the drop-down list.