Microsoft Lists to assign group work tasks (Original)
The Microsoft Lists app is useful in assigning tasks to members in a group project. A list is like a table (i.e. it displays in a grid view) with different rows and columns for tasks and their descriptors. You can create as many columns as required and then create tasks to assign to your team members. The whole group can keep track of the group's progress.
A List is created within a channel. If you are working in a private channel for a group assignment, creating a list to assign tasks to group members can be very helpful. Your Course Coordinator needs to allow the 'add tab' permission for you to create a tab of the document if you are working in a private channel. Ask your Course Coordinator to refer to the Channel settings in Teams guide for more information (this guide is only available for teaching staff).
There are three main steps in creating a list:
- Add the Lists tab.
- Create and edit your List, for example:
- create a text column
- create a person column
- create a date column
- Create tasks and assign group members to tasks.
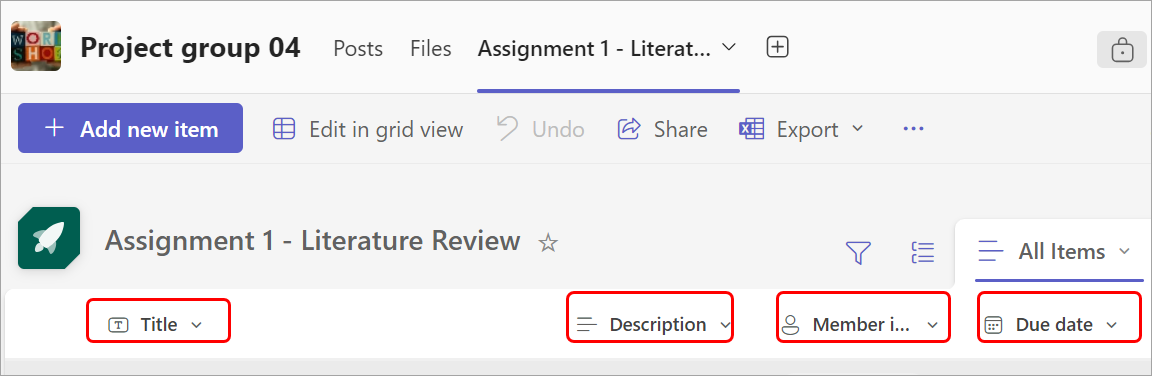
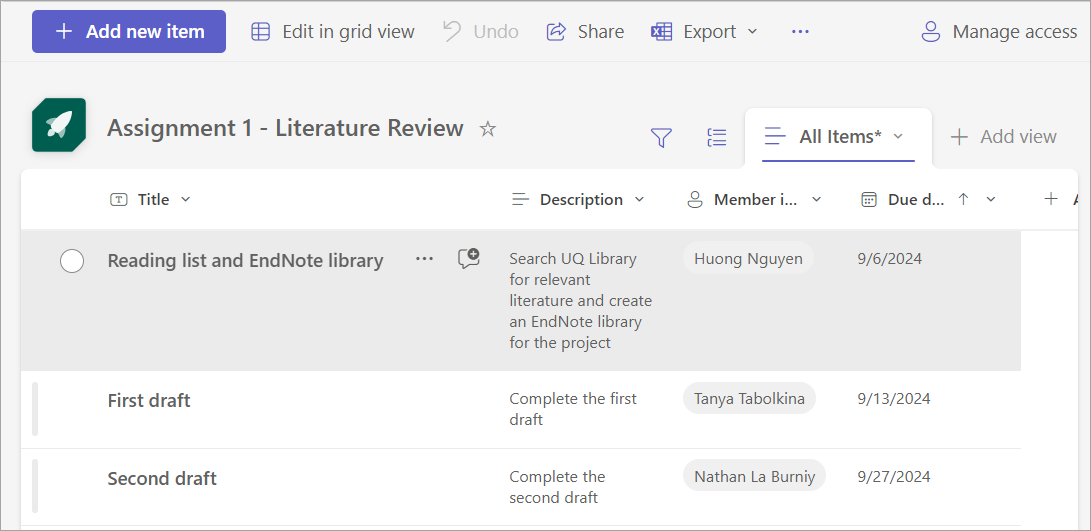
Here is a sample of a complete list with task, description of task, member and due date columns:
2. Create and edit your list
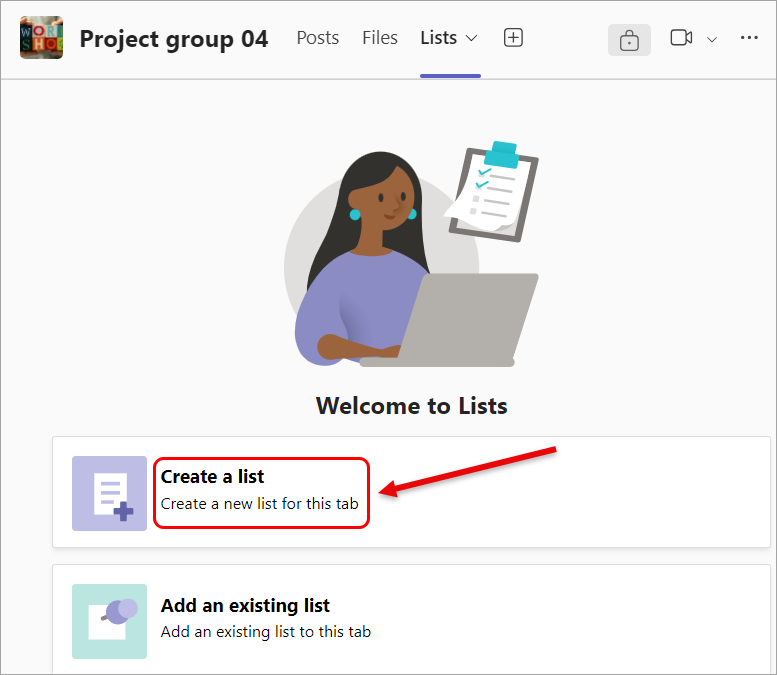
Create a list
You can create lists by starting with a blank list, an existing list, or by importing the columns and formatting from an Excel file or SharePoint list. You can also choose a list from one of the ready-made templates.
The following instructions are for creating a new, blank list.
- Select the Create a list option.
- Click on the + Blank list to create a new one.

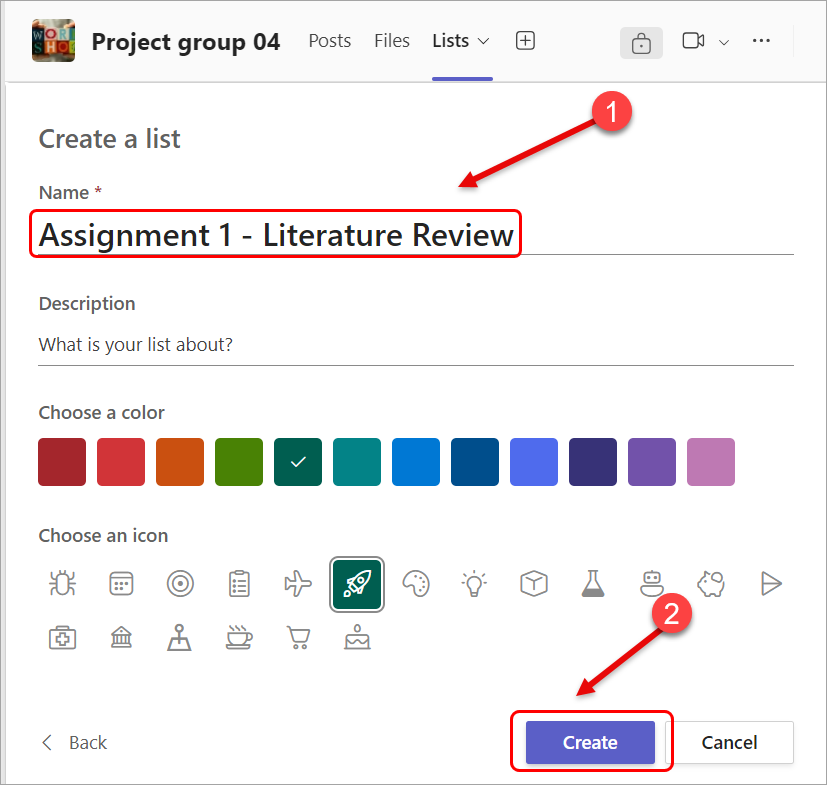
- Enter a name for the list in the Name textbox.
- Optionally, select a colour and an icon.
- Click on the Create button.
Note that a column named Title is created for the list by default.
Create a text column for the list
This column is to add a description to a work task.
- Click on the Add column to add a column to the list.
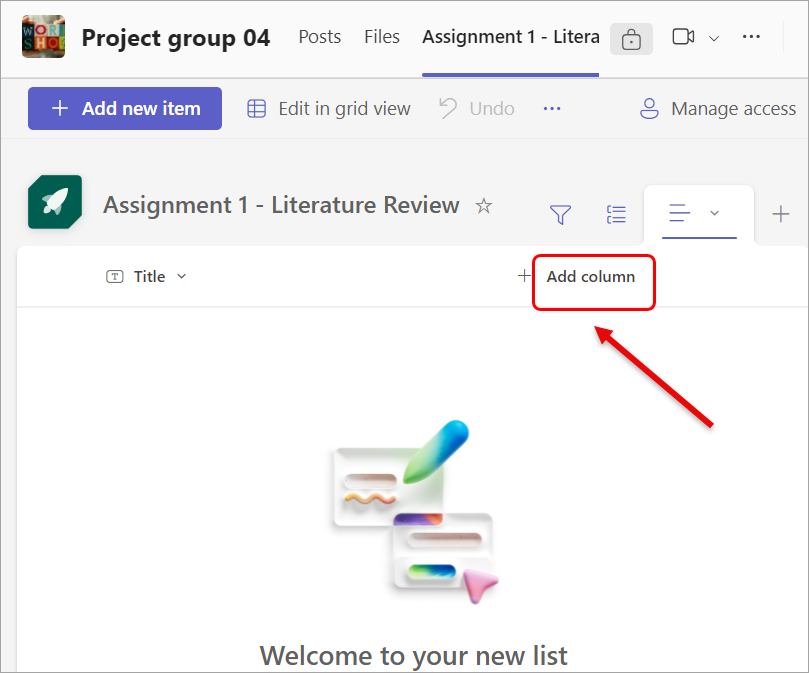
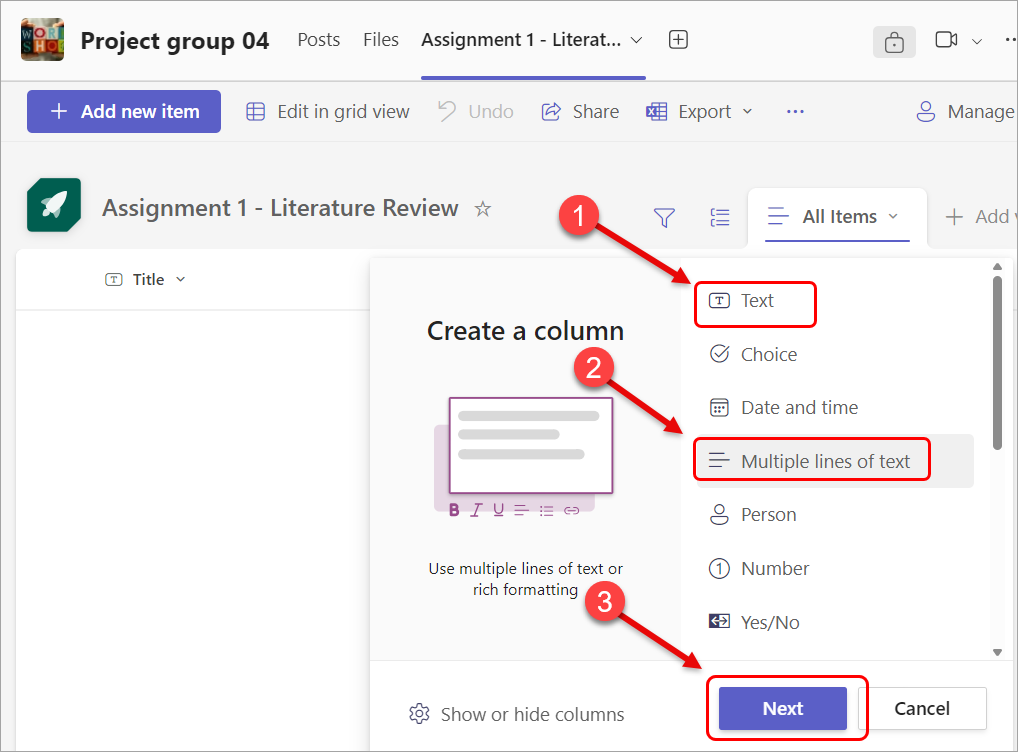
- Select the column type (e.g. text).
- Select the number of lines of text (i.e. multiple lines or one line).
- Click on the Next button.
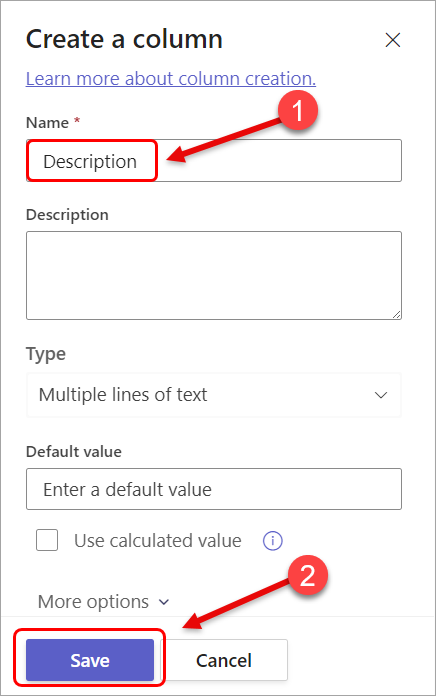
- Enter the column name (e.g. 'Description' in the Name textbox).
- Click on the Save button.
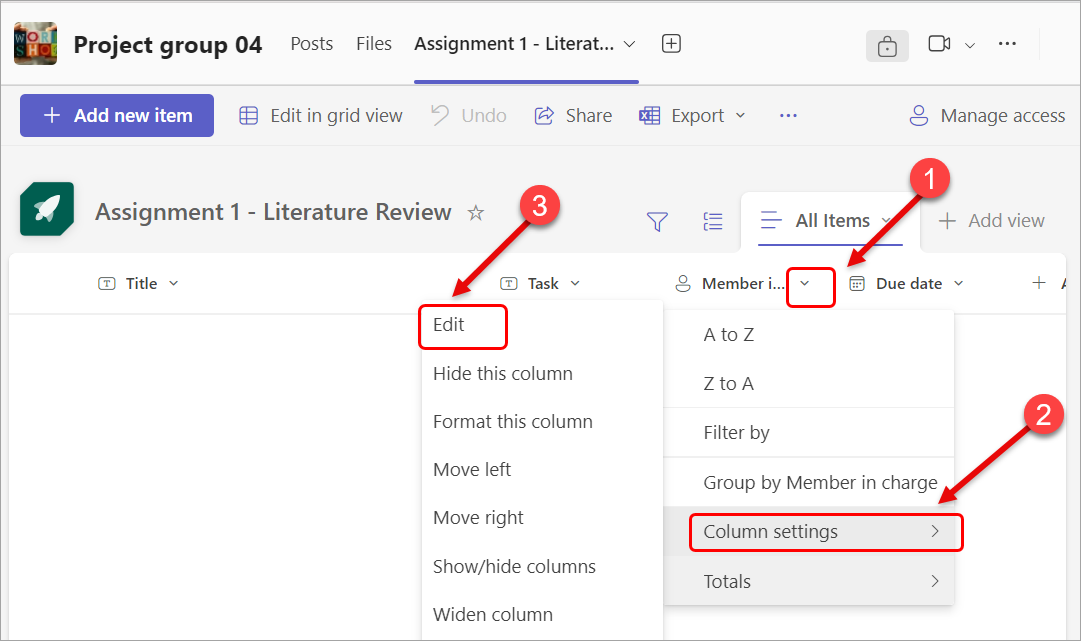
Edit a column
In case you need to edit a column you have created, you can:
- Click on the down arrow next to the column name.
- Select the Column settings option.
- Select the Edit option.
Note: You have other edit options such as hide column, format column, move left/right, etc.
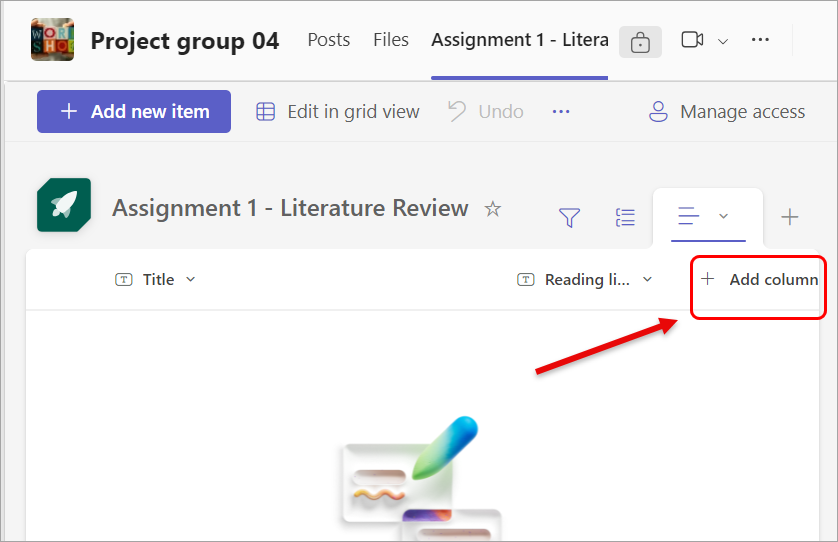
Create a person column for the list
This column will be used to assign a group member to a task.
- Click on the Add column button.
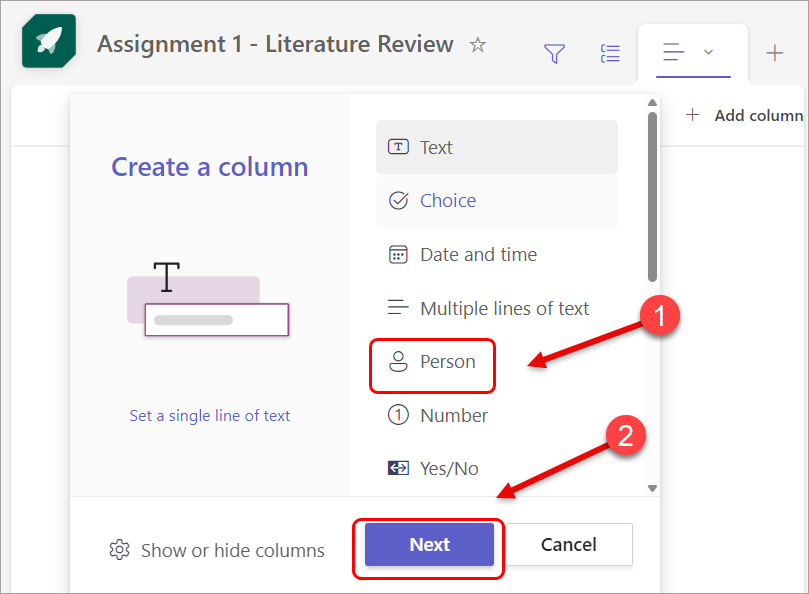
- Select the Person option to create a column to assign a group member.
- Click on the Next button.
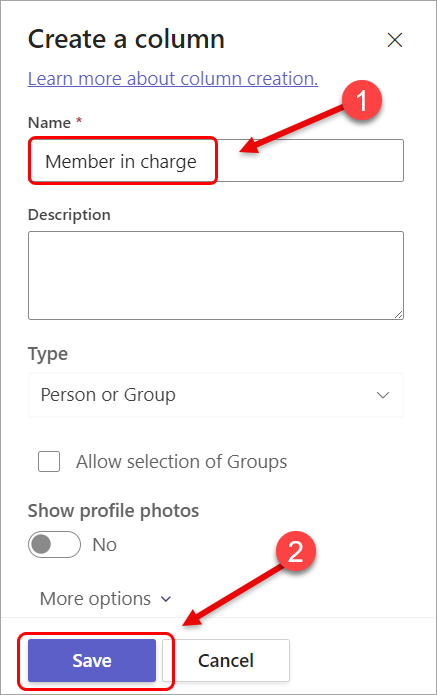
- Enter the column's name (e.g. 'Member in charge' in the Name textbox).
- Click on the Save button.
Create a date column for the list
This column is to add the dateline for the task in the list
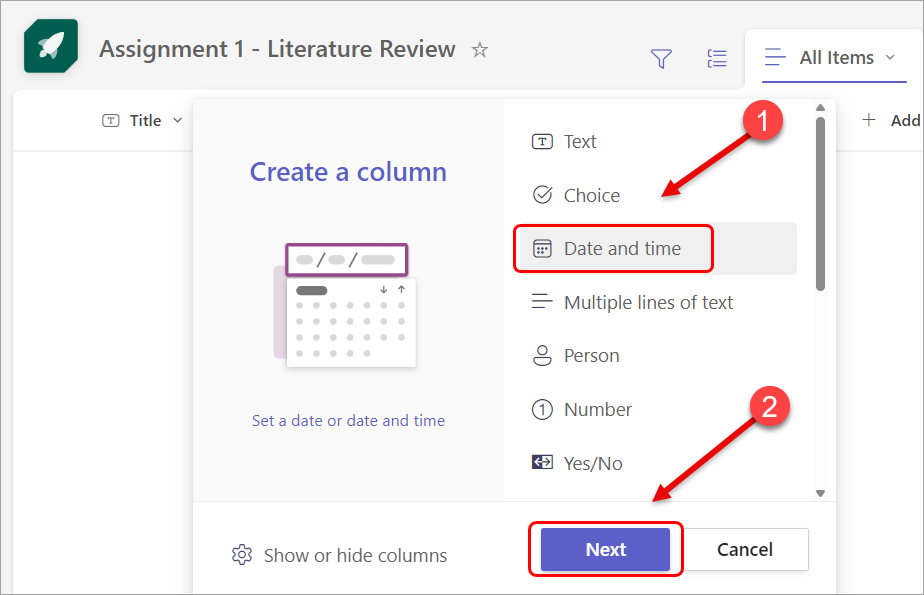
- Click on the Add column button.
- Select the Date and time option to create a column to assign a group member.
- Click on the Next button.
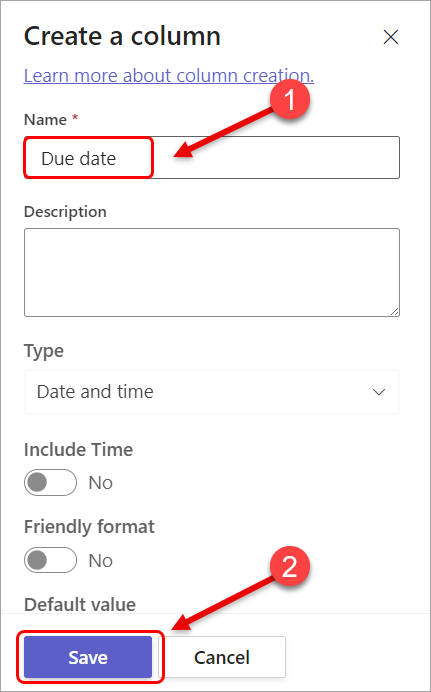
- Enter the column's name (e.g. 'Due date' in the Name textbox).
- Click on the Save button.
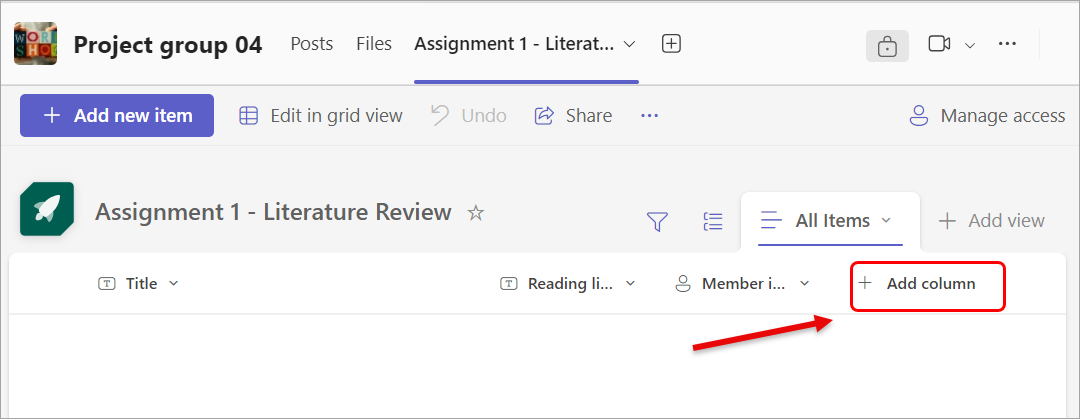
Now your list has 4 columns:
- the Title column is added by default
- the Description, Member in charge and Due date columns were created.