Edit an Echo video (Original)
This guide explains how to edit your Echo video and provides instructions for a basic set of video editing functionality including:
- editing video titles
- trimming start and/or endpoints
- splitting clips into multiple clips
- removing segments
- inserting media
- creating thumbnails.
3. Trimming videos (start/end)
While editing a video, at any time, you can zoom in or out on the timeline for a more precise view of a section you want to edit. The Zoom In/Out buttons and the slider are located to the right of the timestamp location box, between the playback panel and the editing panel of the editor.

Trim the start of the recording
- In the playback panel, put the play head/cut marker at the desired new start position.
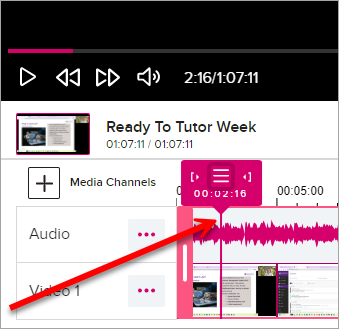
- Click the trim-in icon on the cut marker.
![]()
- The playback panel will move to the set location.
- Check if the new start point of your media is correct.
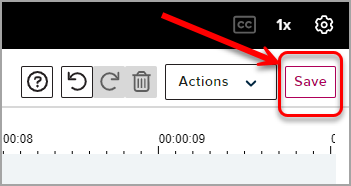
- Click on the Save button.
Note: If you have more changes to make, be sure to make all changes before saving. You cannot make further edits to the video until the processing of saved edits is completed. Processing time will depend on the length of your video and the number of edits.
Trim the end of the recording
- Move the play head/cut marker to the location where you want the video to end.
- Click on the trim-out icon on the cut marker.
![]()
- The playback panel will move to the new location.
- Check that the end point of your media is correct. If you cut too little or too much, you can use the undo button and re-adjust the end position.
- Click on the Save button.
Note: If you have more changes to make, be sure to make all changes before saving. You cannot make further edits to the video until the processing of saved edits is completed. Processing time will depend on the length of your video and the number of edits.