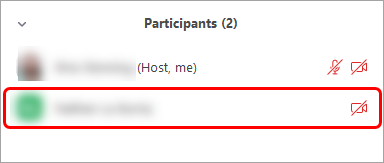
Zoom waiting rooms for online exams / consultation times (Original)
Waiting rooms can be used to admit students into a pre-meeting room until the host is ready to admit students individually to the main Zoom session.
Warning: Enabling the waiting room automatically disables the setting for allowing participants to join before host.
Enable waiting rooms in settings
- Go to https://uqz.zoom.us.
- Click on the Sign in button.

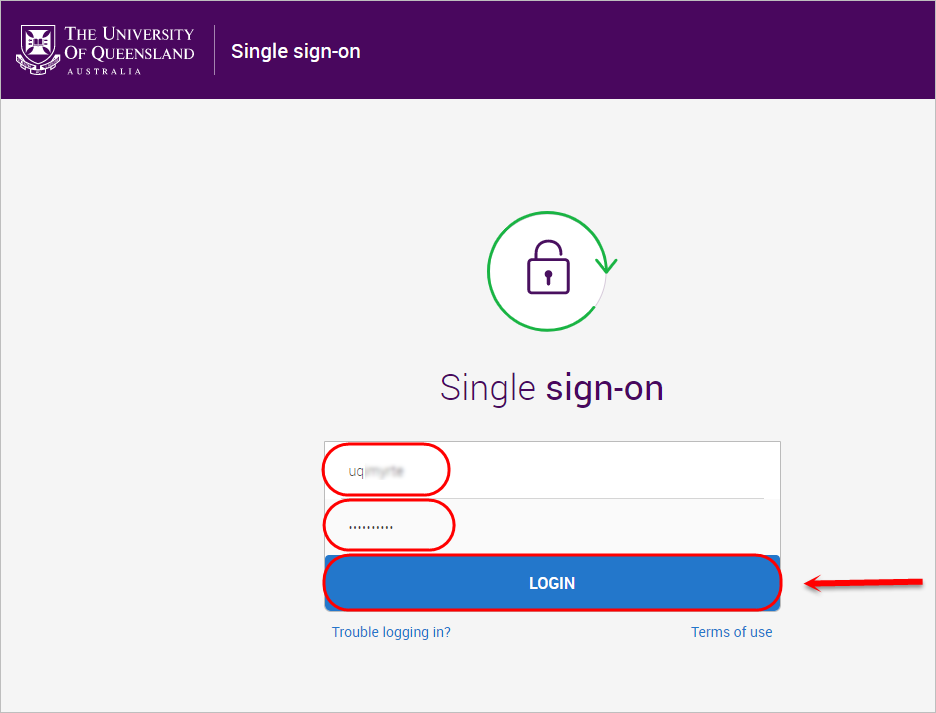
- Enter your UQ username and password.
- Click on the LOGIN button.
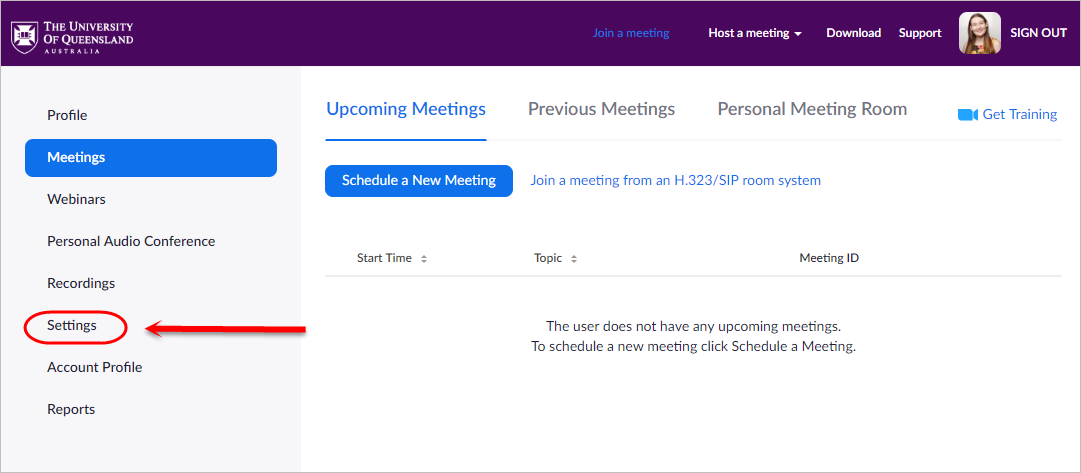
- Select Settings from the side menu.
- In the In Meeting (Advanced) section, toggle the Waiting room option ON.

Managing waiting rooms
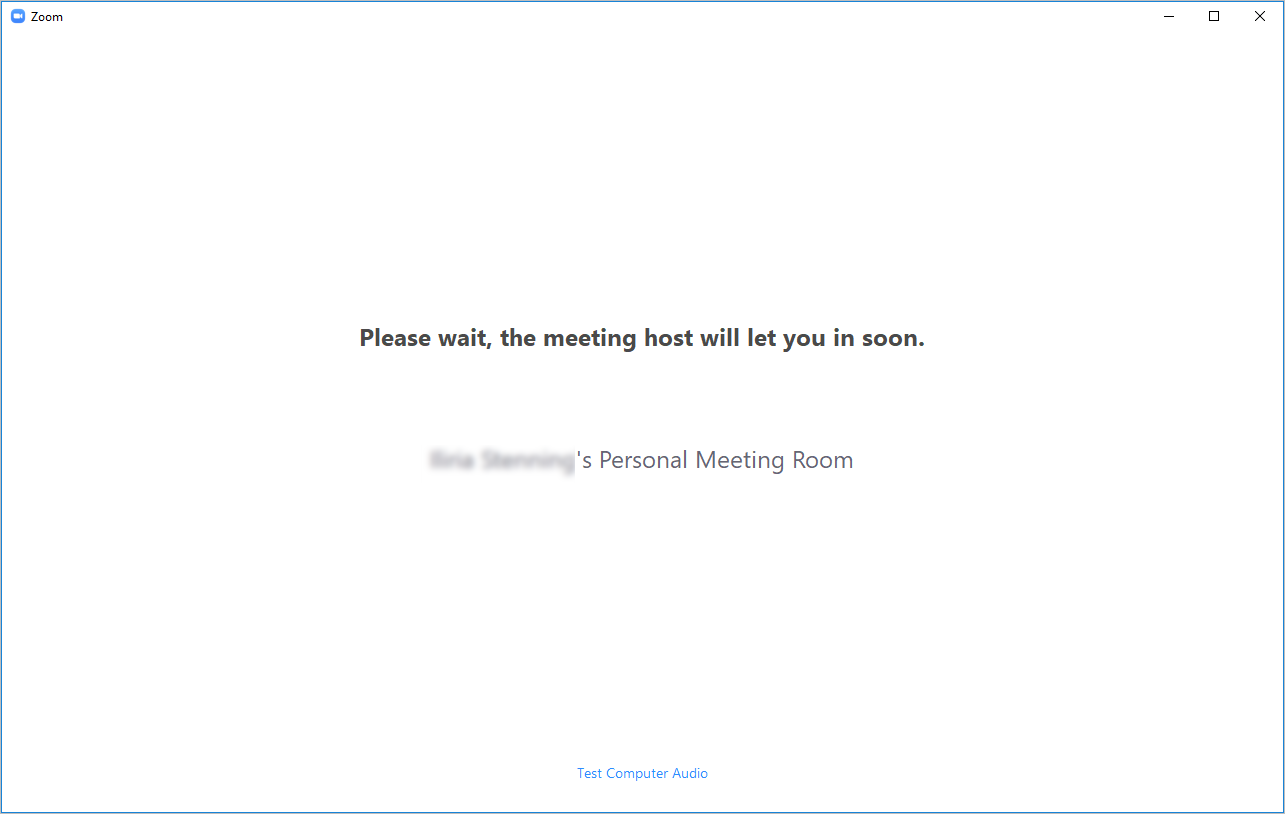
When students first join the Zoom meeting, they will be presented with the following screen until you admit them into the meeting.
Tip: To customise the message shown, refer to the Customise your Zoom waiting room guide.
Admitting students from the main screen
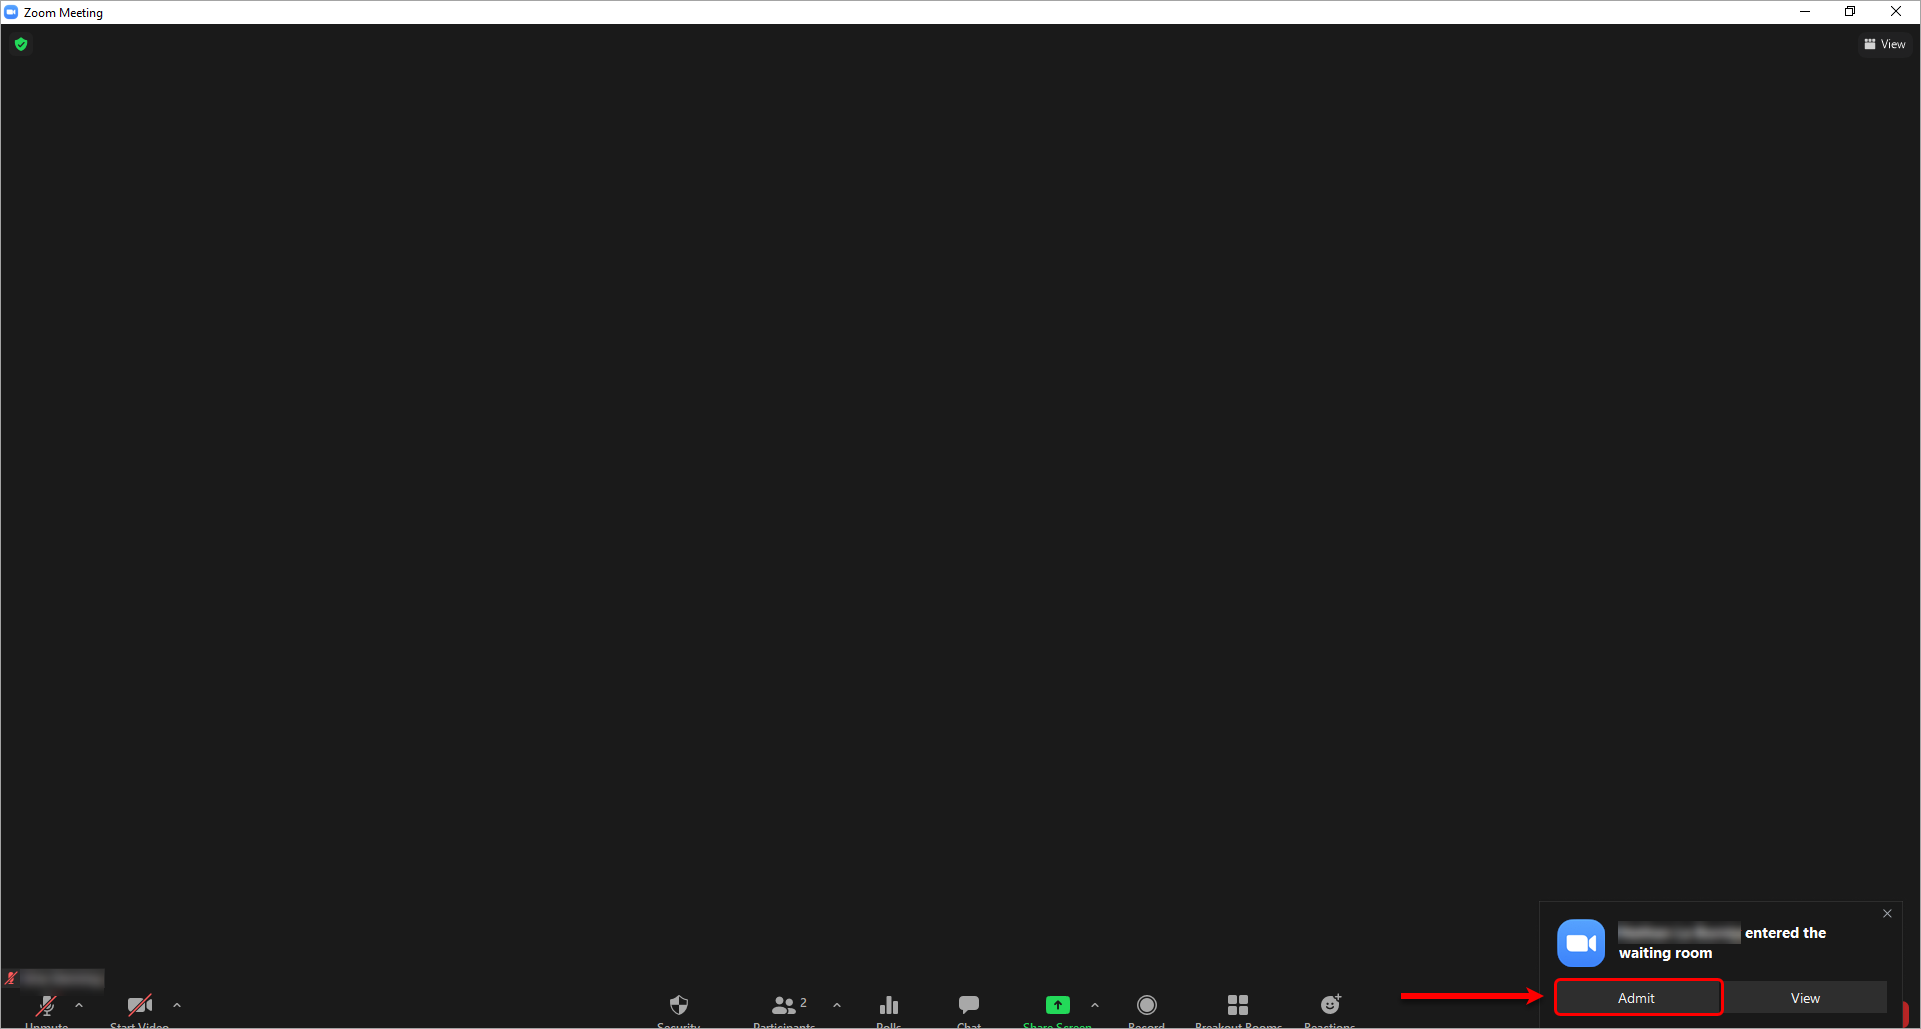
- You will be notified when students are in the waiting room.
- Click on the Admit button to admit students from the main screen.
Admitting students from participants view
- You will be notified when students are in the waiting room.
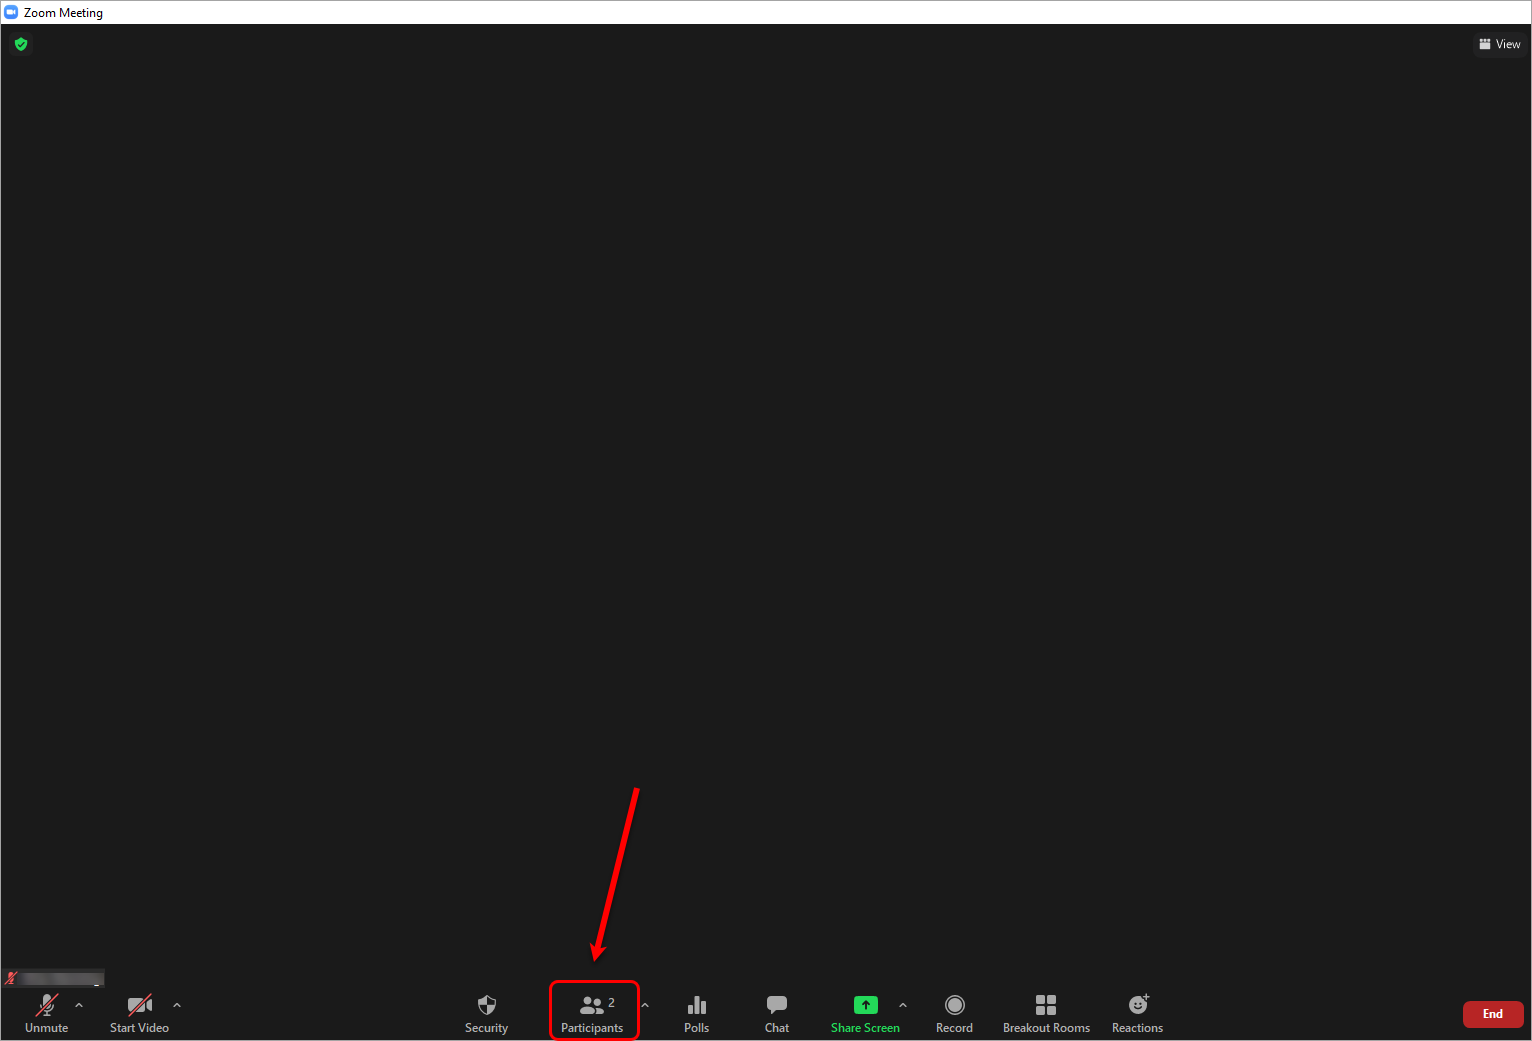
- Click on the Participants button to launch the Participants side menu.
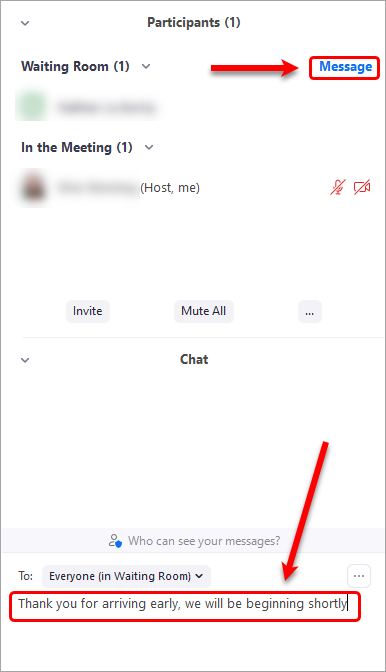
- Optionally, click on the Message button to send a message to students in the waiting room.
- In the Chat window, enter a message and press the Enter key to send.
- Click on the Admit button next to the students you want to admit.
Tip: To admit more than one student at one time, click on the Admit all button.
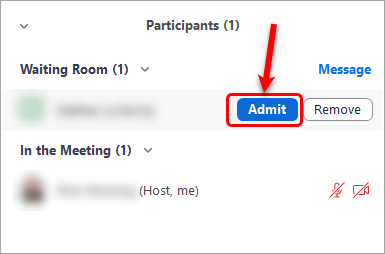
- They will then be added to the meeting.
