Create a Drag and Drop Problem (Question) (Original)
Warning: Prior to adding or editing content in your course you will need to access Studio view. Refer to the Change from Student View to Staff Editing (Studio) View guide for further instructions.
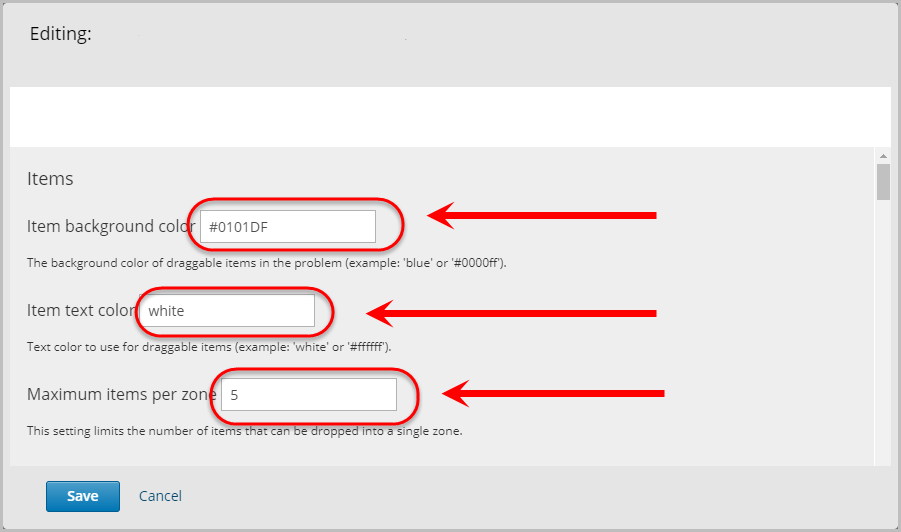
3. Items
- Optionally, enter the colour or the HTML color name in the Item background color textbox. e.g. blue or #0101DF.
- Optionally, enter the colour or the HTML color name in the Item text color textbox. e.g. white or #ffffff.
- Optionally, enter the number of maximum items in the Maximum items per zone textbox.
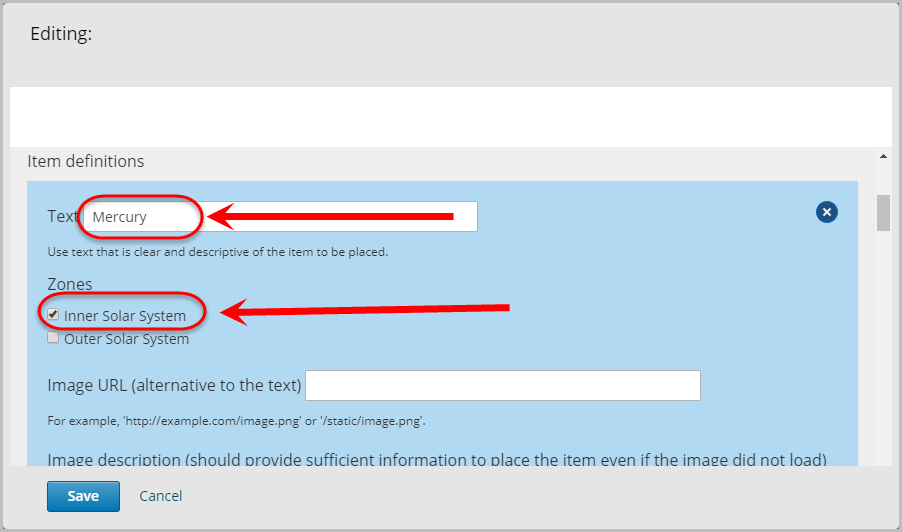
- Enter a name to appear on each item in the Text textbox. e.g. Mercury.
Note: If you would like to randomise your items, they must be manually arranged as the options do not randomise for students.
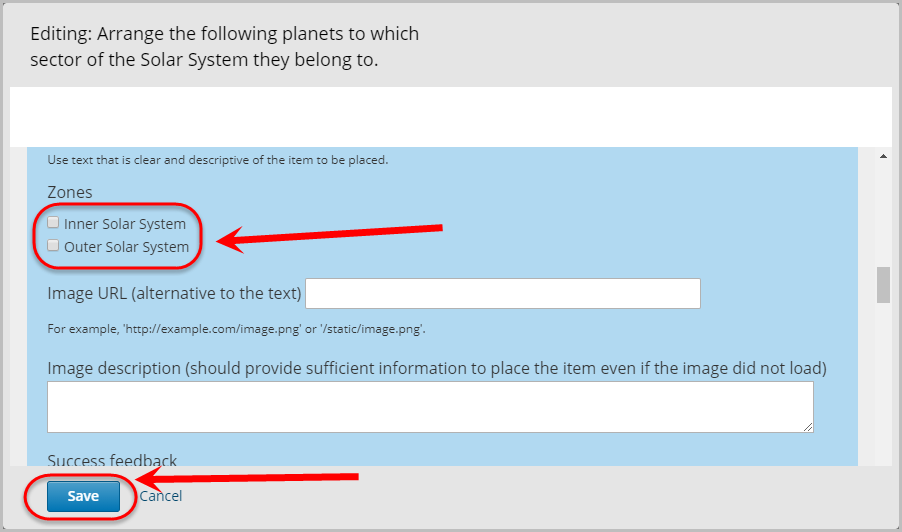
- Check the required checkbox for where the item should be placed in the appropriate zone/s for the setting Zones.
Note: You can use an image instead of text by optionally entering an image URL for the Image URL (alternative to the text) textbox and a description of the image in the Image description (should provide sufficient information to place the item even if the image did not load) textbox.
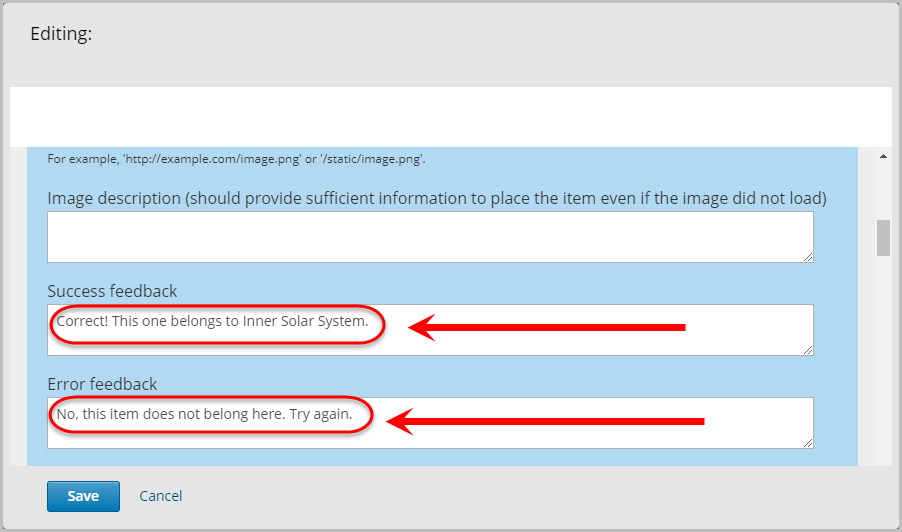
- Optionally, enter correct feedback in each Success feedback textbox appropriate to the item. e.g. Correct! This one belongs to Inner Solar System.
- Optionally, enter incorrect feedback in each Error feedback textbox appropriate to the item. e.g. No, this item does not belong here. Try again.
- Repeat Steps 4 to 7 for the remaining items.
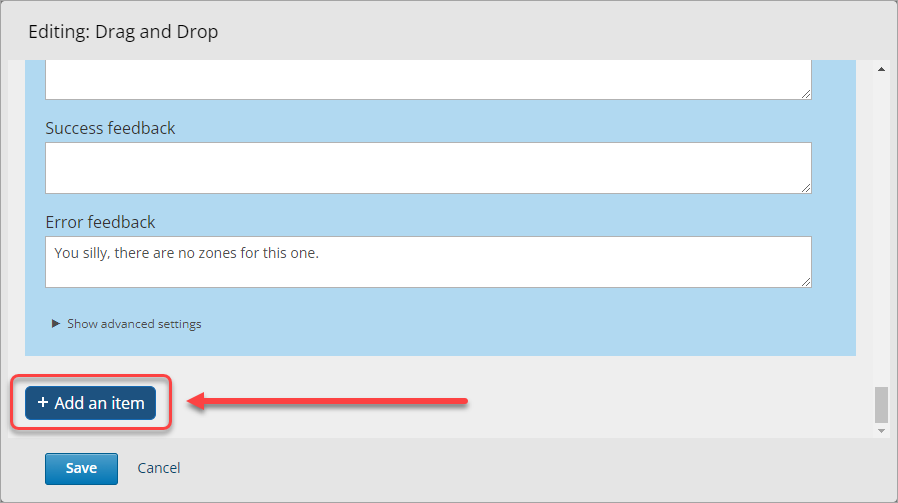
- Optionally, click on the + Add an item button to add more items then repeat Steps 4 to 7.
Optional settings for items
- If you had an item that belongs to a series of zones, check the checkboxes for the required zones for the setting Zones.
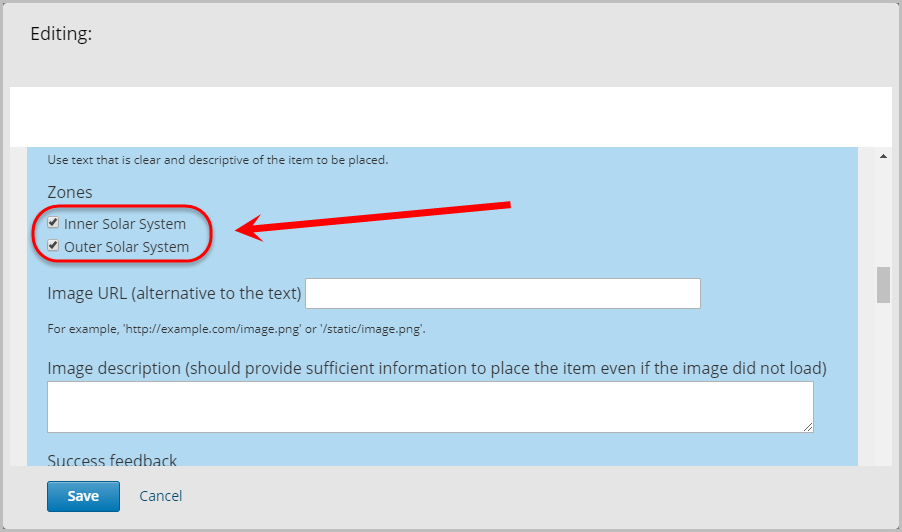
- Conversely, if you had an item that belongs to no zones, leave the checkboxes unchecked for the required zones for the setting Zones.
Note: Optionally, enter feedback in the Success feedback and Error feedback textboxes.
- Click on the Save button.