Mark a non-submission assignment (Ultra)
For insturctions on setting up a non-submission assignment, refer to the Create and Edit Individual Assignments or Create and Edit Group Assignments guides.
Warning: Marks for assignments will be hidden from students until the marks are posted to students. For instructions on Posting marks, refer to the Control the release of results guide.
Access a non-submission assignment
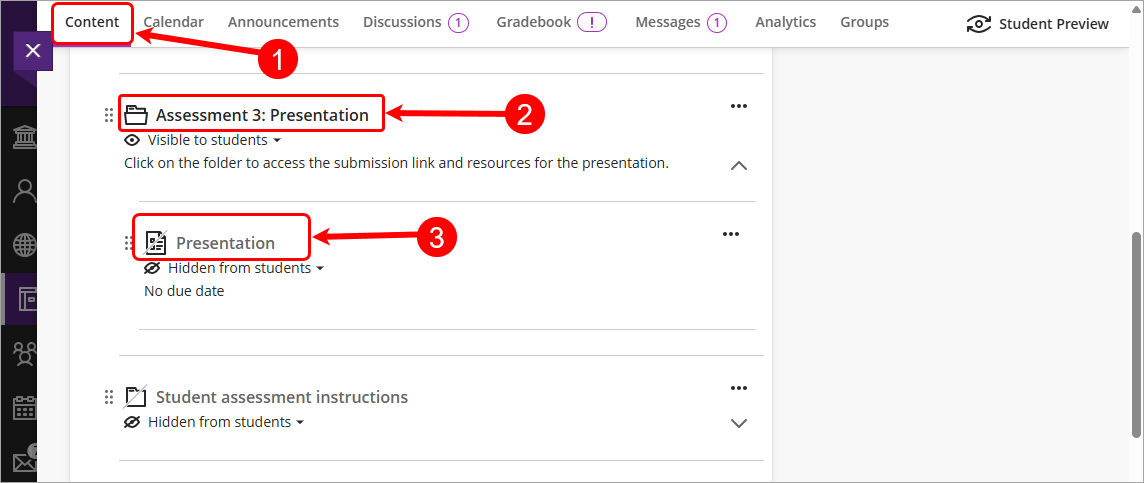
- Select Content from the navigation bar.
- Open the assessment folder.
- Click on the Assignment submission link.
- Select Marks from the navigation bar.

- Click on a student's name to create a submission attempt.
Note: Only one attempt can be created per group or student.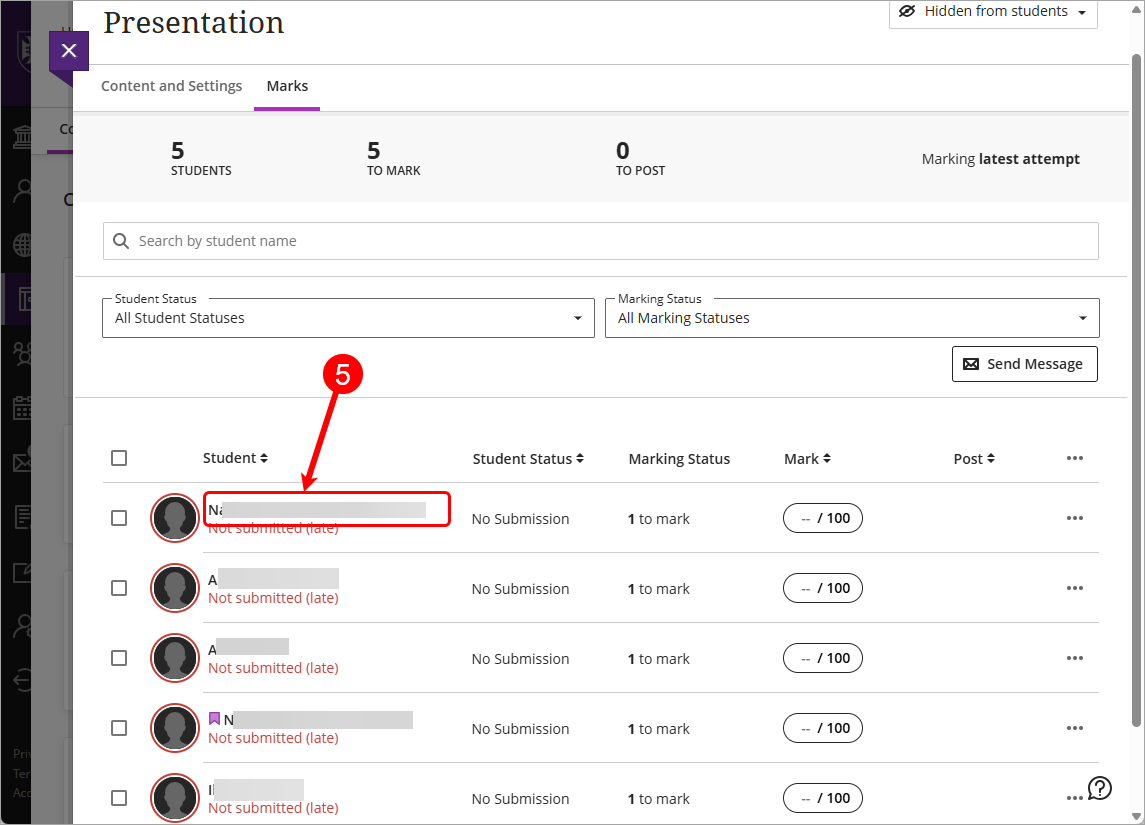
Tip: To start a group submission click on the Group name.
- Click on the Save button.
Tip: Do not alter the Submission date and time as this can be useful if you are marking live presentations as it can help locate the presentation on any recordings.
- Repeat this process for each student or group.
Mark using a rubric
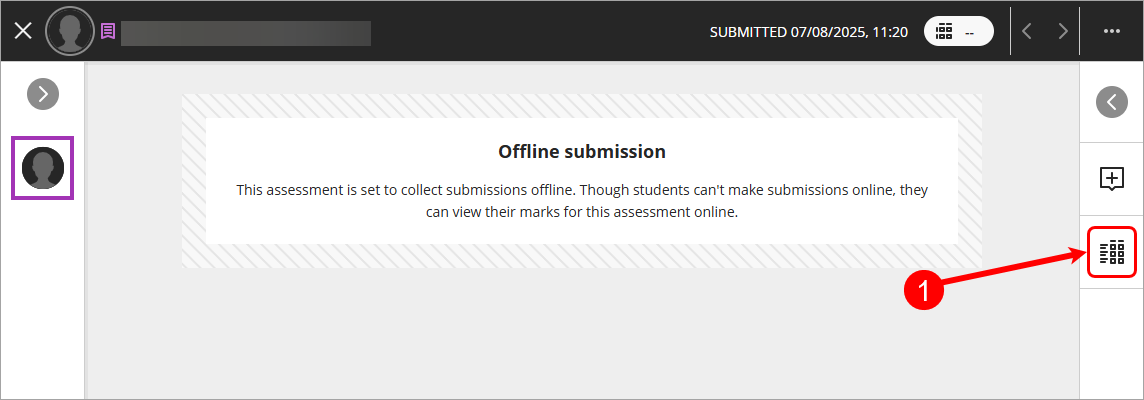
The marking and feedback interface should be open by default. If not click on the Marking Rubric button.

Check on the Show descriptions checkbox to toggle the full rubric descriptions on or off.
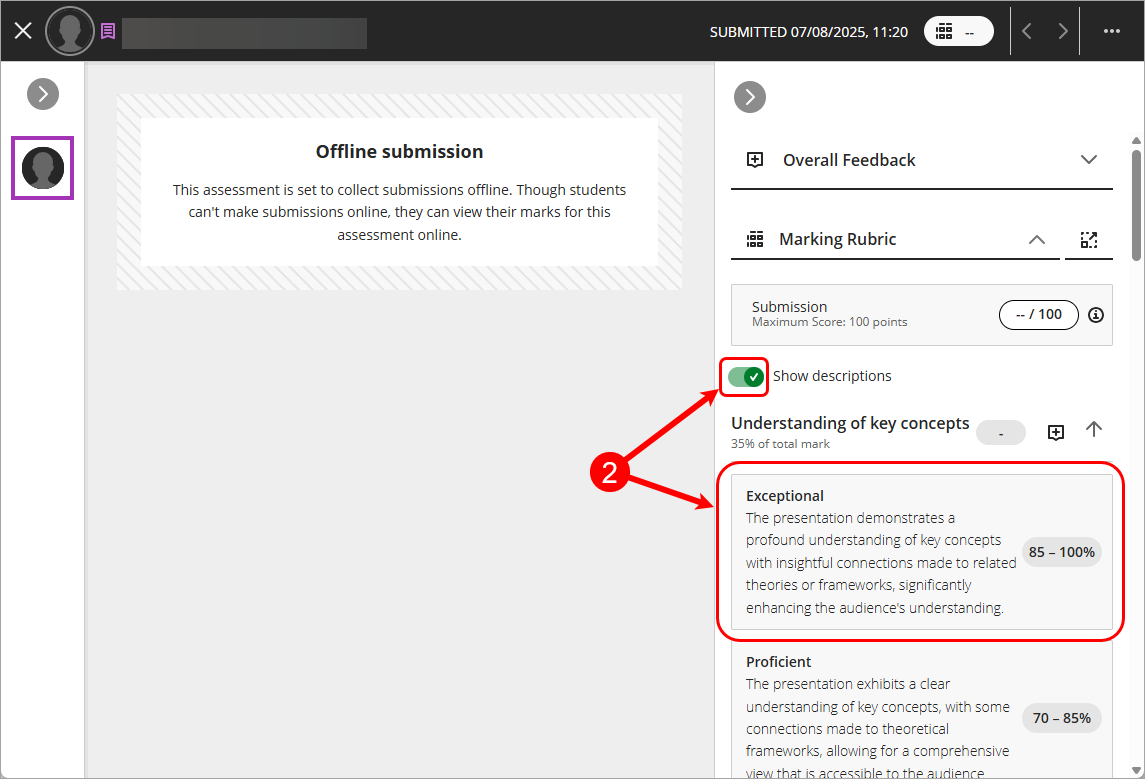
- Select the desired performance level for the first criteria. If your rubric is setup with mark ranges, enter a mark within the range displayed (decimal marks can be used as required).
e.g. Exceptional with a mark range between 85 and 100.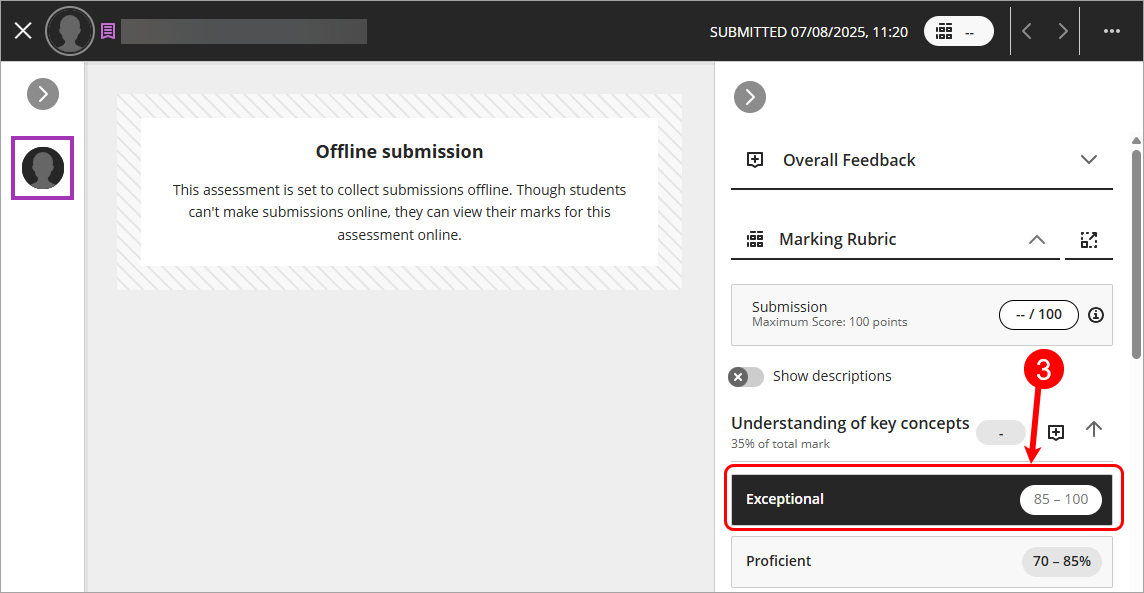
- Click on the Add feedback button to open the criterion feedback textbox.

- Enter your criterion feedback into the Criterion Feedback textbox.
Tip: The criterion feedback will save automatically as you enter it into the textbox.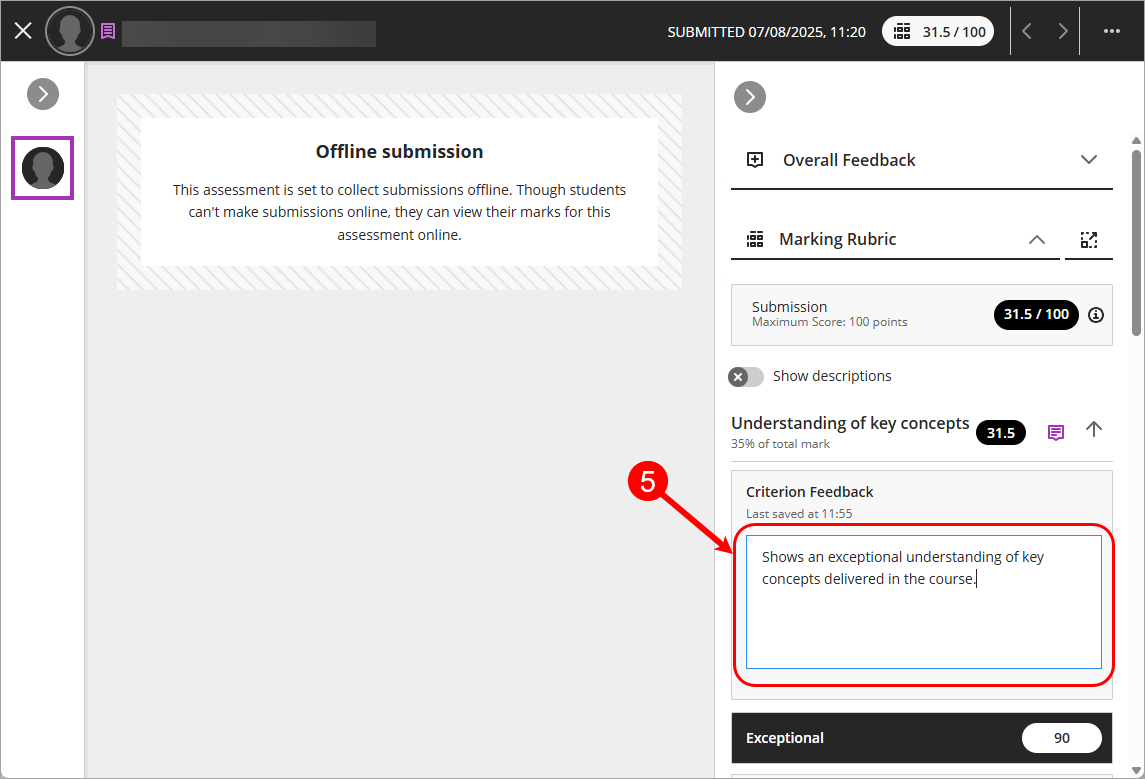
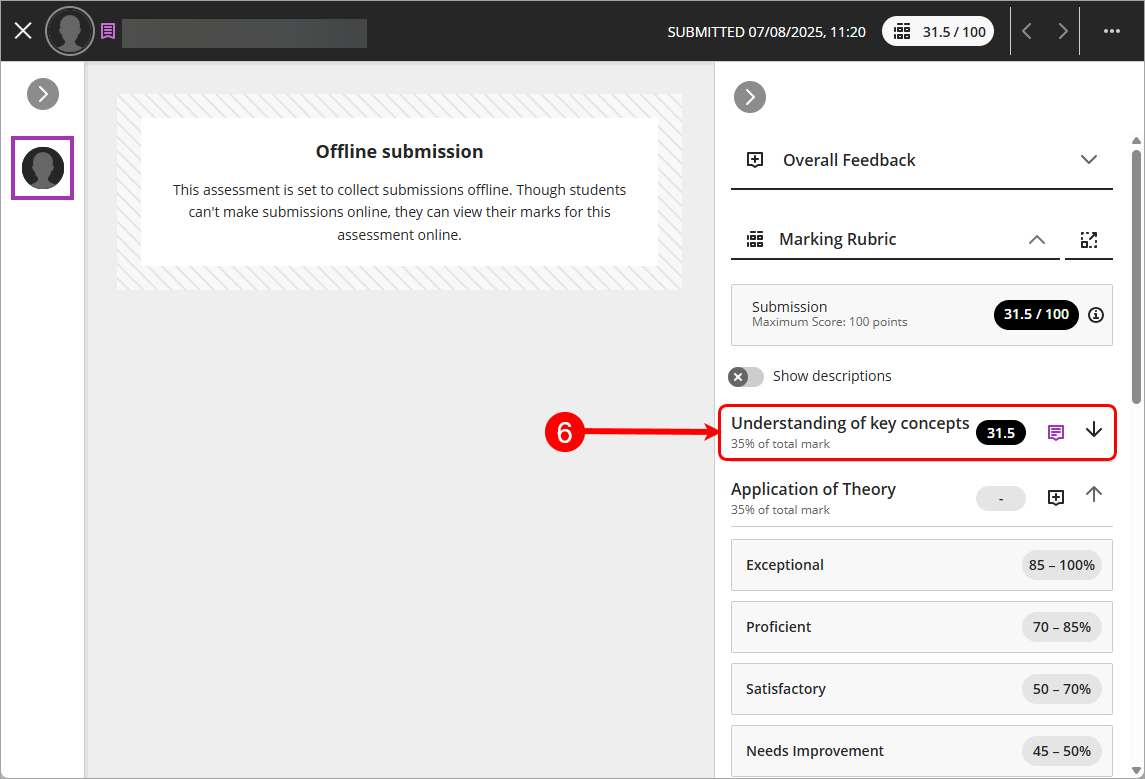
- Click on the criteria name to collapse or expand the performance levels.
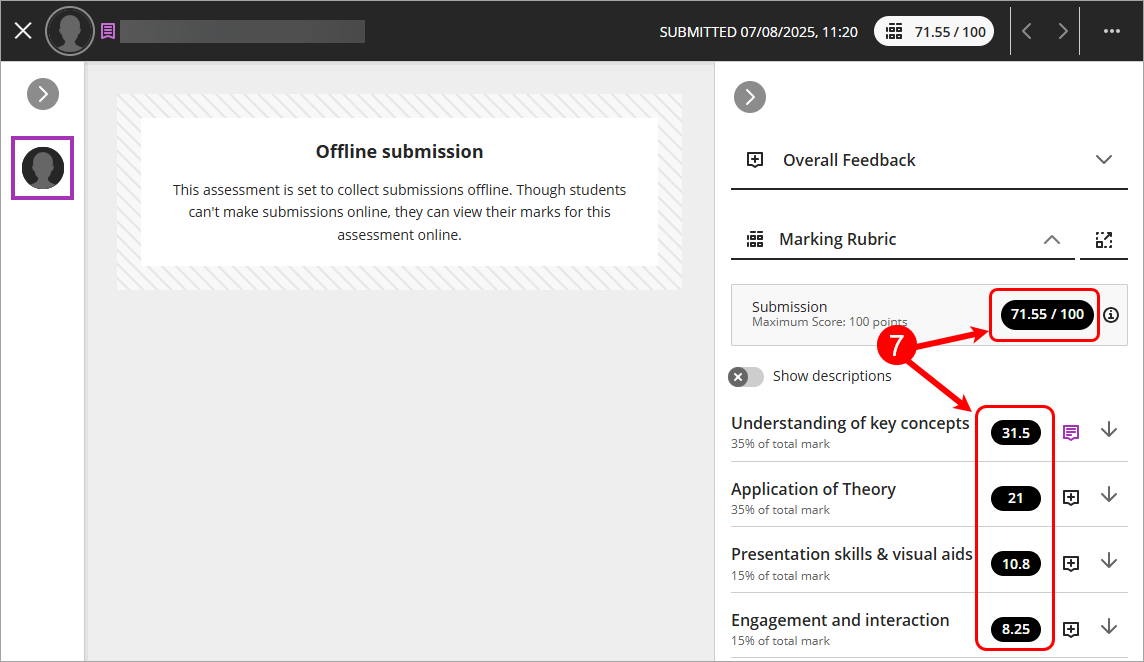
- Continue entering marks until all criteria have been marked and the final mark is tallied.
Mark using pop-out rubric
Note: The pop-out rubric is not currently available for group marking.
- The marking and feedback interface should be open by default. If not click on the Marking Rubric button.
- Click on the pop-out rubric button.

- Check on the Show full descriptions checkbox to toggle the full rubric descriptions on or off.

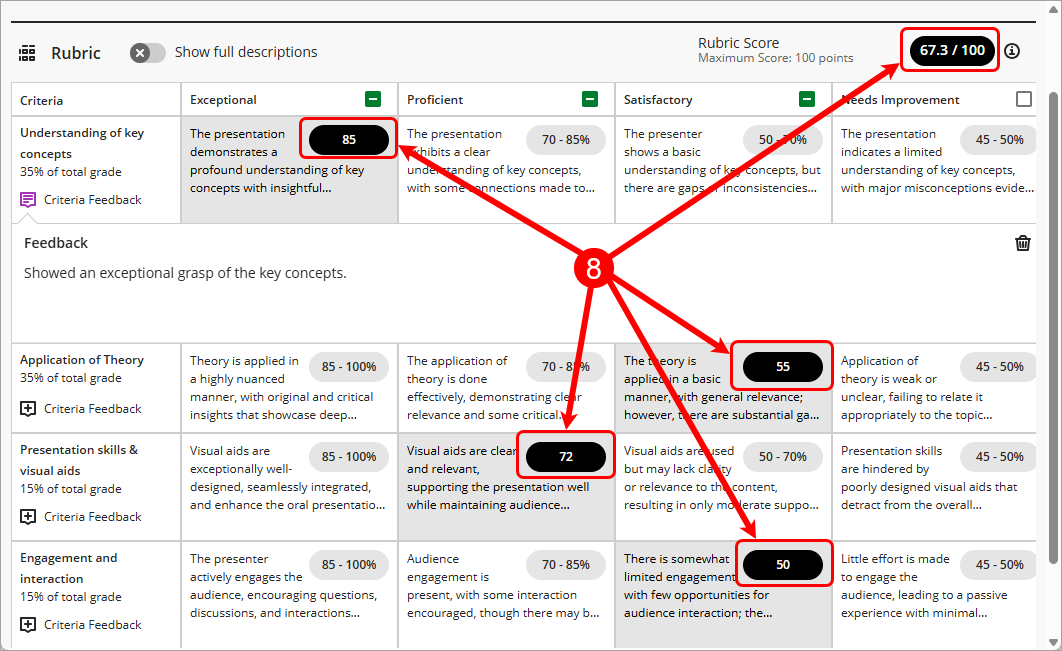
- Select the desired performance level for the first criteria. If your rubric is setup with mark ranges, enter a mark within the range displayed (decimal marks can be used as required).
e.g. Exceptional with a mark range between 85 and 100.
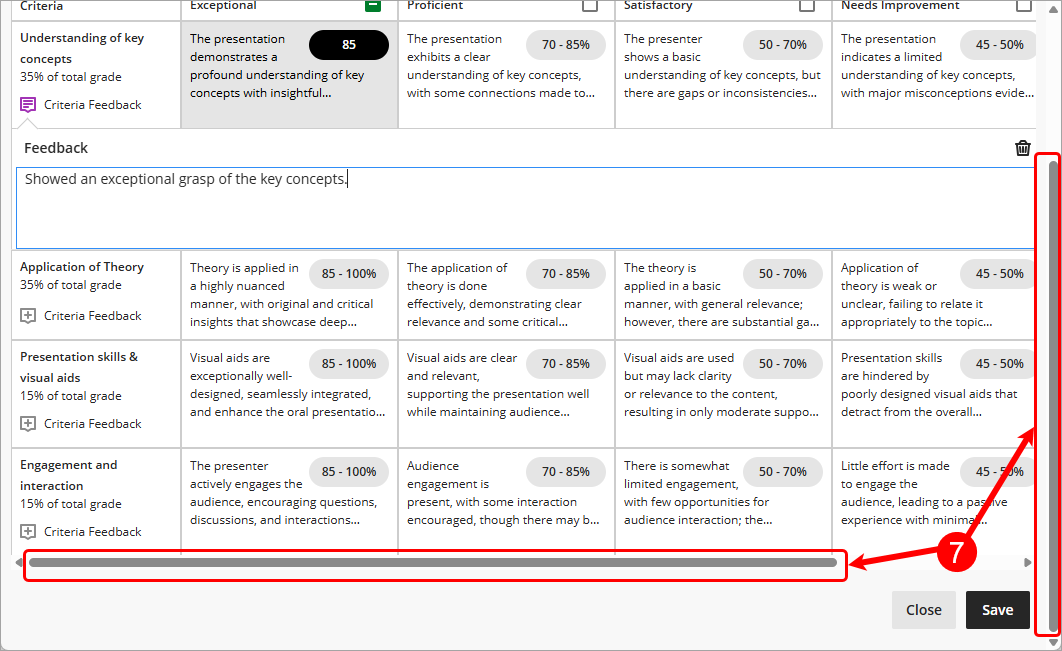
- Click on the Criteria feedback button to open the criterion feedback textbox.

- Enter your criterion feedback into the Criterion Feedback textbox.
Tip: The criterion feedback will save automatically as you enter it into the textbox.
- Use the vertical or horizontal scroll bars to access all criterion and performance levels
- Continue entering marks until all criteria have been marked and the final mark is tallied.
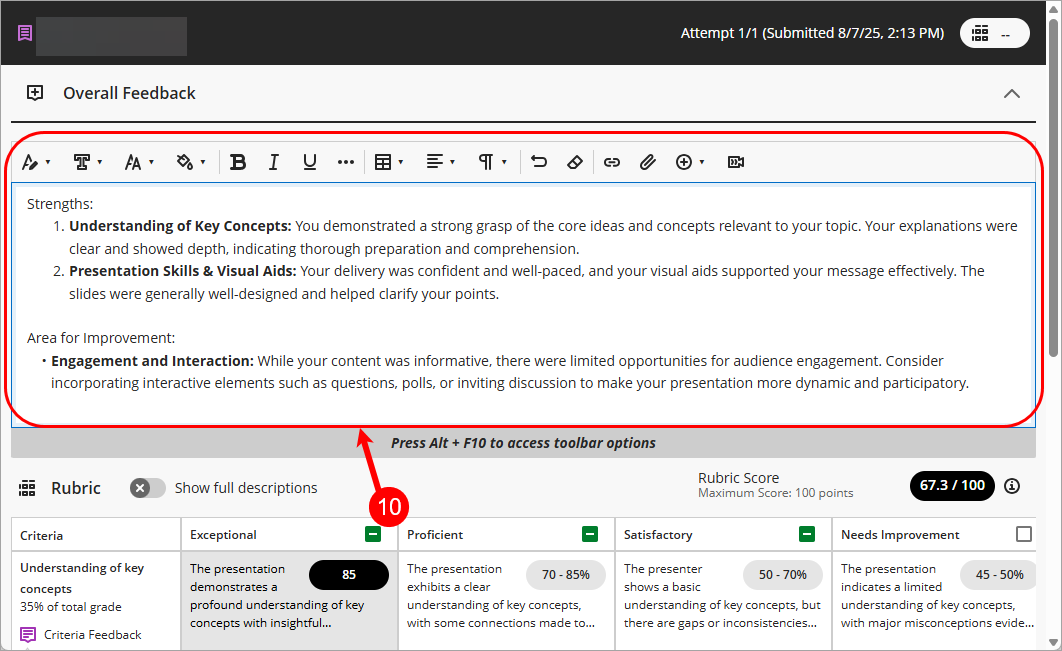
- Click on the Overall feedback button to open the overall feedback textbox.

- Enter your feedback into the Overall Feedback textbox.
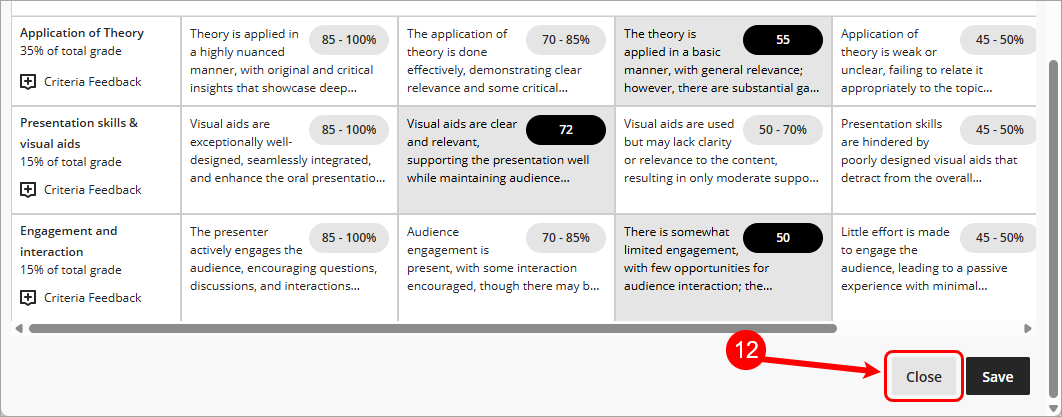
- Click on Save button to save marking.

- Click on the Close button to close the pop-out rubric.
Overall Feedback
Enter Overall feedback
- Click on the Overall feedback button from the flexible grading screen.

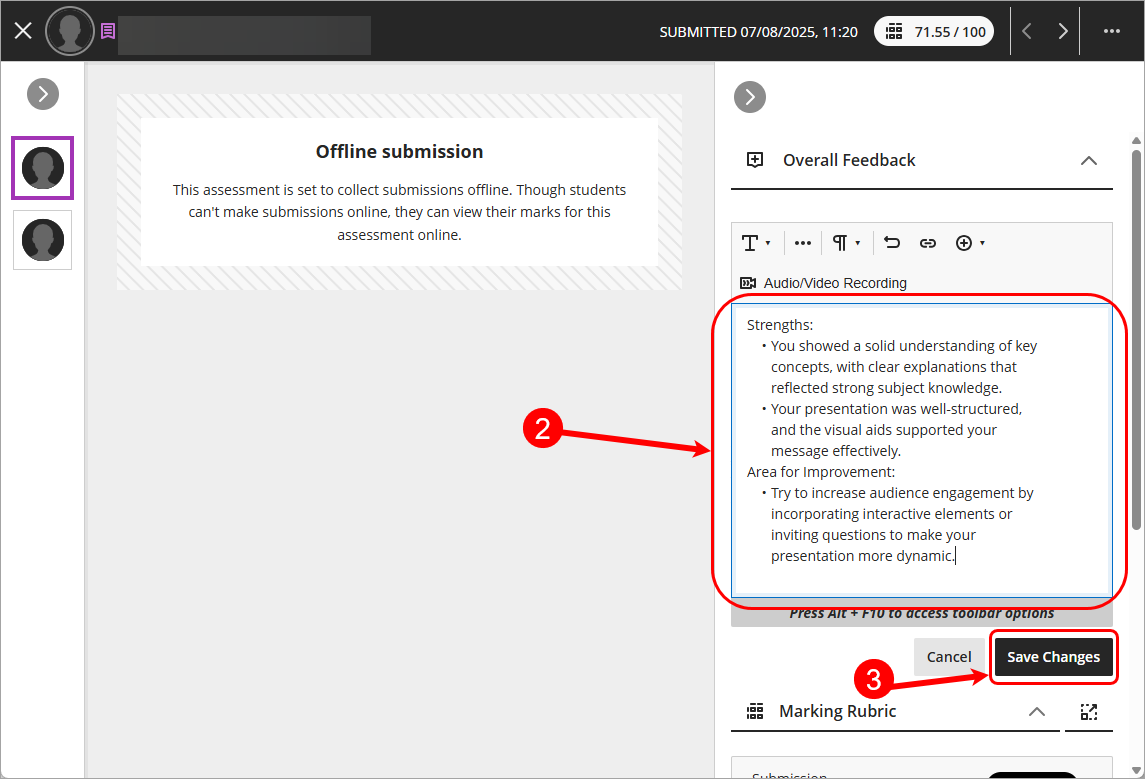
- Enter written feedback into the Overall feedback textbox.
- Click on the Save Changes button.
Edit overall feedback
- Click on the Edit overall feedback button to make changes to the given feedback.

Tip: Remember to click on the Save Changes button if you make any changes to the overall feedback.
Video and audio feedback
Click on the Overall feedback button from the flexible grading screen.

- Click on the Audio/Video Recording button in the Overall feedback textbox.
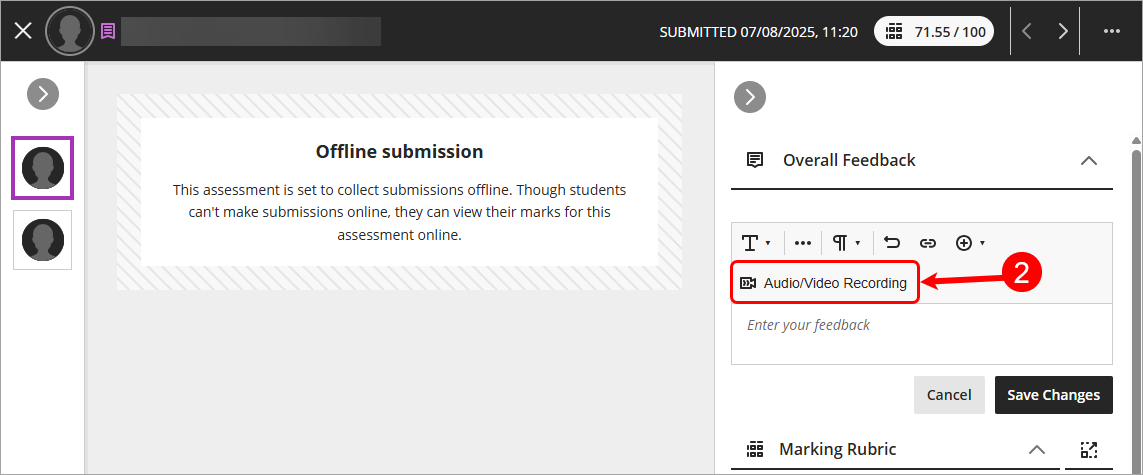
Tip: You must have your microphone and webcam enabled in your browser in order to use the audio/voice recorder.
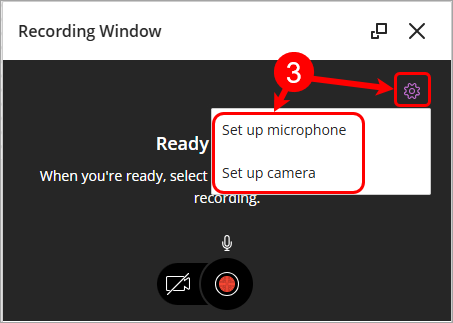
- Click on the Settings button to check your microphone and camera settings.
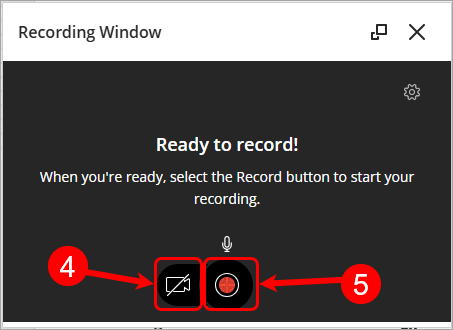
- Click on the Enable video button if you want to use your webcam as part of the recording.
- Click on the Start recording button to begin your recording.
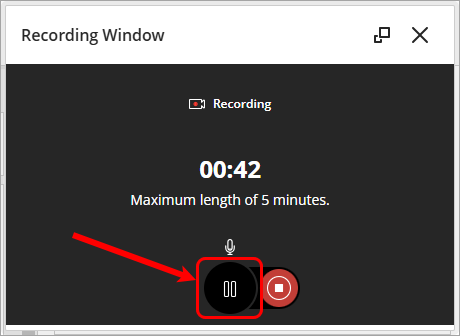
Tip: You will receive a 3 second countdown before the recording starts. - You can click the Pause recording button if you need to pause at any stage.
- Click on the Resume recording button to continue the recording.
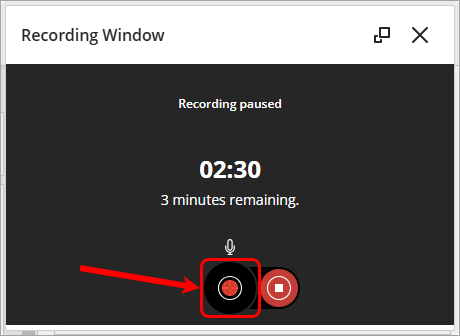
Tip: You will receive a 3 second countdown before the recording starts again. - Click on the Stop recording button to complete your recording.

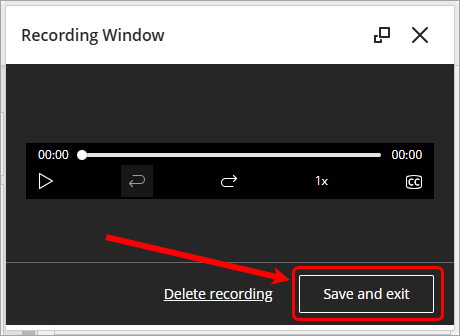
- You can preview the recording or delete the recording.

- Once you are satisfied click on the Save and exit button.
- Your recording will be added to the Overall feedback textbox.
- Click on the Save Changes button to save the overall feedback.

Individual group member feedback
- Click on Open group members button.

- Click on the Feedback button under student's name to enter student specific feedback.
Tip: You can enter either text feedback or video/audio feedback.
- Click on the Save Changes button to save the individual student feedback.

- Repeat for remaining students.
Attach a feedback file
- Click on the Overall feedback button from the flexible grading screen.

- Select Attachment from the Insert content drop-down list.

- Locate the desired feedback file and click on the Open button.
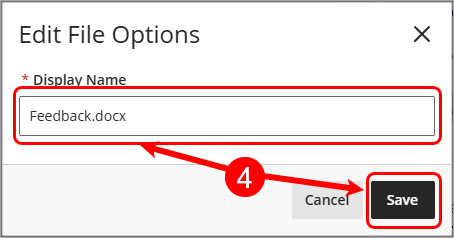
- Confirm display name and click on the Save button.
- Click on the Save changes button to save the Overall Feedback.

- Access and Navigate Assignments (Ultra)
- Allow additional assignment attempts (Ultra)
- Anonymous grading (Ultra)
- Bulk download submitted assignments (Ultra)
- Comments, highlighting, drawing and stamps (Ultra)
- Create and Edit Group Assignments (Ultra)
- Create and Edit Individual Assignments (Ultra)
- Create point-based rubrics in Ultra
- Delete an assignment (Ultra)
- Download original file (Ultra)
- Enter marks and feedback (Ultra)
- Mark a non-submission assignment (Ultra)
- Mark assignments by Tutorial groups (Ultra)
- Submission receipts (Ultra)
- Video Assignments (Ultra)