Create HTML Components (Original)
Video Guide
Create an HTML Component (Text and Images) (YouTube 2m 13s)
Overview
HTML Components enable you to share documents or provide instructions for students.
For more information on how to upload and embed or link files in HTML components, consult the Upload and embed/link a file in HTML Component for more information.
Warning: Prior to adding or editing content in your course, you will need to access Studio view. Refer to the Change from Student View to Staff Editing (Studio) View guide for further instructions.
3. Create HTML Text with Image
Note: This can be done in conjunction with Create HTML Text and/or Link.
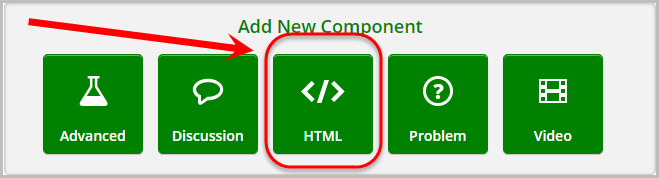
- In your unit, click on the HTML button.
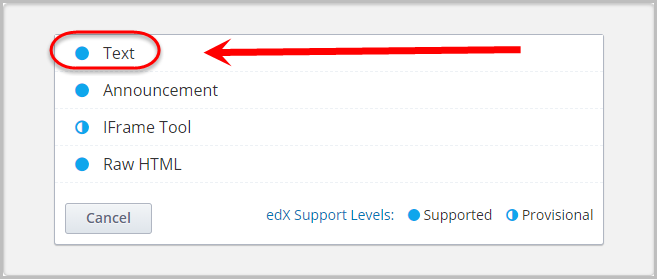
- Click on Text.
- Click on Edit.

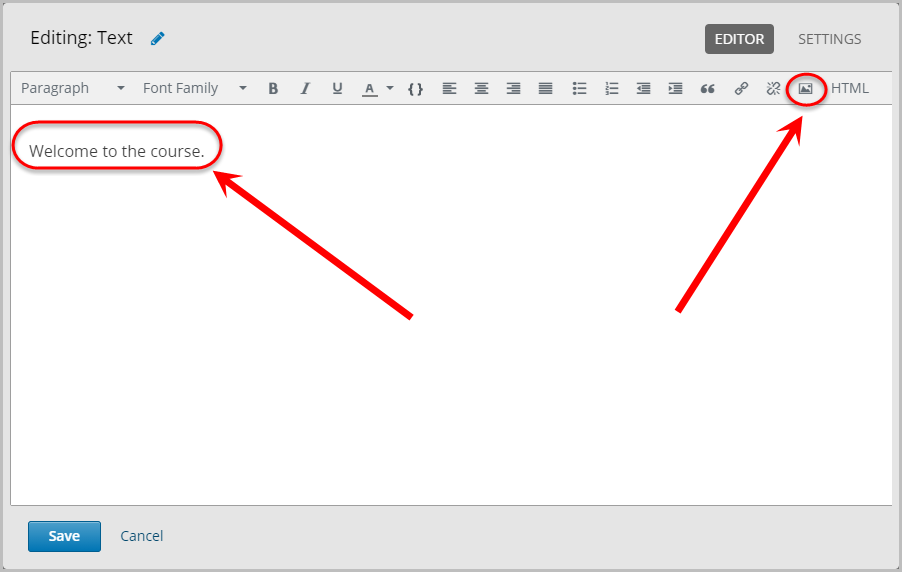
- Optionally, enter your text in the textbox.
- Click on the image icon.
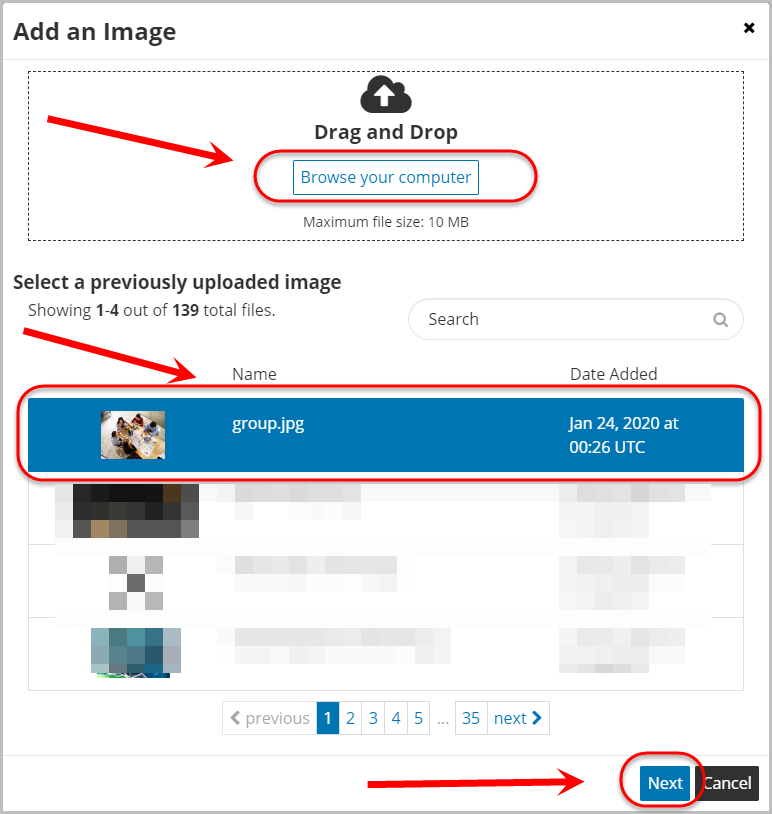
- Locate a previously uploaded image or click on the Browse your computer button to upload an image.
- Click on the Next button.
Note: Larger images require more time to upload.
Note: If an image is over 10MB, it will not upload and no error message will be displayed.
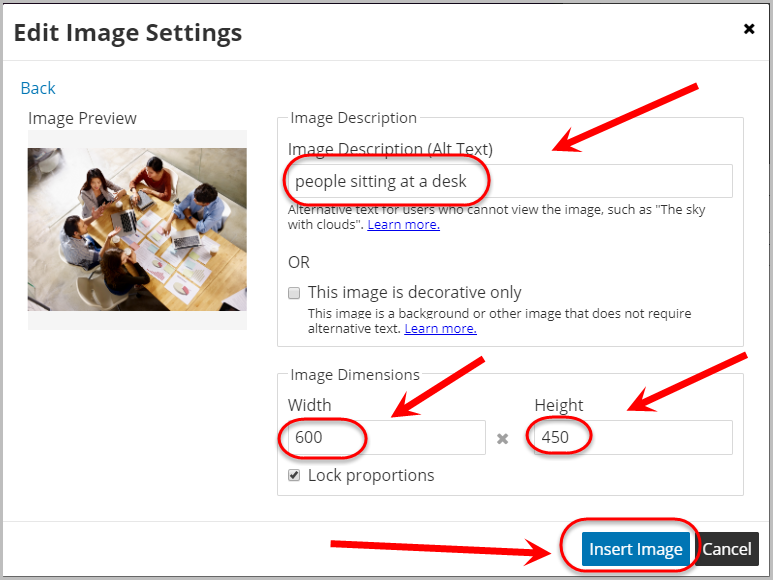
- Provide alt text in the Image Description (Alt Text) textbox.
- Change the dimensions in the Width and Height textboxes.
Note: If the width is changed, the height will automatically adjust.
- Click on the Insert Image button.
- Click on Save button.