Mark a Thread (Original)
Video Guide
Discussion Board - Mark a thread (YouTube, 3m 44s)
Overview
You are able to mark threads that you create with results automatically being transferred to Grade Centre.
To create a thread that can be marked, refer to the Create a forum (marked) and Create a thread guides.
To edit the settings of an existing thread so it can be marked, refer to the Change a thread so it can be marked section of the Create a thread guide.
Hide Grade Centre column
Before you start marking, you will need to hide the Grade Centre column from students so they cannot view their marks until you have finished marking. For more instructions, refer to the Control the Release of Results guide.
Access the Forum
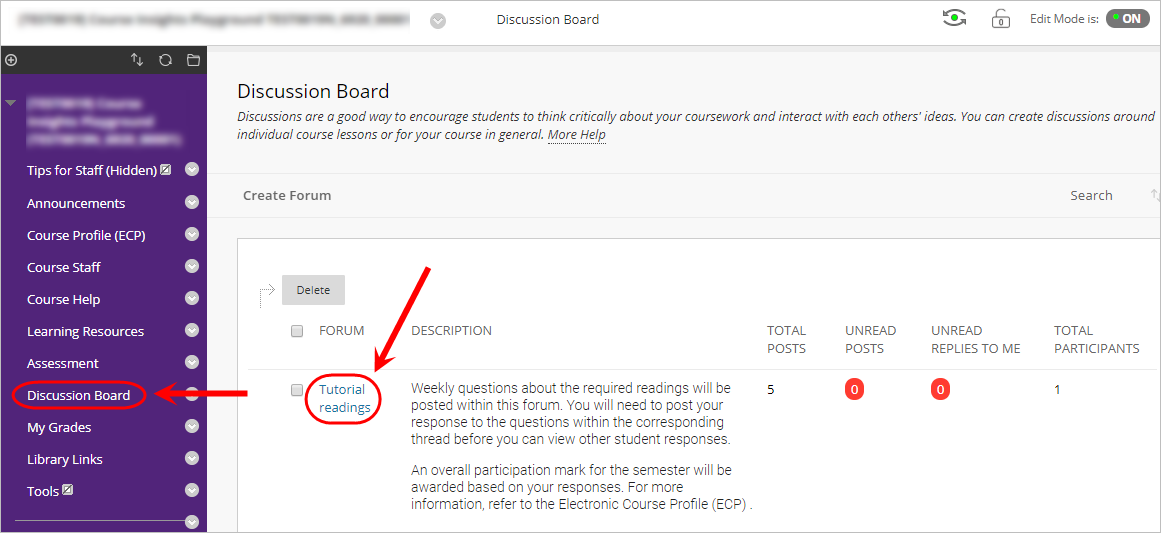
- From the Course Menu, click on Discussion Board.
- Click on required forum link.
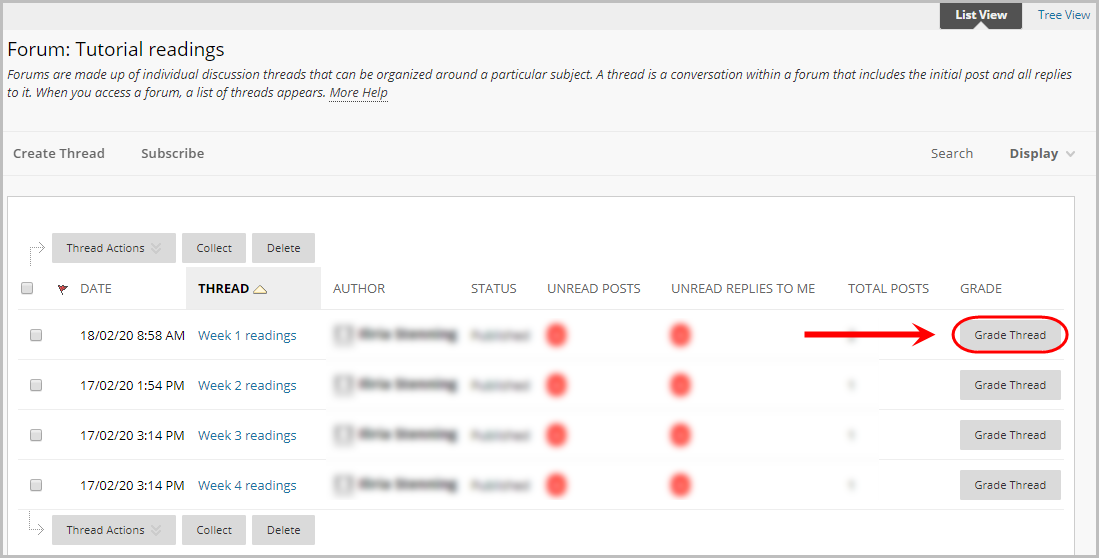
- Click on the required thread link.
- Click on the Grade Thread button for the required thread.
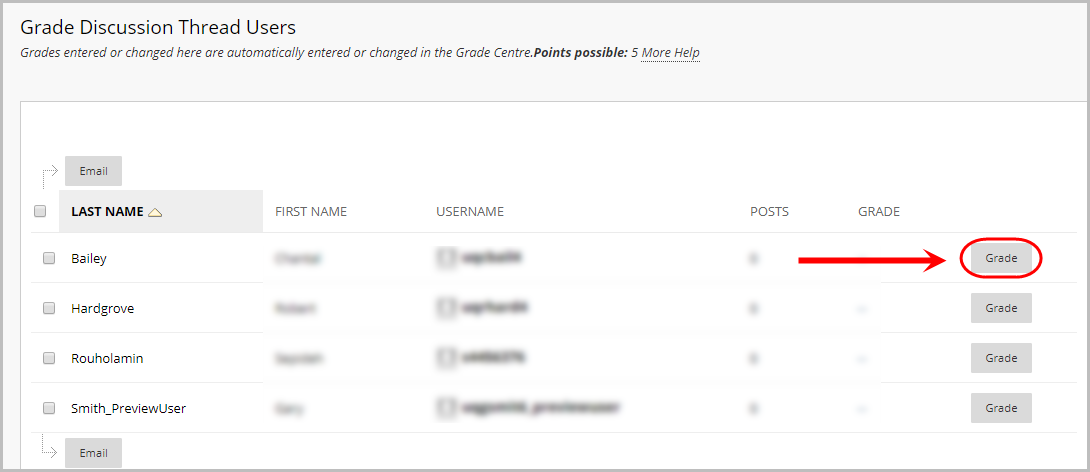
- Click on the Grade button for the required student.
Grade without a rubric
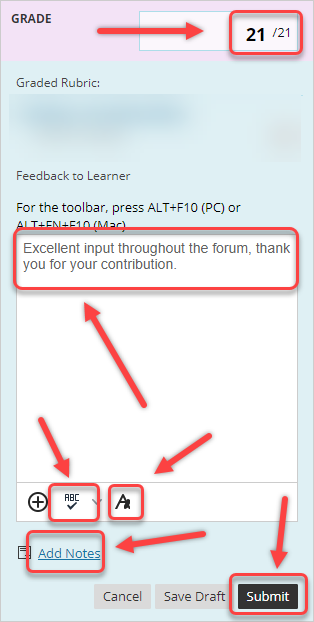
- Enter the mark in the Grade textbox.
- Enter student feedback in the Feedback to Learner textbox.
- Optionally, click on Add Notes to enter information.
Note: This is not viewable by students.
- Optionally, click on the Spellcheck button to check for misspellings.
- Optionally, click on the Text Editor button to open the feedback section in the Text Editor. For more information, refer to the Overview of Text Editor Tools guide.
- Click on the Submit button.
Grade using a rubric
You are able to grade a thread using a rubric if you attach it initially when creating the thread. For step-by-step instructions, refer to the Create a thread guide.
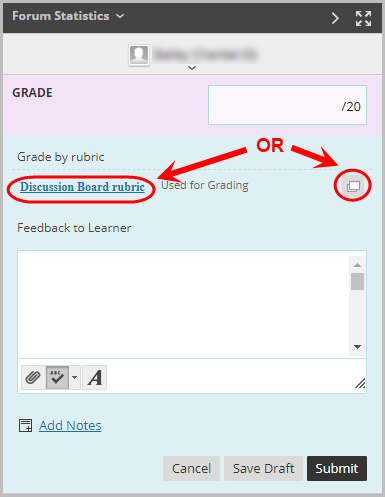
- Click on the rubric link to open the rubric inline OR the rubric icon to open it in a separate window.
Grade using a rubric
You are able to grade a forum using a rubric if you attach the rubric in the forum settings. For more instructions, refer to the Create a forum (marked) and Edit, copy and delete a forum guides.
- Click on the rubric link to open the rubric inline OR the rubric icon to open it in a separate window.
Grade using the inline rubric
- Check the Show Descriptions checkbox to display criterion descriptors.
- Check the Show Feedback checkbox to display a feedback box per criteria.
- Select the required grade for each criteria.
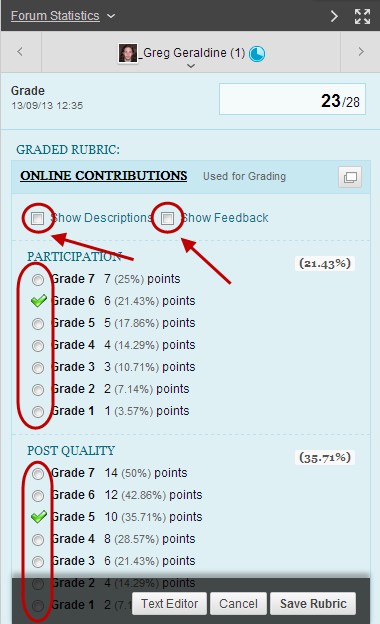
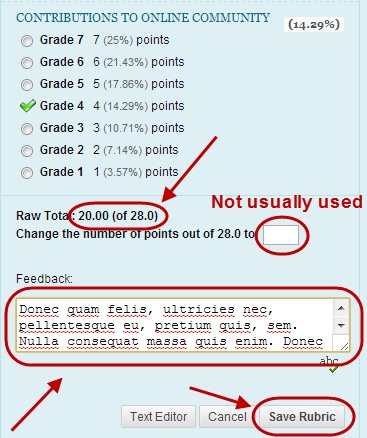
- The marks will be totalled automatically and shown as the Raw Total.
Warning: The Change the number of points out of X to textbox allows you to override the automatic total and enter another mark. If you use this option and then change marks in the criteria section, the mark will not automatically update.
- Enter student feedback in the Feedback textbox.
- Optionally, click on the Text Editor button to enter feedback.
- Click on the Save Rubric button.
- Click on the Submit button.
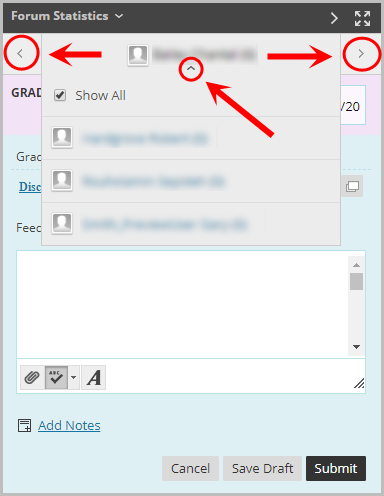
Navigate between students
- Click on the down arrow button to view the list of students OR use the left/right arrow buttons to navigate to the next student.
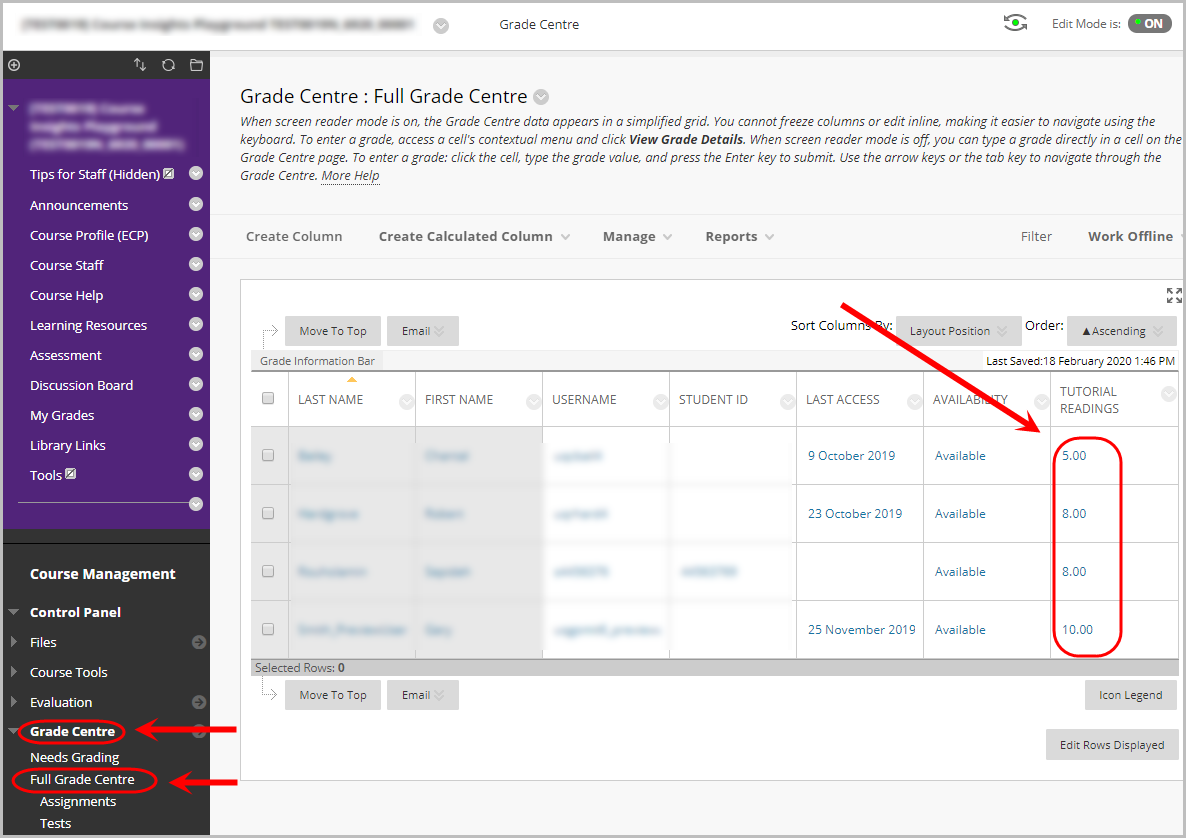
Grade Centre
- The marks will automatically be transferred to the corresponding column in Grade Centre.
Note: For more instruction on how to release the results to students, refer to the Control the Release of Results guide.
- Students will then be able to view their marks and feedback through My Grades.