Files in Teams (Ultra Student)
This guide provides instructions on how to:
- create and upload files
- create quick access to a file (e.g. create a tab or pin a file)
- share the file link in a post, chat/group chat or email.
Note: You can create your own group chat for collaboration in Teams.
Create a file in Teams
Notes:
- Files created in a standard channel are available for all team members.
- Files created in a private channel are available only for the private channel's members.
As a student, you are most likely to create or upload a file in your private channel for collaboration. Otherwise, you can use chat or group chat to collaborate with your group members.
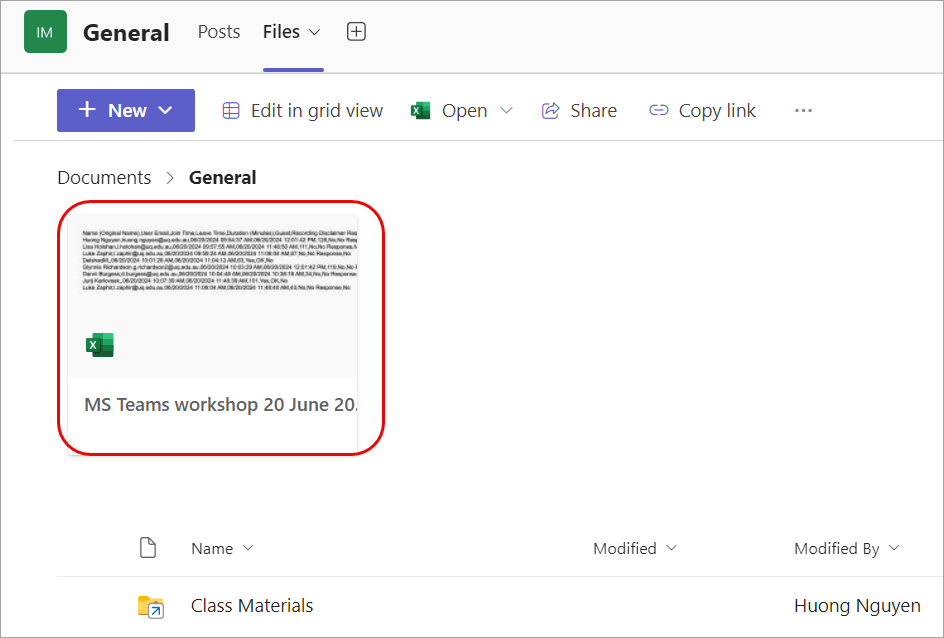
- Navigate to the relevant channel in a team (e.g. Course Discussion).
- Click on the Shared button.
- Click on the + New button.

- Select the file type you want to create from the drop-down list (e.g. an Excel workbook/spreadsheet).

- Enter a name for the file (e.g. Field trip groups).
- Click on the Create button.

- The file will be opened in a new tab on your browser.
- Enter the required information on the file.
- Optionally, you can close the file when you have finished editing it.

- The file is created in the channel's Files tab.

Optionally, you can pin the file or add a file tab for quick access (see instructions below under the Create quick access to a file in Teams heading). Note: Your Course Coordinator needs to allow the 'add tab' permission for you to create a tab of the document if you are working in a private channel. Ask your Course Coordinator to refer to the Channel settings in Teams guide for more information (this guide is only available for teaching staff).
Upload a file in Teams
As a student, you are most likely to create or upload a file in your private channel for collaboration. Otherwise, you can use chat or group chat to collaborate with your group members.
Notes:
- Files uploaded to a standard channel are available for all team members.
- Files uploaded to a private channel are available only for the private channel's members.
- Uploading a file (from your personal drive) to a channel means creating a copy of the file for the channel's member to co-edit. All team members should be able to access the file in the channel to collaborate.
- Navigate to the relevant channel in a team. Click on the Shared button.
- Click on the Upload button.
- Select an option from the drop-down list (e.g. Files).

- Select a file from your device.
- Optionally, you can pin the file or add a file tab for quick access (see instructions below under the Create quick access to a file in Teams heading). Note: Your Course Coordinator needs to allow the 'add tab' permission for you to create a tab of the document if you are working in a private channel. Ask your Course Coordinator to refer to the Channel settings in Teams guide for more information (this guide is only available for teaching staff).
Create quick access to a file in Teams
Make a file tab
A tab provides quick access to a file (or a link) that team members frequently use. Note: Your Course Coordinator needs to allow the 'add tab' permission for you to create a tab of the document if you are working in a private channel.
- Click on the three-dots (more options) next to the file name.

- Select the option Make this a tab.

- The file is added to the tab for quick access.

Pin a file
A pinned file will be in the top position in the files list to provide users with quick access.
- Click on the three-dots (more options) next to the file name.
- Select the option Pin to top.

- The file will be pinned at the top position for quick access.
Post/share file links in Teams
Notes:
- Posting/sharing the link of the uploaded/created file in a channel provides all channel members with access to collaborate.
- Posting/sharing the link of a file from your personal drive will not provide others with access to collaborate unless you edit the link setting to provide access to users in your organisation or share the file link via email to the receiver.
Post/share file links in Teams
- Click on the three-dots (more options) next to the file name
- Select the option Copy link

- Click on the Copy button.

- Click on the Posts tab.
- Click on the Start a post button.

- Enter a title in the post title textbox.
- Enter brief instructions and paste the link.
- Click on the Post button.

- The post will be displayed with the file link.

Note: This file link can also be shared in chat or a group chat. If the chat members have access to the channel where the file is attached, they will have access to it.
- Access your course Team site (Ultra Student)
- Notifications in Teams (Ultra Student)
- Course Team site channels (Ultra Student)
- Channel visibility in your course Team site (Ultra Student)
- Standard channels in your course Team site (Ultra Student)
- Private channels in your course Team site (Ultra Student)
- Microsoft Lists to assign group work tasks (Ultra Student)
- Group chat for collaboration in Teams (Ultra Student)
- Files in Teams (Ultra Student)
- Create and share files (Ultra Student)
- Co-editing documents in Teams (Ultra Student)
- Your course Team at the end of the academic year (Ultra Student)