Convert your course to Blackboard Ultra
What is Blackboard Ultra?
Blackboard Ultra is the new version of our learning management system. UQ is transitioning from the previous version of Blackboard Original from Semester 2, 2025 to Semester 1, 2027.
View the Ultra Courses Activation Project page for more information.
How long will it take me to convert my course to Blackboard Ultra?
Note: This guide assumes you have already requested your course on Learn.UQ. See the Order SI-net Courses and UQ Extend Courses (Ultra) guide.
The course conversion tidy-up could take between 10 to 20 hours, depending on its complexity. Note that when you access your course, you will need to copy in content from the Original course yourself. Factors are:
- how many videos you have that are not stored in Echo360
- how much content you have nested deeply in folders
- whether your main learning resources are in UQ Extend.
Is it possible for professional staff to convert my course?
Yes. But in this case, you will need to submit a course request again, asking for a copy of a previous course so they have the content to work with. Use the Learn.UQ Site Request form (or contact your school admin if they usually order your course for you).
Note: There will be a delay between ordering the course and having professional staff complete the Ultra conversion work.
Where can I get help?
- Refer to the Blackboard Learn Help for Instructors - Ultra Course View by Anthology.
- See advice from your faculty or school Learning Designer. Go to the Learning Designers list.
What do I need to convert my own course?
To build your course from scratch in Ultra you will need:
- Blackboard Ultra Example Course The purpose of this course is for staff to experience Blackboard's new look and functionality for course sites from a student perspective. You can self-enrol in the Ultra Example course.
- Ultra Resources - icons and banners
- your course profile
- Instructor access to both the Original and the Ultra courses
- learning materials on your device.
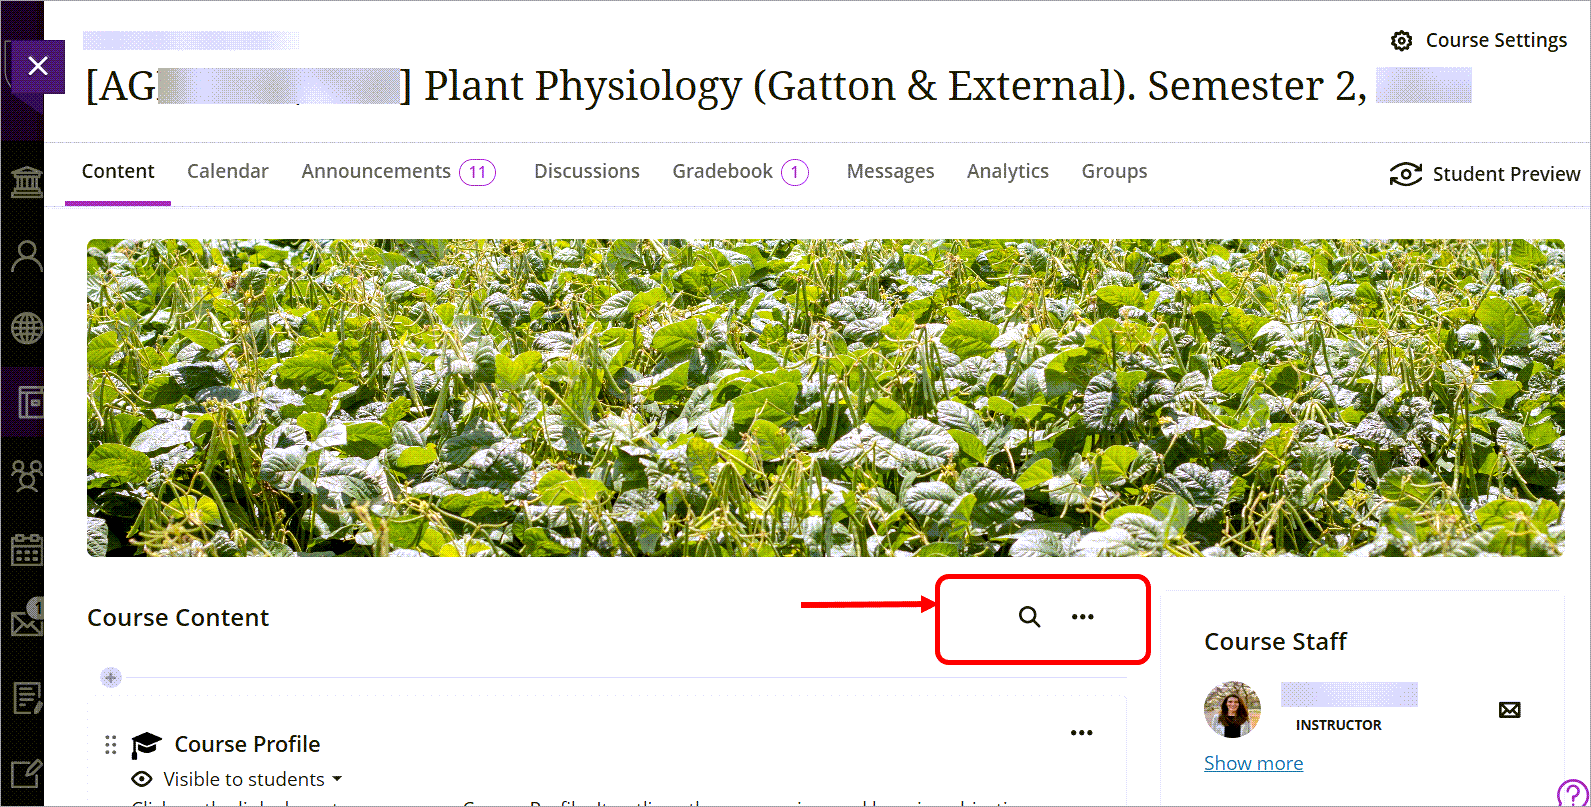
10. Create and move content
In this section, learn some tips for converting or tidying up your content from Original in your new Ultra course.
Naming convention in Ultra
The Ultra title search function is most beneficial if you use a consistent naming convention for all content items. For student consistency across courses, it is suggested that the following convention be adopted in your course.
Week X: title with topic words
Also note that when students navigate from item to item, the folder titles will not be visible, so intentionally naming each item within a folder will benefit the student learning experience greatly.
Learning modules and folders
Examples of titles
- Week 5: Form and functionality
- Week 5: Lecture slides
Tip: Temporarily while you are working, drag the relevant learning module down close to the copied content so it is easier to move items into their desired position.
- Rename the title so that the naming convention is consistent and students know where they are in the navigation.
- Conflate items that do not have much content in them. For example, you may find that in Original there were two 'document pages' with only two sentences on each. Yet both pages are related to each other. Cut and paste the sentences from one onto the other and re-title it to account for the new conflated content. Delete the no-longer required item.
- Similarly, condense separately uploaded files onto one document page if the subject matter is related. You can do this by adding a Content Collection block and then searching for the desired file. Delete the no-longer required item.
- Repeat this process for as many learning modules as you need.
- Check the sequence.
Tip: If you dragged content to make it easier to work, don't forget to move the learning module back when you are done and to delete any items that are no longer required.
Tip: Do not exceed 10 items in a learning module. This is to limit scrolling and make it easier to locate resources.
Files uploaded to documents
After selecting the file from your device, in the Edit File Options, type suitable topic keywords in the Display name field.
Note: Choose View and download from the File Options for files and other learning materials. Choose View only for accompanying (and decorative) images.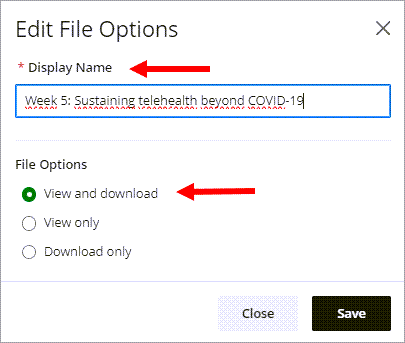
Create content
To convert your course content, you will need some content creation skills. Refer to the following guides by Anthology:
To create learning modules and folders:
- refer to Create a folder or Create learning module guides.
To understand more about learning modules:
- refer to Create Learning Modules by Anthology.
To create a document:
- refer to the Create a Document guide.
- go to the next section Create and work on a document to learn more about working with copied content.
To create a link:
- refer to the Create a weblink or course link.
To create a link to a learning tool centrally supported at UQ:
- On a document > Click on the Add Content (+) sign > Choose Content Block.
- In the Rich content editor bar in that block click on the (+) Insert content symbol. Choose Content Market.
- From the tile options that pappear on screen, click on the tool you require, e.g. H5P, Padlet. If the tile has a Add placement (+) sign in the bottom right, click on it.
Warning: You must precisely click on the Add placement (+) sign in order to correctly add the tool. - You will automatically be taken to the tool where you can build a learning object or choose from your existing content in that tool.
To upload a file to your course:
- refer to Best Practice: Adding files by Anthology.
To upload files, add images, audio and videos to a specific position on a document:
- refer to Add course content to a document guide.
To edit items from the Course Content top level and move items up and down:
- refer to Course Content guides.