Publish Content (Original)
Video Guide
Publish Content (YouTube 2m 30s)
Overview of Publishing
Once content has been created, it will not be visible to students until it is published. For Sections, this is indicated by the Publish icon. For Subsections, this is indicated by the orange line and the Publish icon. And for Units, this is indicated by the Unpublished units will not be released text and the Publish icon.
Note: Once content has been edited, it must be published so students can view it.
Warning: Prior to adding or editing content in your course you will need to access Studio view. Refer to the Change from Student View to Staff Editing (Studio) View guide for further instructions.
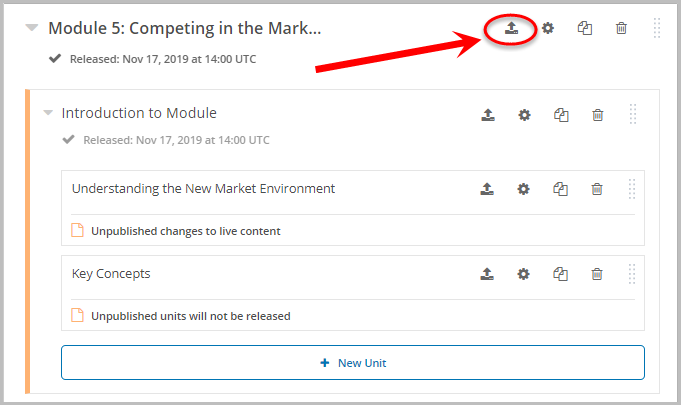
Publish Sections
- In your course in Studio, locate the Section you created.
- Click on the Publish icon.
Note: Publishing the Section will publish all Subsections and Units associated with it.
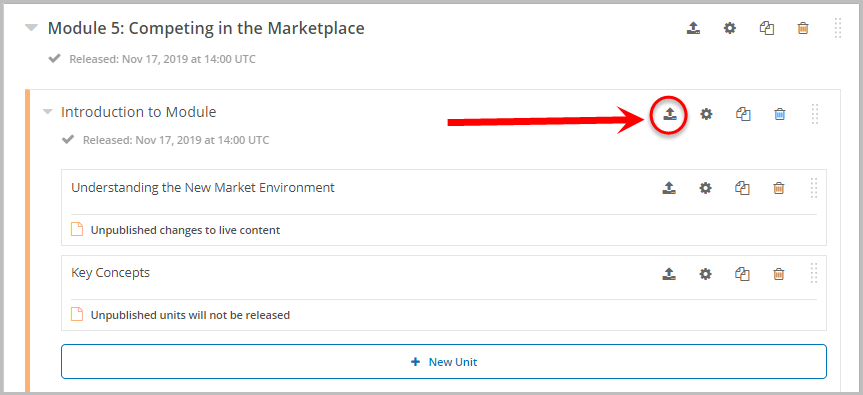
Publish Subsections
- In your course in Studio, locate the Subsection you created.
- Click on the Publish icon.
Note: Publishing the Subsection will publish all Units associated with it and will not publish other Subsections.
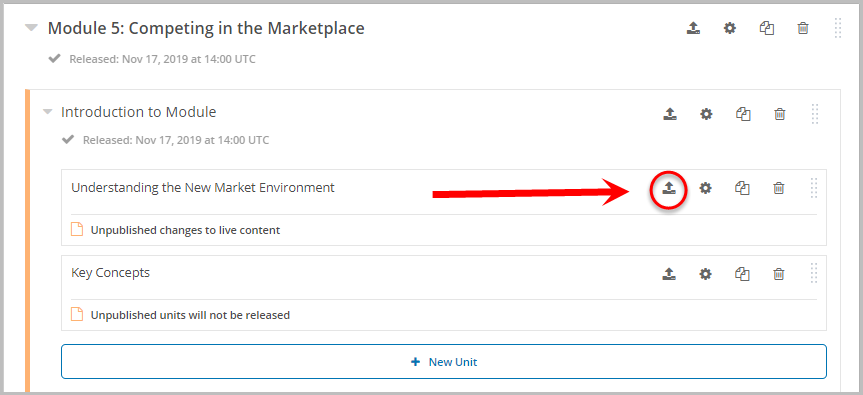
Publish Units
- In your course in Studio, locate the Unit you created.
- Click on the Publish icon.
Note: Publishing a Unit in an unpublished Subsection means it will be visible until either Section or Subsection is published. Until that action takes place, it will not be visible to students.
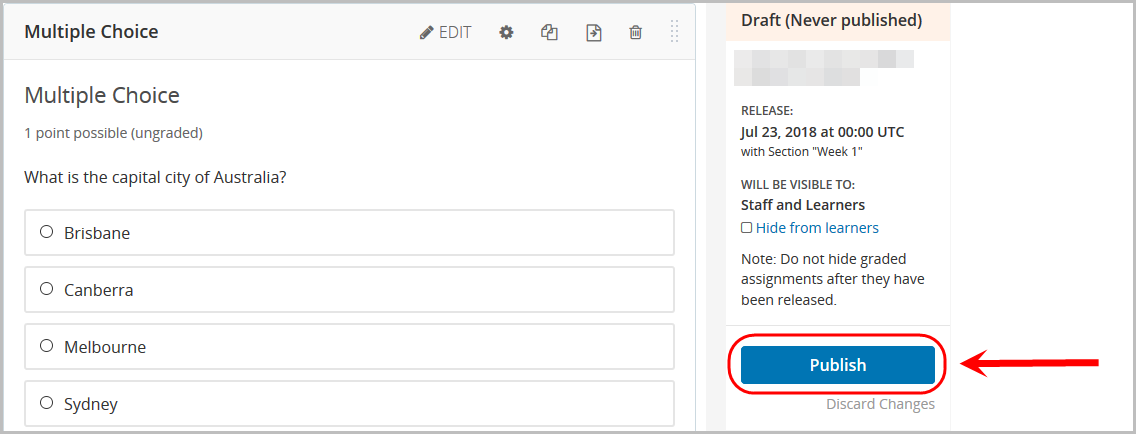
Publish Content within Unit
- In your Unit, create your component/s as per the edX (Edge) guide.
- Once components have been created, click on the Publish button.
Note: Publishing a Unit in an unpublished Subsection means it will be visible until either Section or Subsection is published. Until that action takes place, it will not be visible to students.