Private channels in course team (Original)
A channel in Microsoft Teams is used to focus conversations on a specific topic, project, or department.
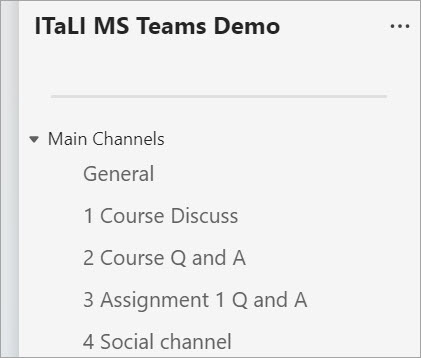
A course team at UQ has five pre-created channels. Teaching staff can edit these channels to suit their course design.
There are two channel types:
- Standard channels are accessible to all team owners and members. Examples are the five pre-created channels in a course team at UQ. Other use cases are standard channels for Practicals / Seminars / Tutorials or Workshops.
- Private channels are for focused, private conversations with a specific audience. Private channels are accessible only to the team owner and members added to the channels. Use cases for private channels are Project Groups, Tutorial Groups, Course Resources - Staff-only channels, etc. Note: If you want group members in a private channel to be able to create tabs to enhance collaboration, you need to edit the private channel permissions.
Warning: You can create up to 30 private channels over the life of a team. If you delete a private channel it will still be included as 1 of the 30 channels.
If you have a big course and need more than 30 private channels, you can request additional course teams with all students enrolled.
Private channels for group work:
- Students can hold meetings, have conversations, and work on files together in their private channels.
- Teaching staff can access private channels to mark students' collaboration on their group work (e.g. see the number of meetings, posts, collaborations on shared files, etc.)
- If you want group members in the private channel to be able to create tabs, you need to edit the private channel permissions.
To create a private channel
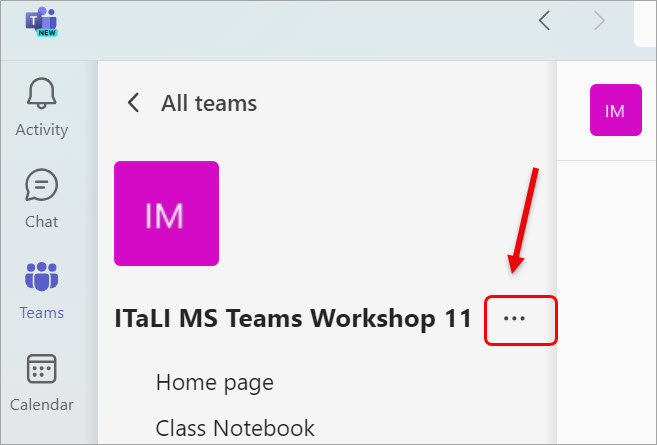
- Click on the More options (...) button next to the team name.
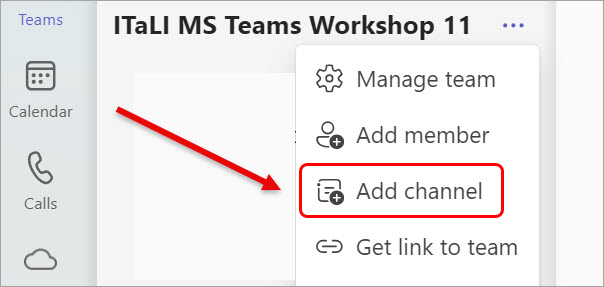
- Select the option Add channel from the drop-down list.
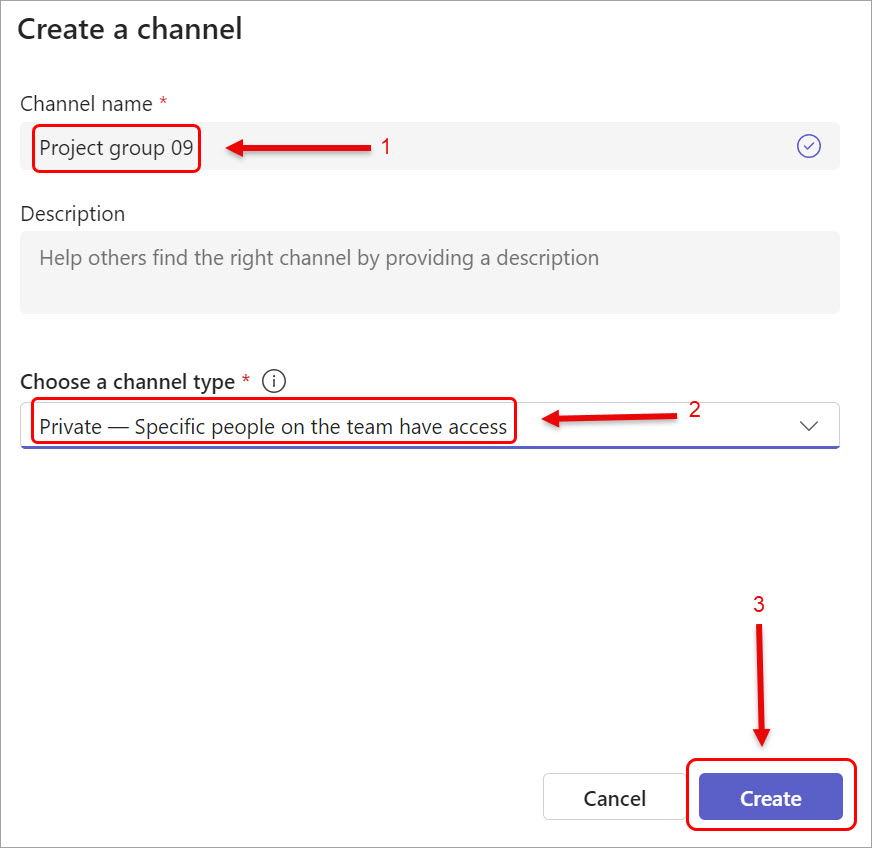
- Enter a name in the Channel name textbox.
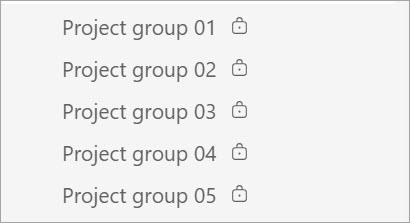
Notes: The naming convention for group work channels is Name of the channel + number starting from 01, for example, Project group 01.
- Optionally, enter a description for the channel.
- Select the Private option.
- Click on the Create button.
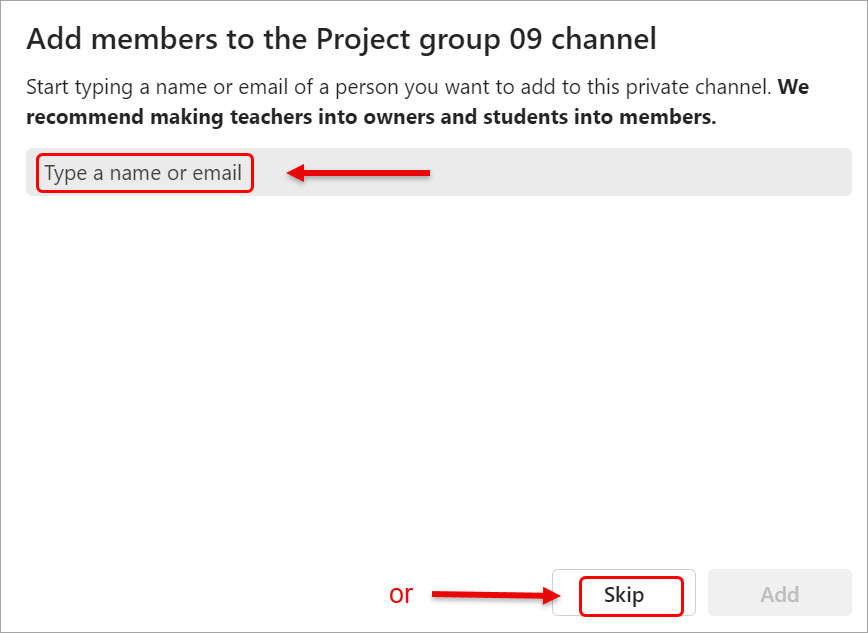
- You can add students to the project groups if you have their name ready. Otherwise, you can click on the Skip button. The group will be created without a member.
Notes:
- People must already be members or guests of a team to be added to a private channel.
- As the owner of your team, you have access to the private channels you created and you do not have to add yourself.
- If you want group members in the private channel to be able to create tabs, you need to edit the private channel permissions.