Upload and embed/link a file in UQ Extend (Original)
You are able to upload files (such as Word documents and PDFs) to your UQ Extend course site and embed or link to them within a unit for students to view and download.
Warning: Prior to adding or editing content in your course, you will need to access Studio view. Refer to the Change from Student View to Staff Editing (Studio) View guide for further instructions.
1. Upload a file
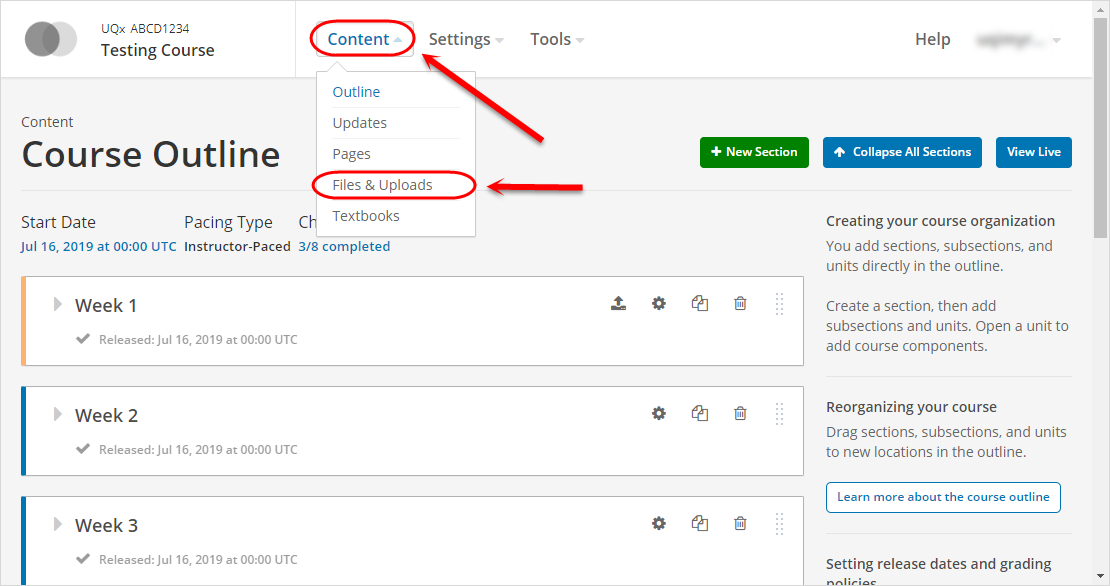
- From the Content menu, select Files & Uploads from the drop-down list.
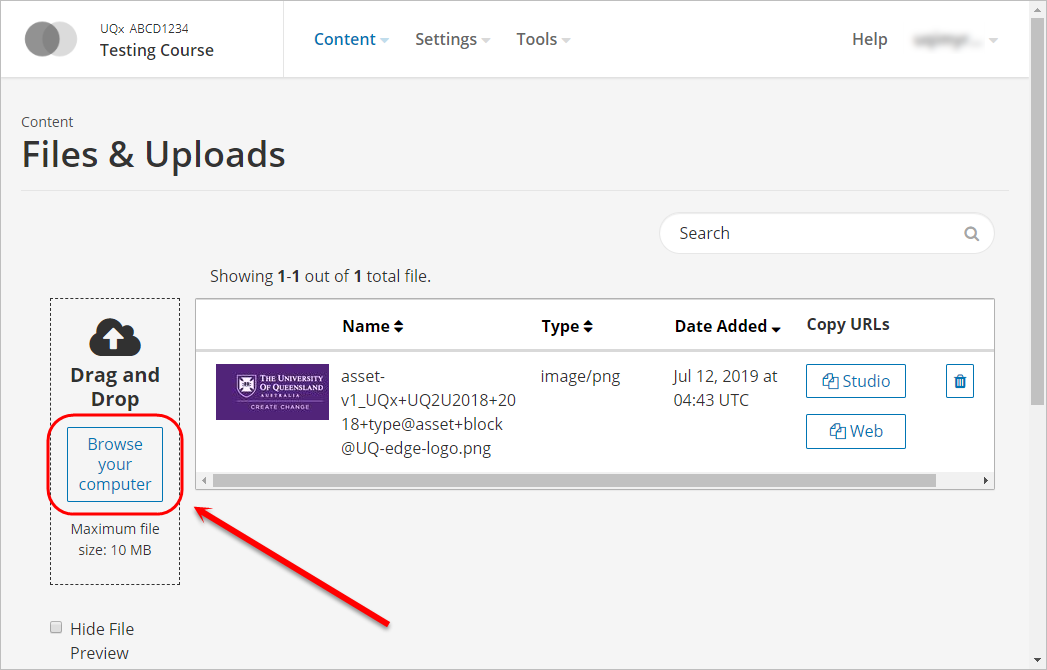
- Click on the Browse your computer button.
Tip: You can also drag and drop the file directly into the Drag and Drop section of the window.
- Browse for and select the required file from your computer.
- Click on the Open button.
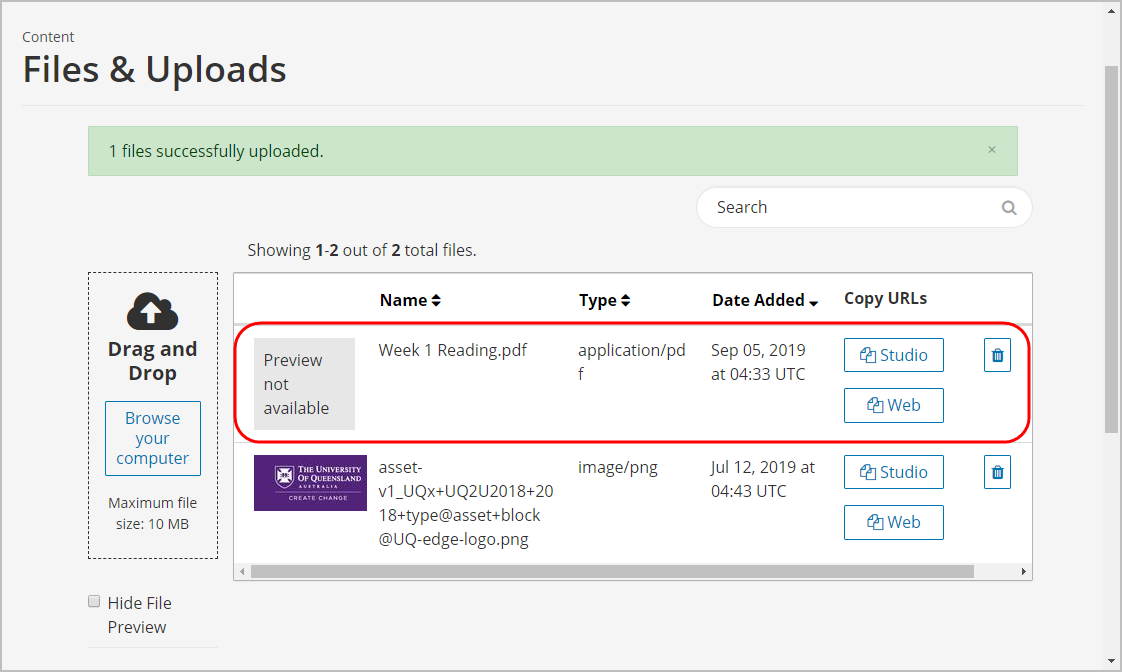
- The file will appear in the table once it has been successfully uploaded.
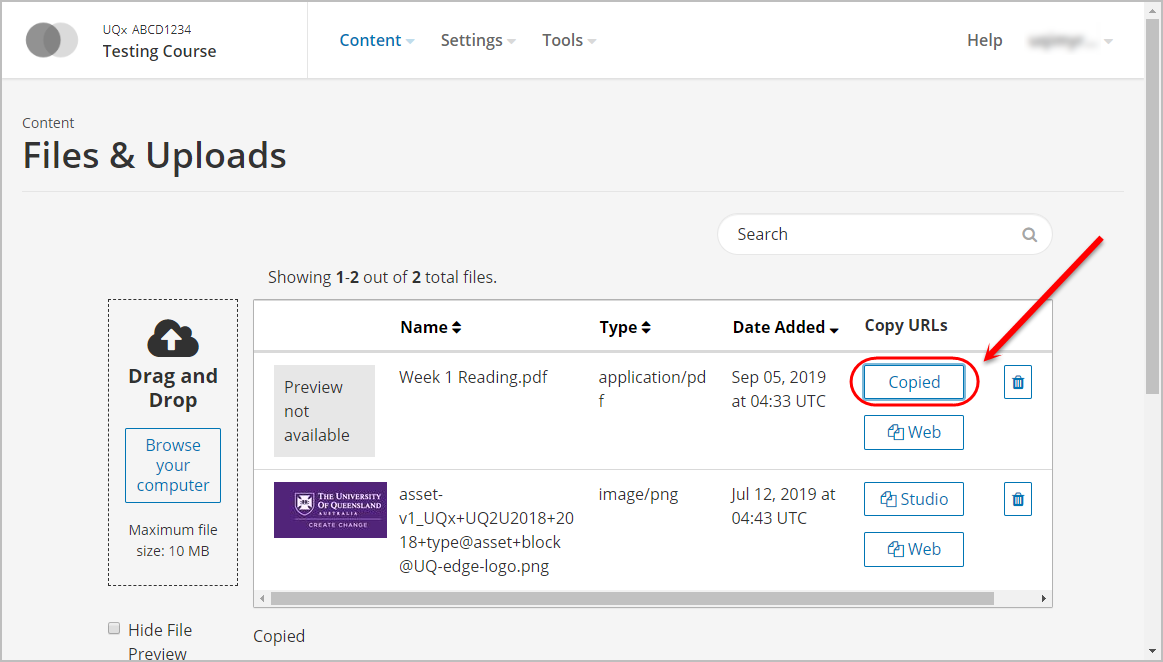
- For the required file, click on the Studio button.
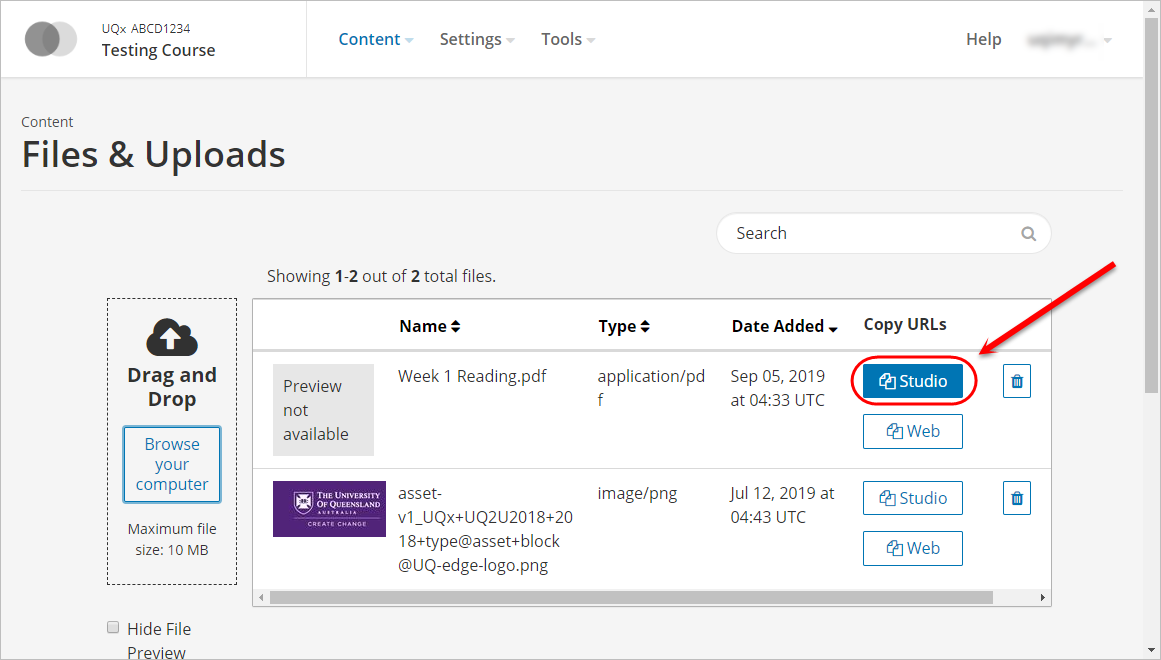
- The button will change to Copied to indicate the Studio URL has been successfully copied.
Note: Steps 6 and 7 need to be completed if they are to be linked or embedded in the HTML Component.