Create a Poll (Original)
Warning: Prior to adding or editing content in your course, you will need to access Studio view. Refer to the Change from Student View to Staff Editing (Studio) View guide for further instructions.
Create a Poll
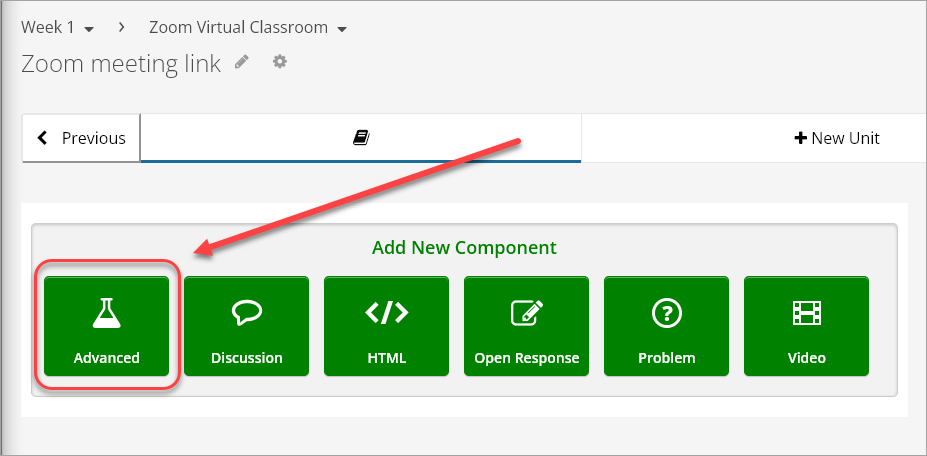
- In your unit, click on the Advanced button.
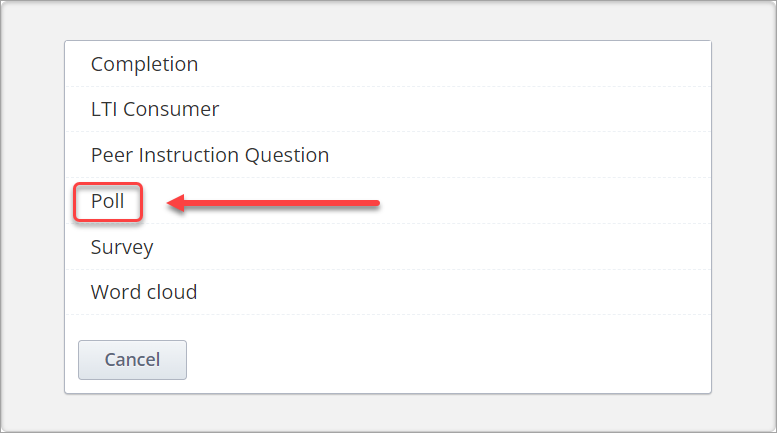
- Click on Poll.
Note: If Poll does not appear in the list, refer to the Enable Advanced Modules guide.
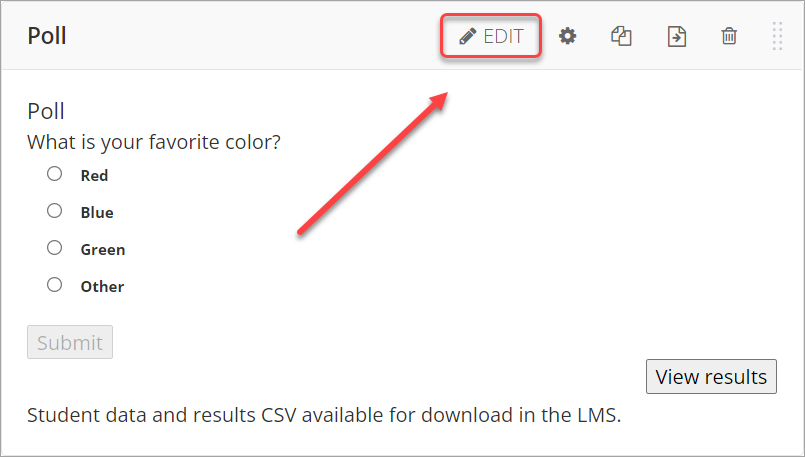
- Click on Edit.
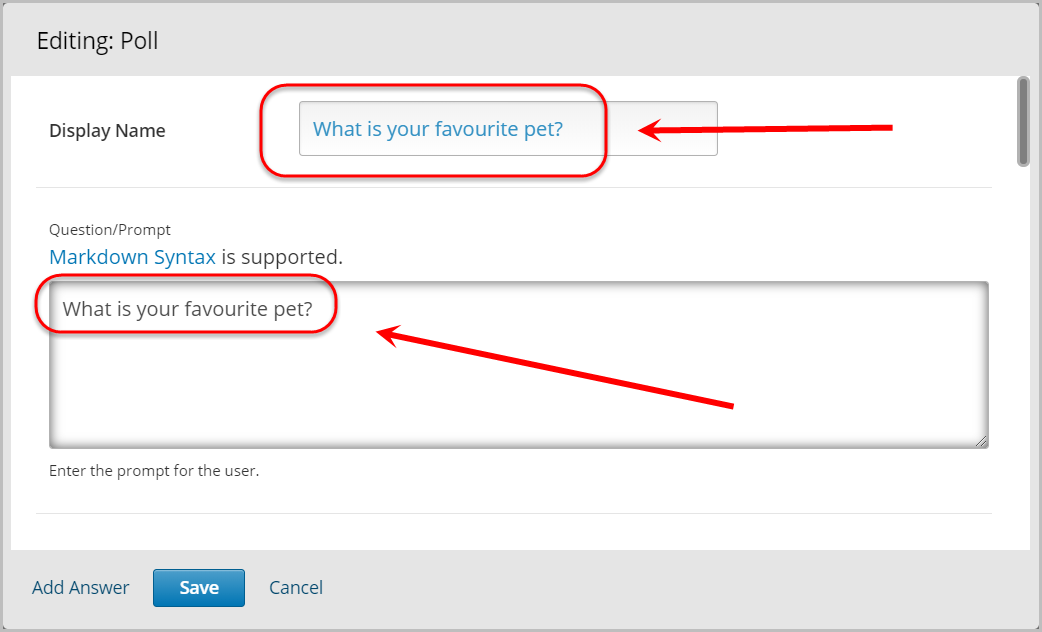
- Enter the question in the Display textbox.
- Enter the question in the Question/Prompt textbox.
- Enter feedback in the Feedback textbox.
- Select False from the Private Results drop-down menu.

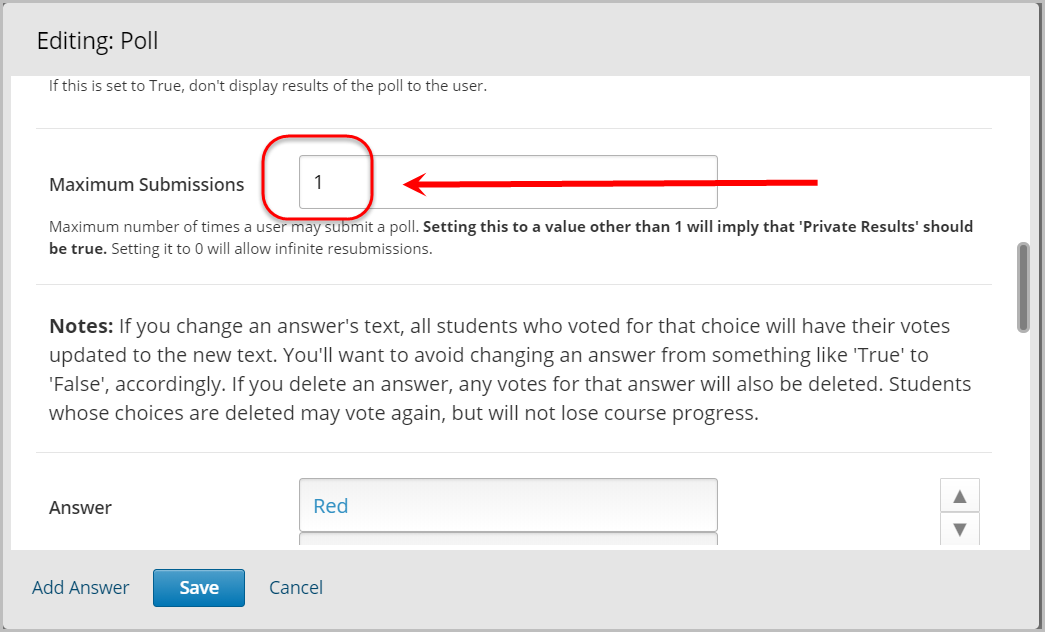
- Optionally, enter a number in the Maximum Submissions textbox.
Note: The default number is 1.
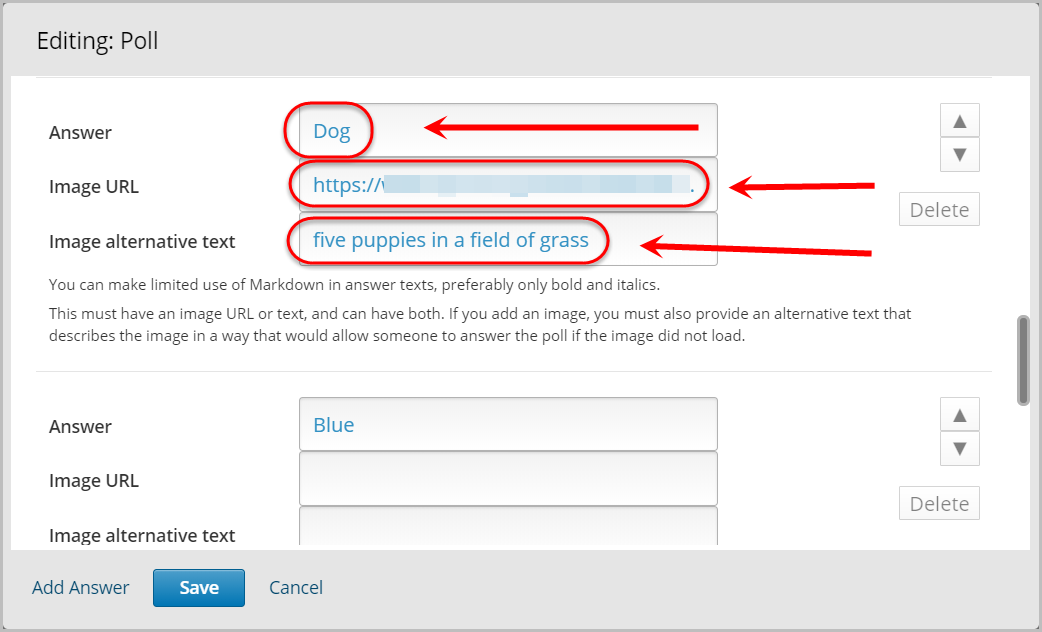
- Enter an answer in each Answer textbox.
Note: The default number of answers available is four.
- Optionally, enter the image URL in the Image URL textbox.
- Optionally, if entering an image URL, enter the alternative text in the Image alternative text textbox.
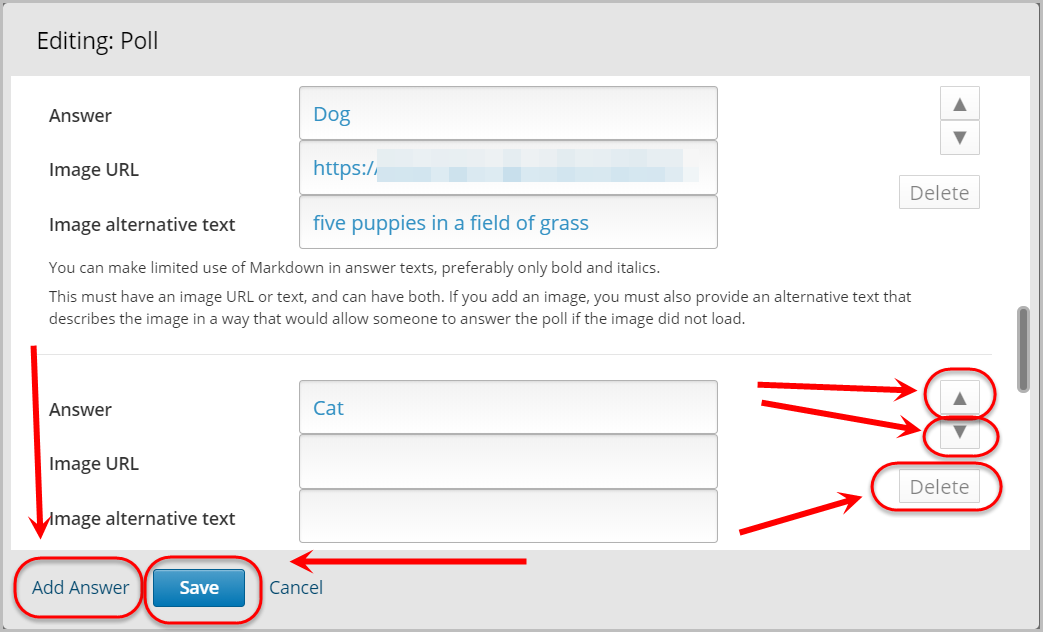
- To add an answer, click on Add Answer, then repeat Step 9 (and Steps 10 and 11 if necessary).
- To reorder an answer, click on the Up Arrow or Down Arrow buttons.
- To delete an answer, click on the Delete button.
- To complete the poll, click on the Save button.
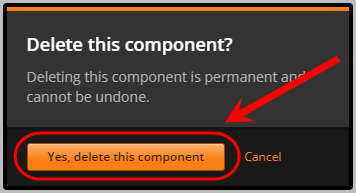
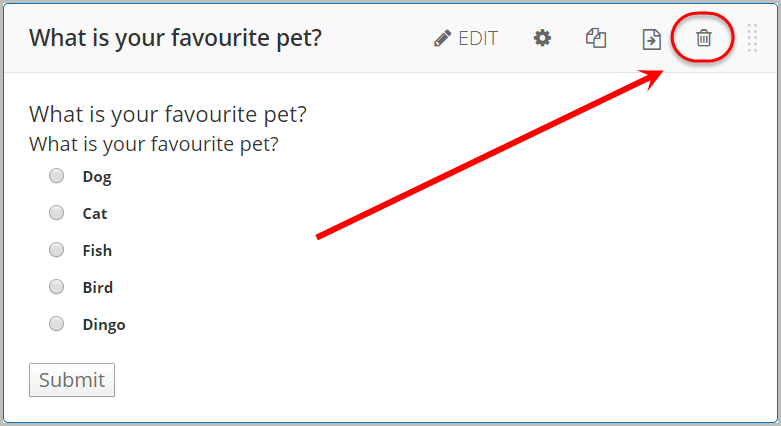
Delete
- To delete the component, click on the bin icon.
- Click on the Yes, delete this component button.