Create a Peer Instruction Question (Original)
Warning: Prior to adding or editing content in your course, you will need to access Studio view. Refer to the Change from Student View to Staff Editing (Studio) View guide for further instructions.
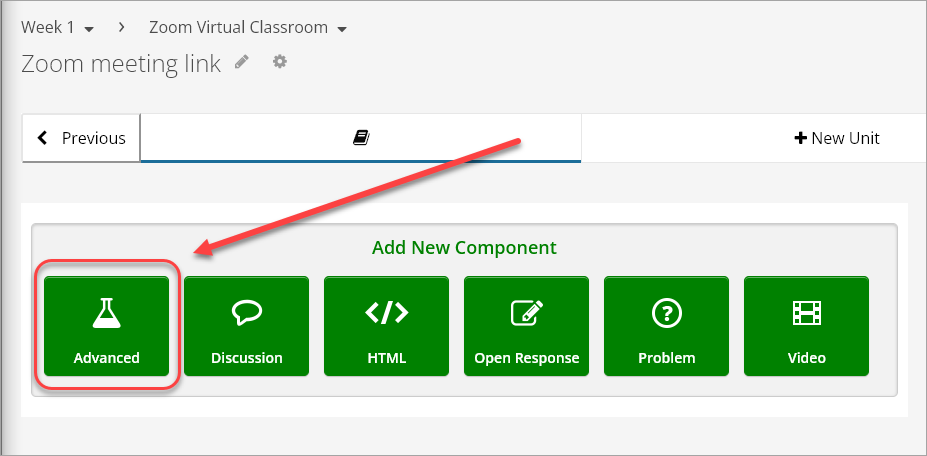
- In your unit, click on the Advanced button.
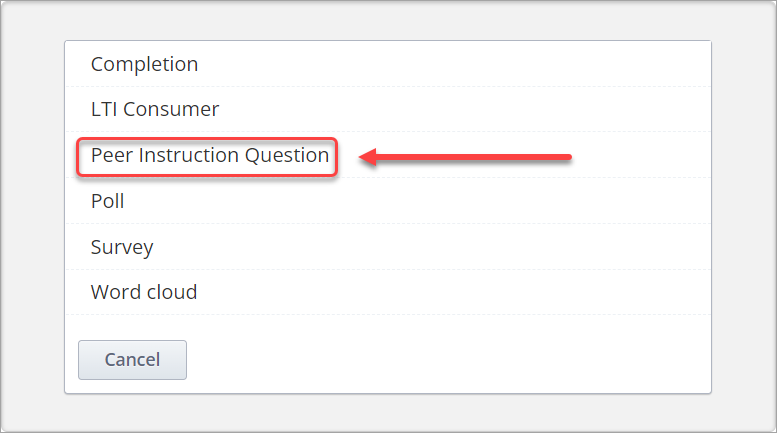
- Click on Peer Instruction Question.
Note: If Peer Instruction Question does not appear in the list, refer to the Enable Advanced Modules guide.
- Click on Edit.
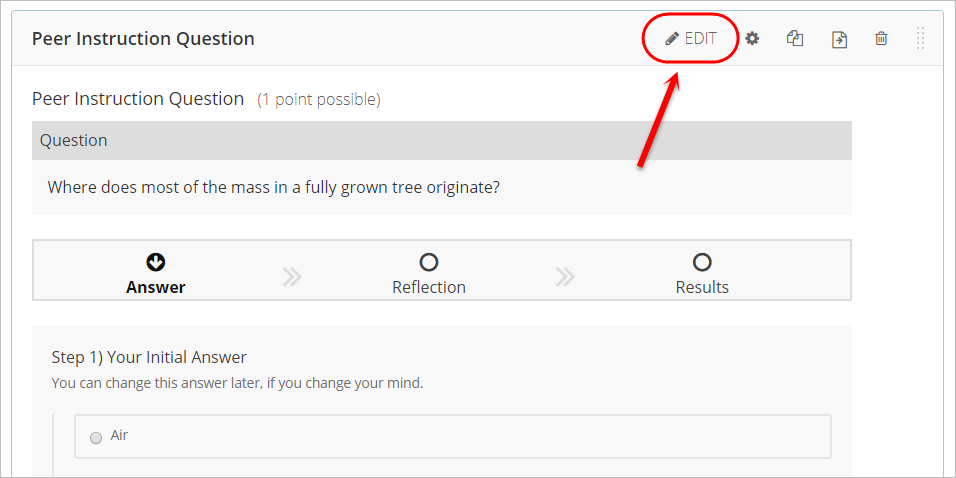
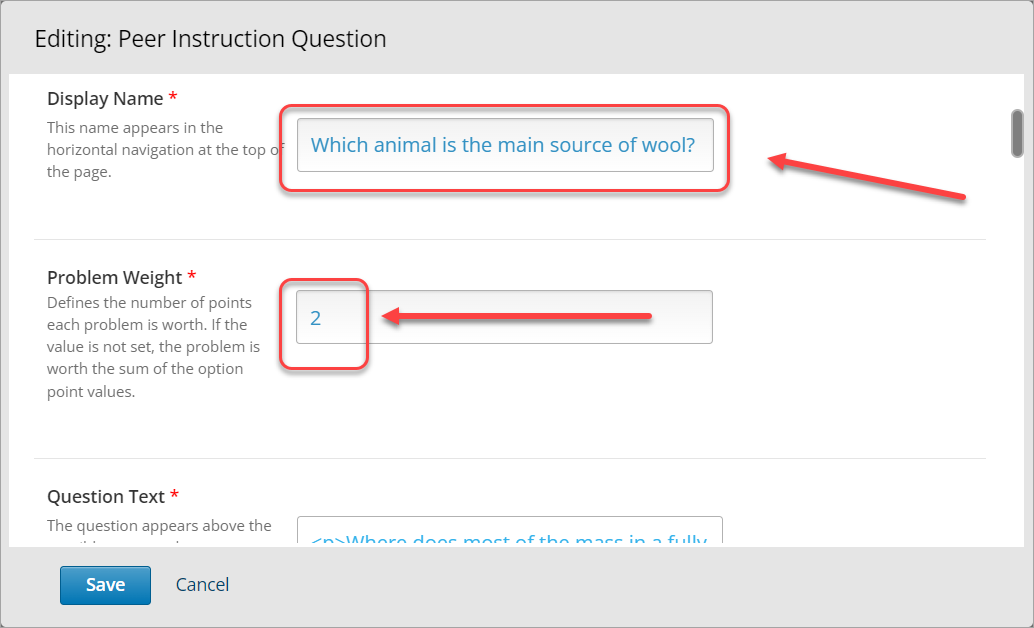
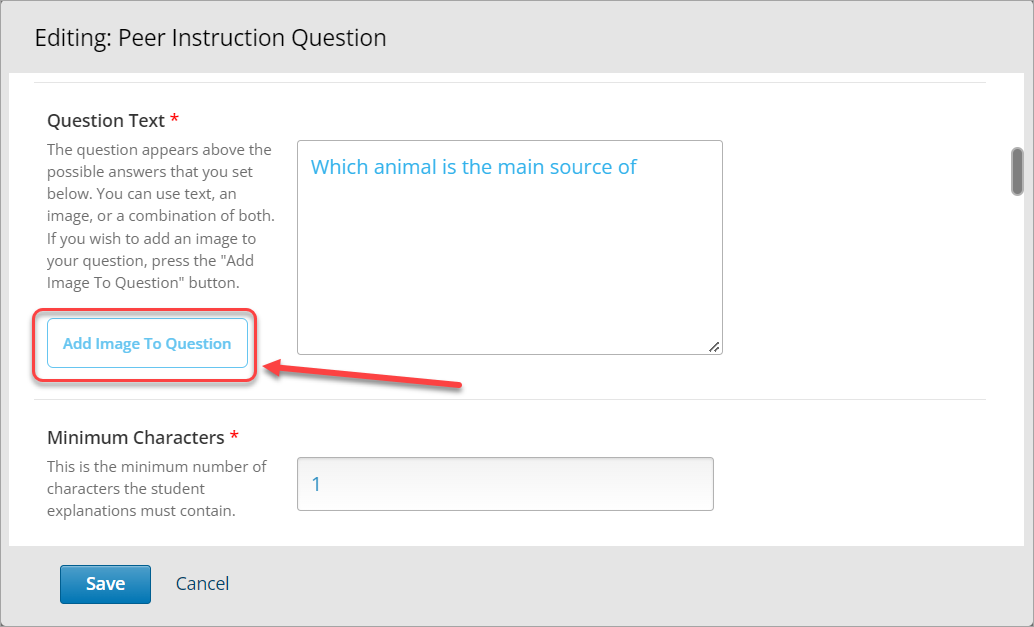
- Enter the question in the Question Text textbox.
- Enter the number of points each problem is worth in the Problem Weight textbox.
Note: If the value is not set, the problem is worth the sum of the option point values.
- Optionally, to add an image to your question, click on the Add Image To Question button.
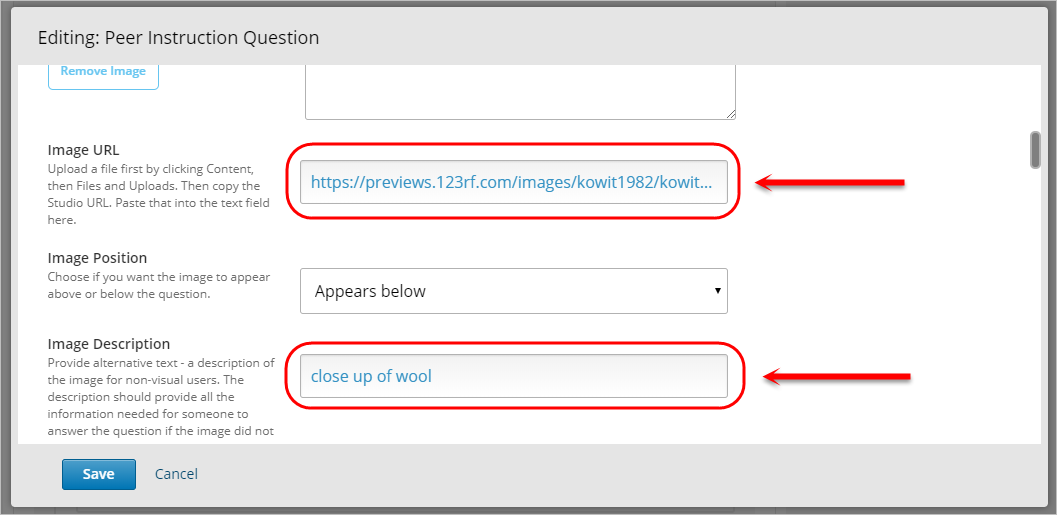
- Optionally, enter the image URL in the Image URL textbox.
- Optionally, enter alternative text in the Image Description textbox.
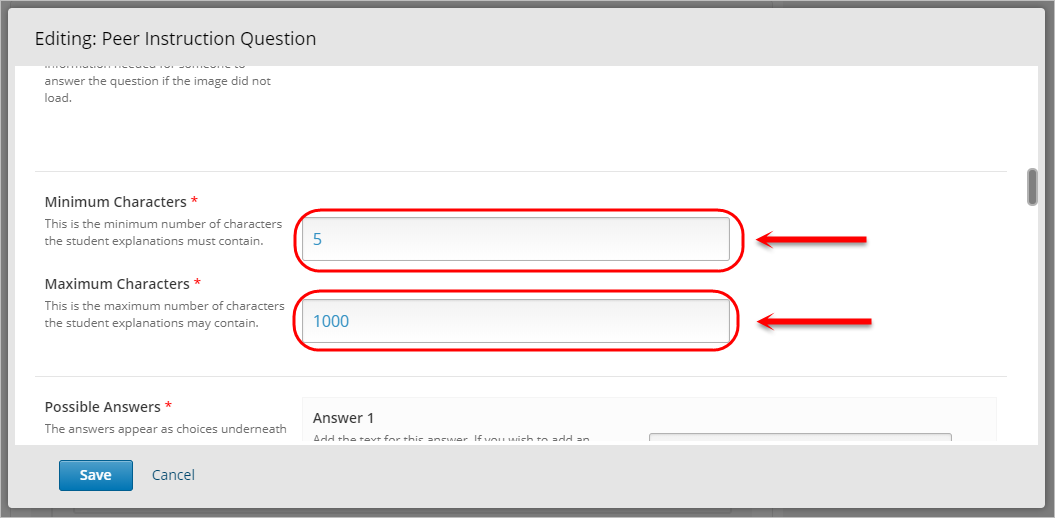
- Enter the minimum amount of characters that students must contribute in the Minimum Characters textbox.
Note: The default value is 1.
- Enter the maximum amount of characters that students must contribute in the Maximum Characters textbox.
Note: The default value is 32000.
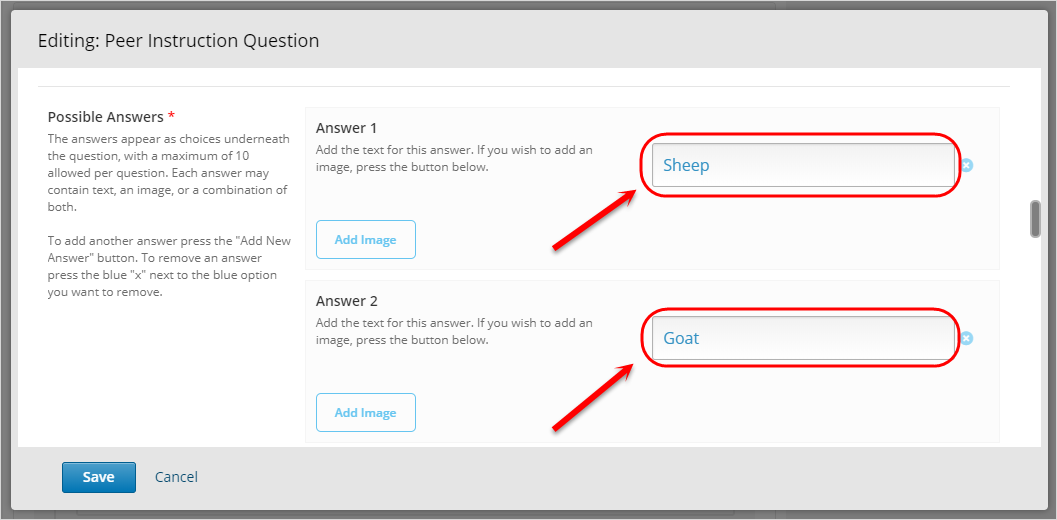
- For Possible Answers, enter an answer in each Answer textbox.
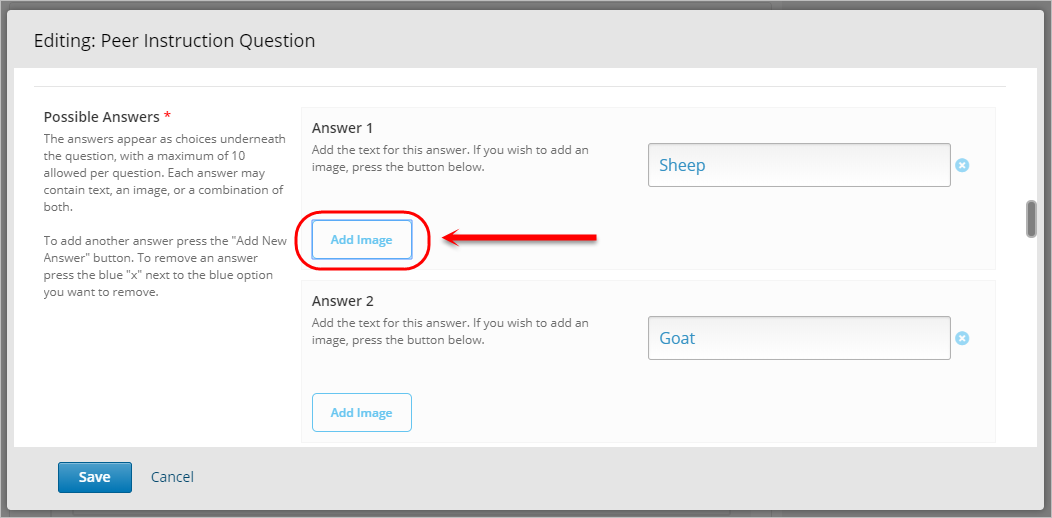
- Optionally, to add an image to your question, click on the Add Image button.
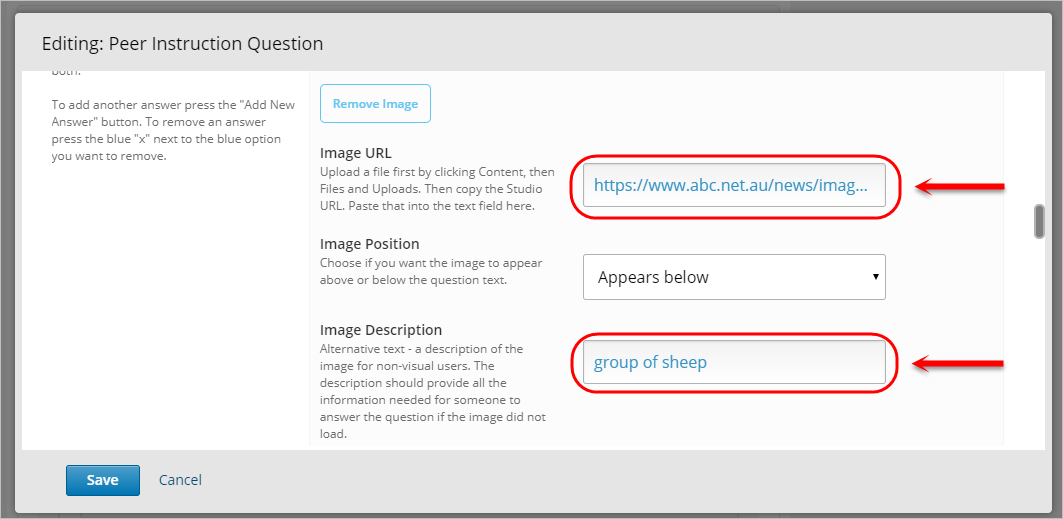
- Optionally, enter the image URL in the Image URL textbox.
- Optionally, enter alternative text in the Image Description textbox.
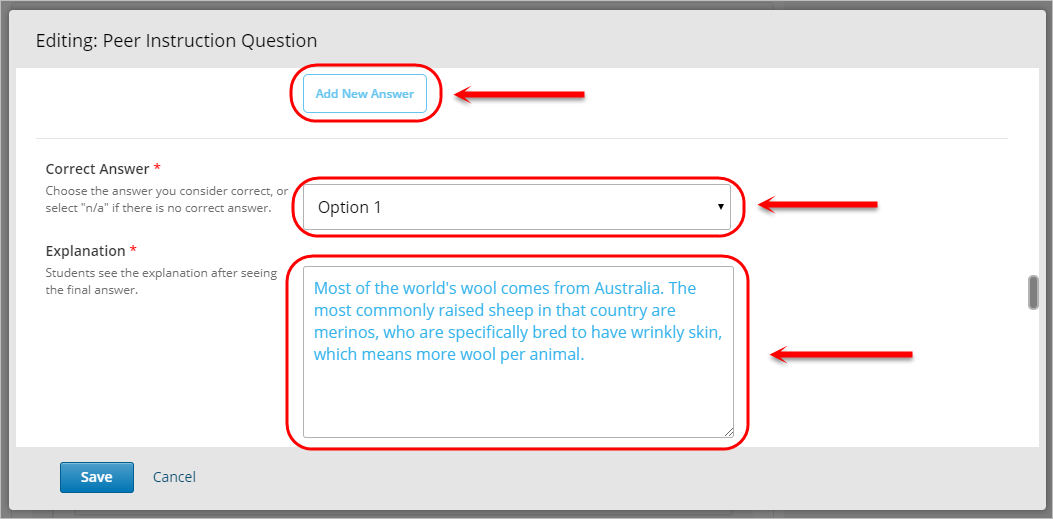
- Optionally, to add an additional answer, click on the Add New Answer button, then repeat Step 11 (and Steps 12 to 14 if necessary).
- Select the appropriate Option from the Correct Answer drop-down menu.
Note: If there is no correct answer, select n/a from the Correct Answer drop-down menu.
- Enter an explanation for the correct answer in the Explanation textbox.
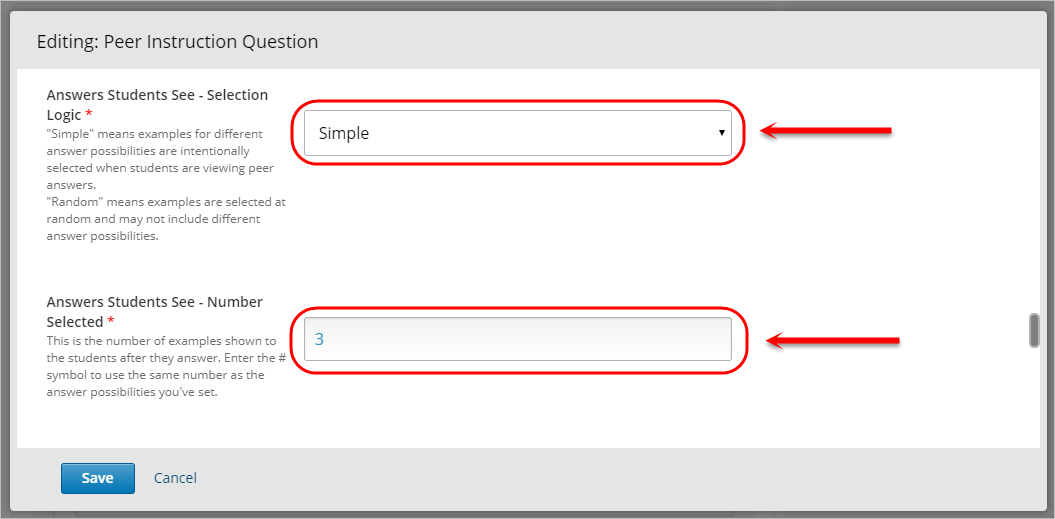
- Select either Simple or Random from the Answers Students See – Selection Logic drop-down menu.
Note: For Simple, examples for different possibilities are intentionally selected when students are viewing peer answers. For Random, examples are randomised and may not include different answer possibilities.
- Enter a number of how many examples students can see in the Answers Students See – Number Selected textbox.
Note: By default, the # (hash symbol) is in the textbox and if used, the numbers of answers students see will be the same number as the answer possibilities set.
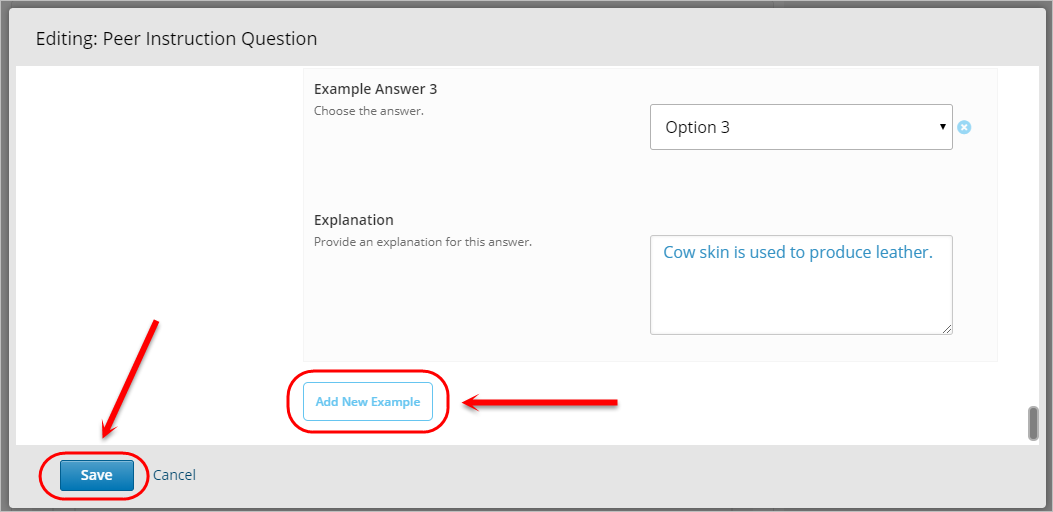
- From Example Answers, match Example Answer 1 to the appropriate Option from the drop-down menu.
- Enter an explanation for that answer in the Explanation textbox.
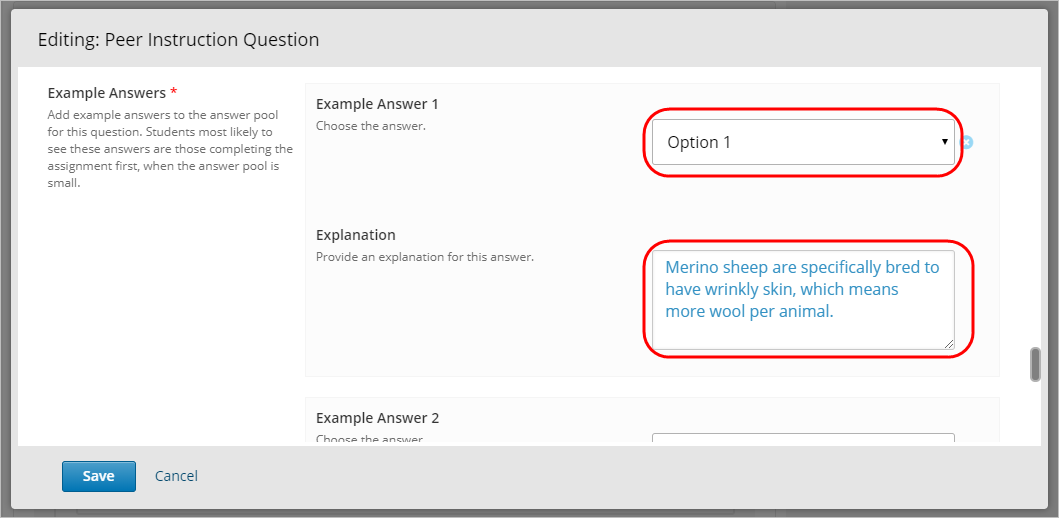
- Optionally, click on the Add New Example button to add additional answers then repeat Steps 20 and 21 for the other answers.
- Click on the Save button.