Create HTML Components (Original)
Overview
HTML Components enable you to share documents or provide instructions for students.
For more information on how to upload and embed or link files in HTML components, consult the Upload and embed/link a file in HTML Component for more information.
Warning: Prior to adding or editing content in your course, you will need to access Studio view. Refer to the Change from Student View to Staff Editing (Studio) View guide for further instructions.
4. Create HTML text banner
Note: This can be done in conjunction with the step Create HTML Text and/or Create HTML Text with Image.
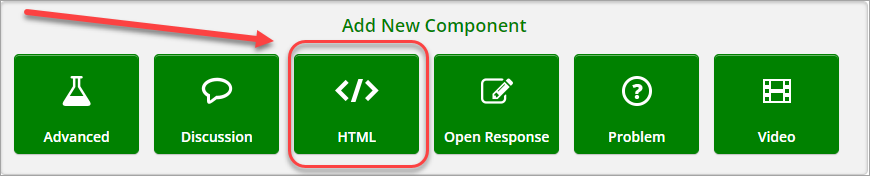
- In your unit, click on the HTML button.
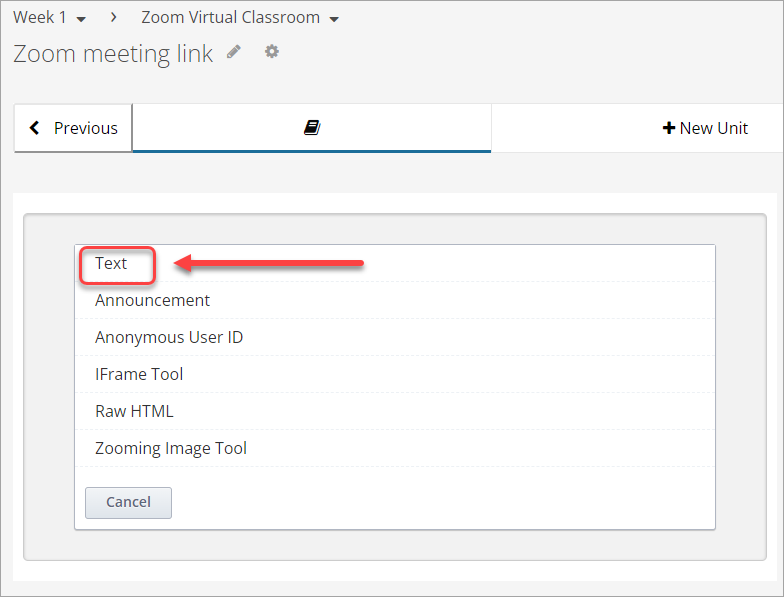
Click on Text.
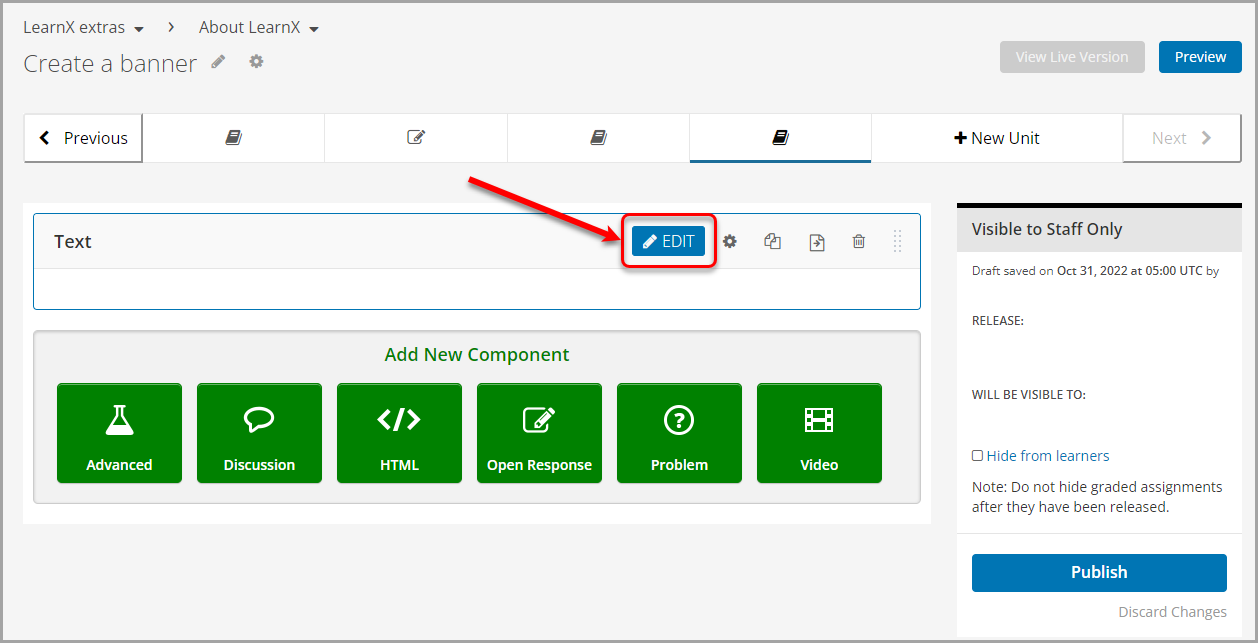
- Click on Edit.
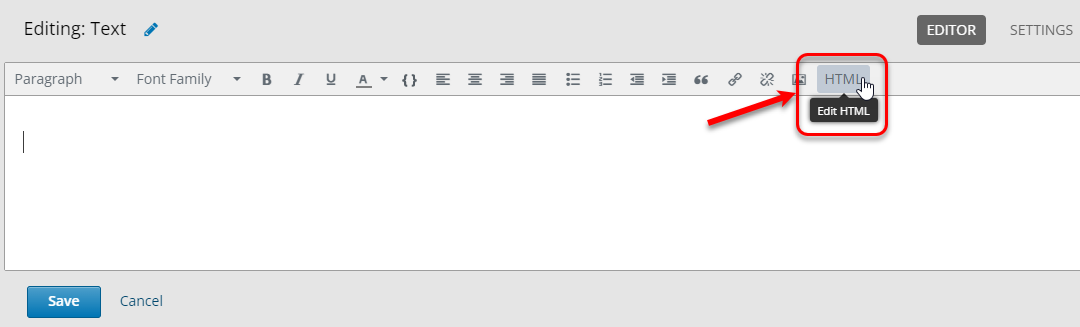
- Click on HTML
- Paste or type the following:
<h2 style="background-image: url('/static/white_reading.png'); background-size: 40px; background-position: left center; background-repeat: no-repeat; background-color: #51247a; border: 8px inset transparent; padding-left: 60px; padding-top: 10px; padding-bottom: 8px; height: 30px; vertical-align: middle;"><span style="color: #ffffff;">INSERT YOUR TITLE HERE</span></h2>
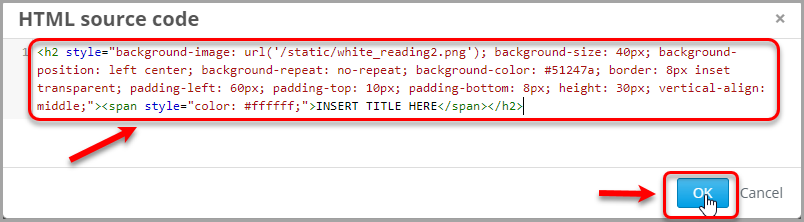
- Click on the OK button.

Note: In order to use an image or icon you will need to upload it to the Files & Uploads of your LearnX course, then replace the /static/white_reading.png with the file name of your icon. For best results, use a white image that is saved as a .png file. To find images refer to the Open educational resources (OER) guide.
- Write or paste your text below the banner.
Note: You can repeat this process, or copy and paste the banner within the text editor, using it multiple times within a text box to break up a larger text block.
- Click on the Save button.
