Create a Drag and Drop Problem (Question) (Original)
Warning: Prior to adding or editing content in your course you will need to access Studio view. Refer to the Change from Student View to Staff Editing (Studio) View guide for further instructions.
2. Zones
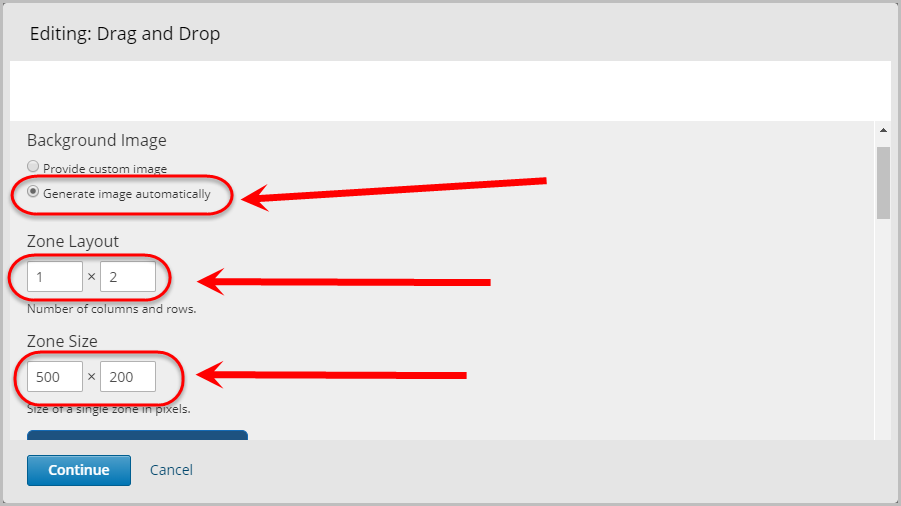
- Select the Generate image automatically radio button for the setting Background Image.
- Enter the required number of columns and rows in the Zone Layout textboxes. e.g. 1 x 2.
- Enter the zone size in the Zone Size textboxes. e.g. 500 x 200.
Note: The Zone Size is measured in pixels.
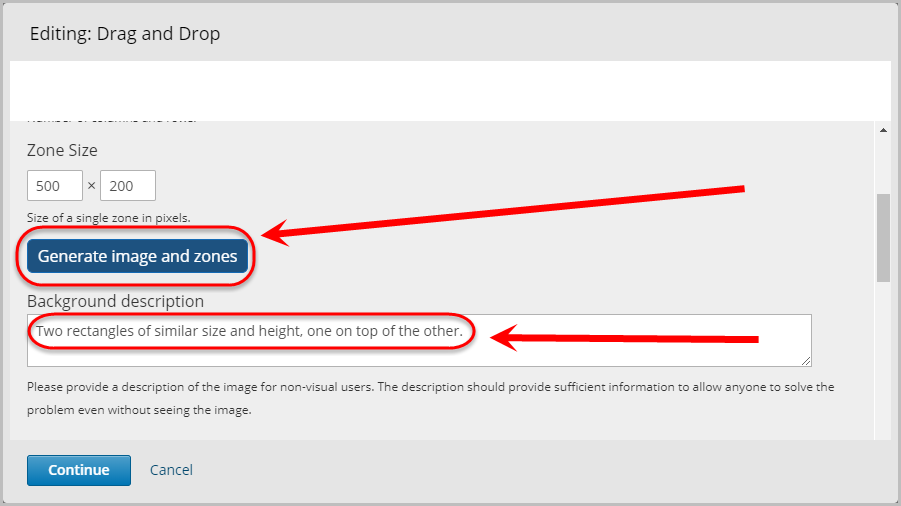
- Click on the Generate image and zones button.
- Enter a description in the Background description textbox. e.g. Two rectangles of similar size and height, one on top of the other.
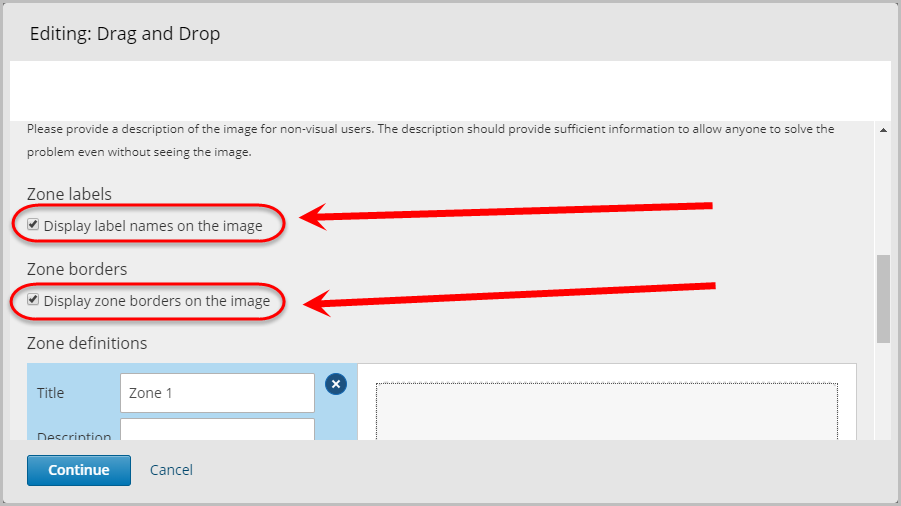
- Check the Display label names on the image checkbox for the setting Zone labels.
- Check the Display zone borders on the image checkbox for the setting Zone borders.
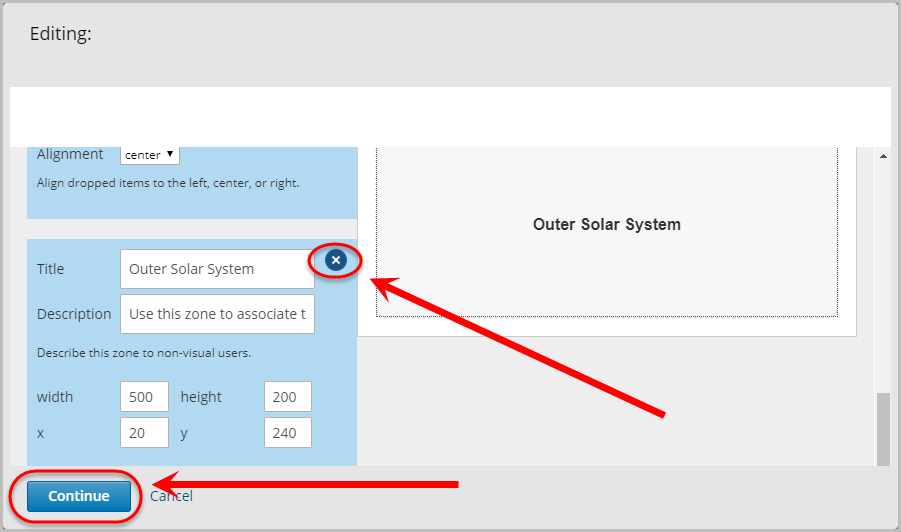
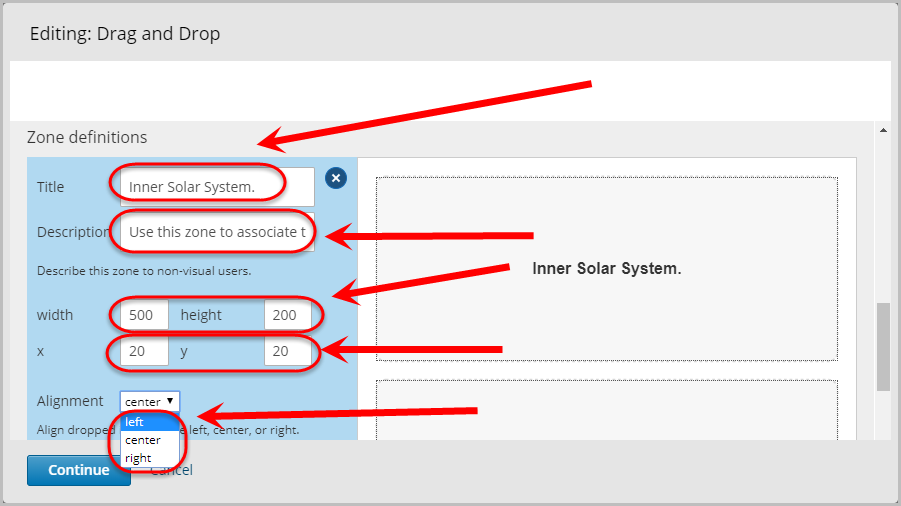
- Enter a title for the zone in the Title textbox. e.g. Inner Solar System.
- Enter a description for the zone in the Description textbox. e.g. Use this zone to associate the appropriate item to it.
- Enter the width size in the width textbox. e.g. 500.
- Enter the height size in the height textbox. e.g. 200.
- Optionally, enter the appropriate starting point of the zone in the x and y textboxes.
Note: The starting point of the zone refers to the bottom left corner.
- Optionally, select the required alignment from the Alignment drop-down list.
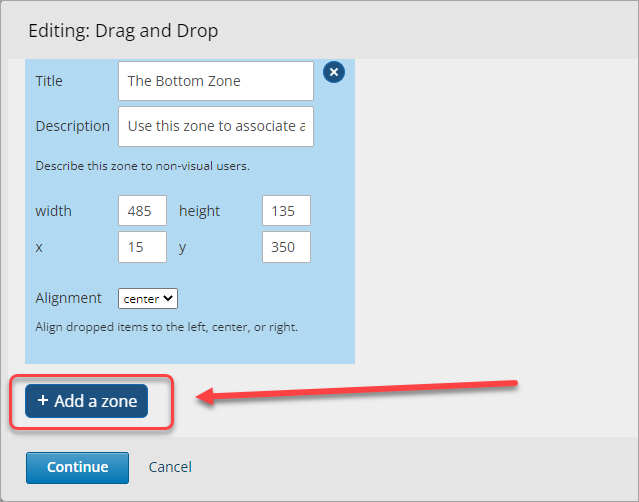
- If you require more zones, click on the + Add a zone button.
Note: When creating additional zones, complete Steps 8 to 13.
- Optionally, click on the x icon to delete a zone.
- Click on the Continue button.