Create a Buddycheck peer evaluation (Ultra)
There are three main steps to creating a Buddycheck peer evaluation.
- Create a Group set in learn.uq (Blackboard).
- Create the Buddycheck link in the correct assessment folder in Learn.UQ (Blackboard).
- Activate and create the evaluation in Buddycheck.
- Prepare Buddycheck Gradebook column
Warning: It is important to prepare the Buddycheck Gradebook column prior to results being sent back to Gradebook. After moderation is completed and results are sent to Gradebook they will be automatically posted to students.
3. Create peer evaluation in Buddycheck
Create evaluation
- Click on the Buddycheck link to proceed to: create peer evaluation in Buddycheck.
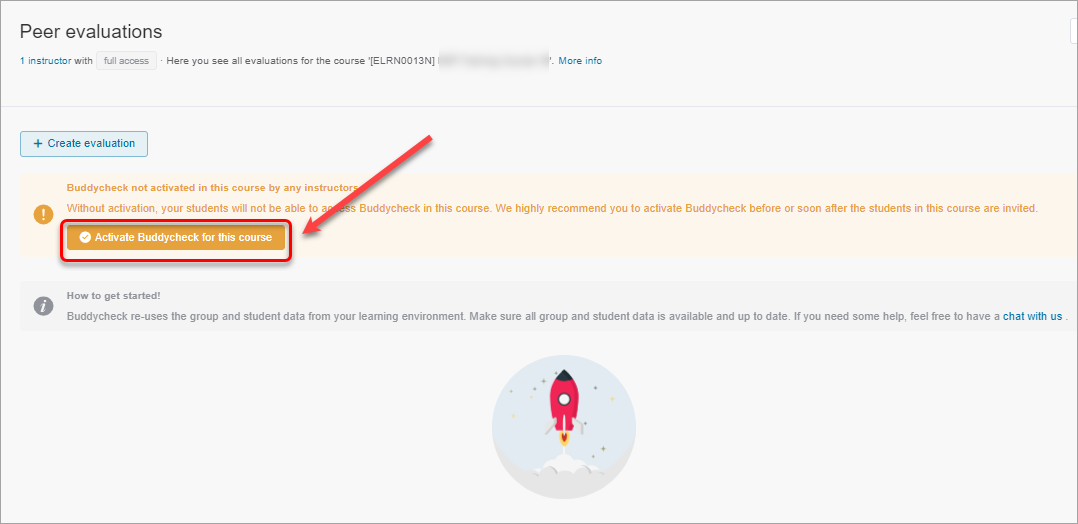
- In Buddycheck, click on the Activate Buddycheck for this course button.
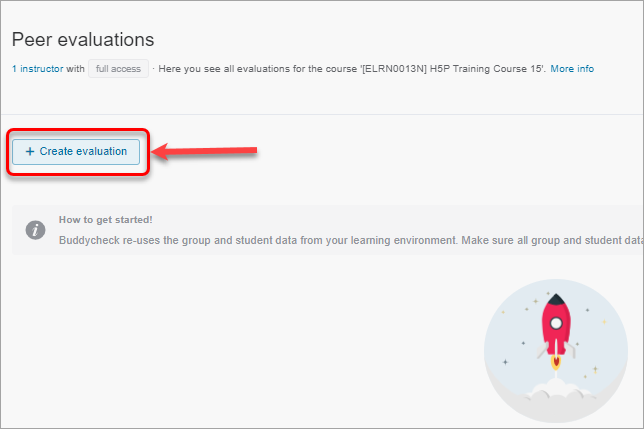
- Click on the + Create evaluation button.
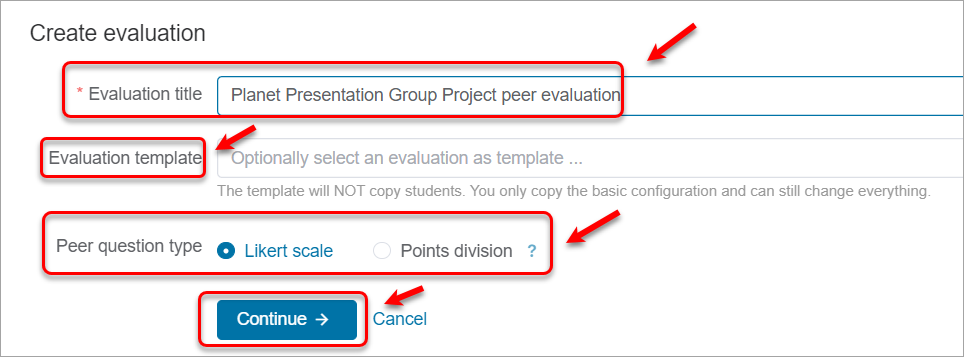
- In the Evaluation title type the title of the evaluation.
- Once you have created at least one evaluation, Evaluation template option becomes available and you will be able to reuse previous evaluations (they will need to be edited: change the dates, select different groups etc.)
- Select Likert or Points division type.
Note: You can change it at a later stage. - Click on the Continue button.
- Click on the Group Set button and check the checkbox next to the group set that was created for the group project.
IMPORTANT: For the assessments with Buddycheck, it is recommended to use Group Sets (NOT Groups), because the groups selection will be locked after the evaluation is created and you will not be able to add/remove any individual groups, however, you will be able to add/remove groups to your Group Set.
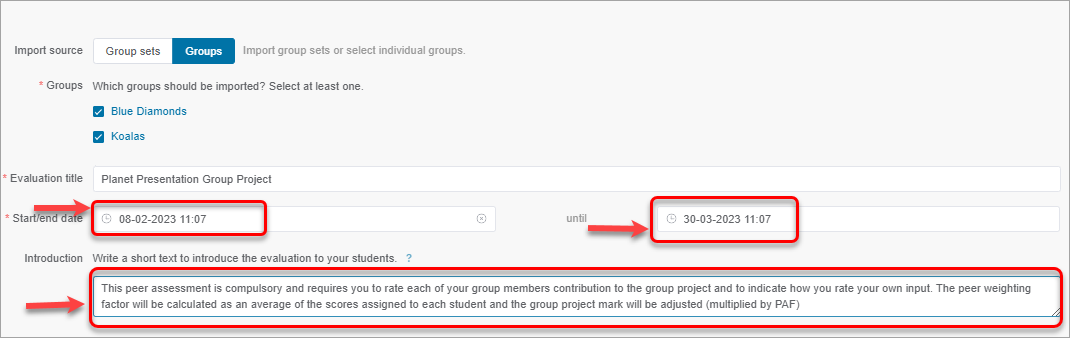
If you already have individual groups created, add 2-3 spare groups and select individual groups by clicking on the Groups button.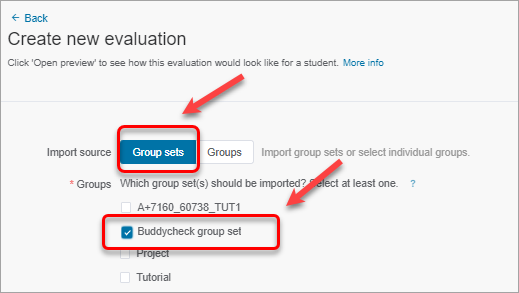
- Select the Start/end date, enter the date using the Date Selection Calendar and enter the time using the Time Selection Menu.
- Select the until date, enter the date using the Date Selection Calendar and enter the time using the Time Selection Menu.
- In the Introduction textbox type a short text to introduce the evaluation to your students.
Sample instructions:
Please complete this compulsory peer assessment. This is an opportunity to reflect on how you and your team is going at the moment and flag any concerns. Peer-to-peer feedback and self-reflections are an important part of a professional every day working life. Please reflect on, and respond to, the prompt questions with a professional and respectful approach |
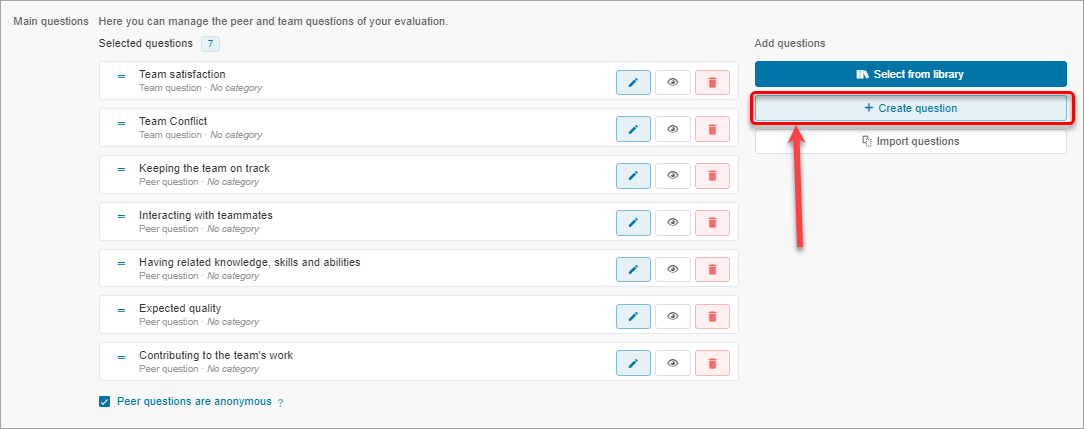
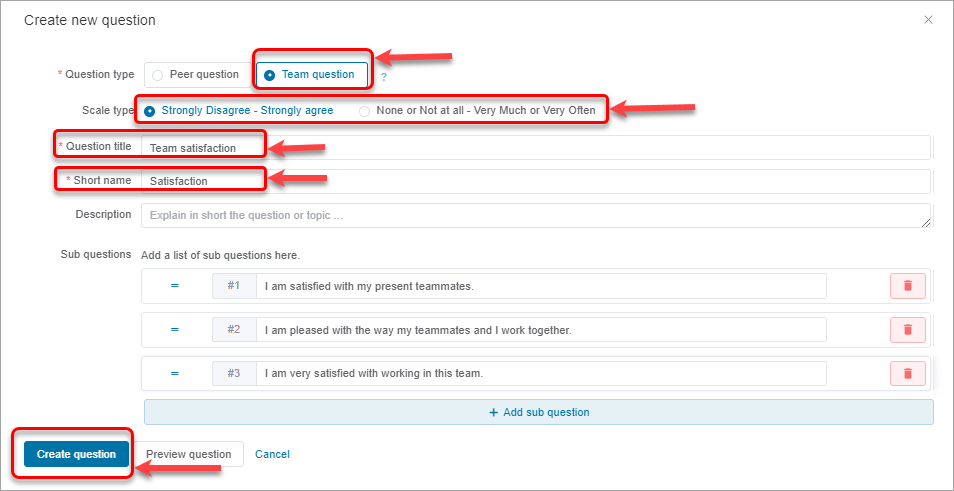
- Click on + Create question or edit the preloaded questions by clicking on the pencil icon.
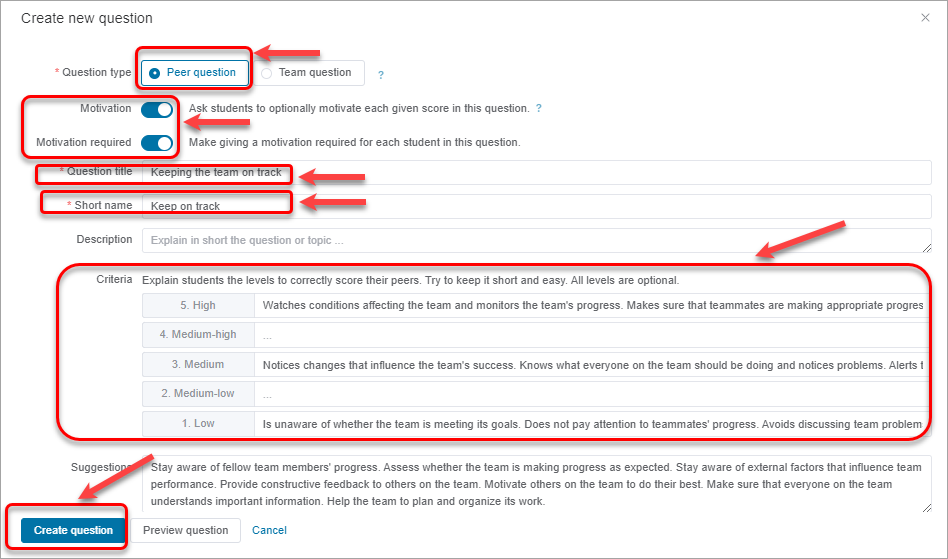
- Click on the Peer question button. Peer questions ask a student to rate each group member, including themself, individually.
- (Optionally) move the toggle Motivation to request a student's explanation for their feedback.
- (Optionally) move the toggle Motivation required to make a student's explanation for their feedback mandatory.
- In the Question title textbox type the question title.
- In the Short name type the short name to find the question faster if you need to reuse it.
- If you would like to use Team questions (a question asking the student to rate the team as a whole), click on the Team question button.
Note: Team questions WILL NOT generate a Likert average or a peer assessment factor (PAF). In order to have a Likert average or PAF generated, you will need to add peer questions (see Step 11 above). - Click on the Create question button.
- Keep Peer questions are anonymous checkbox checked (by default) if you would like the students to receive anonymous feedback.
- (Optionally) enable Open questions if you would like to ask students about their team or the group project in general.
- (Optionally) enable Peer messages to provide the students with an opportunity to leave personal messages to the group members.
Note: If you are using Peer messages, they MUST be moderated before you release the results. Please refer to the Moderate Peer messages guide. It might NOT be practical to use Peer messages in a large course.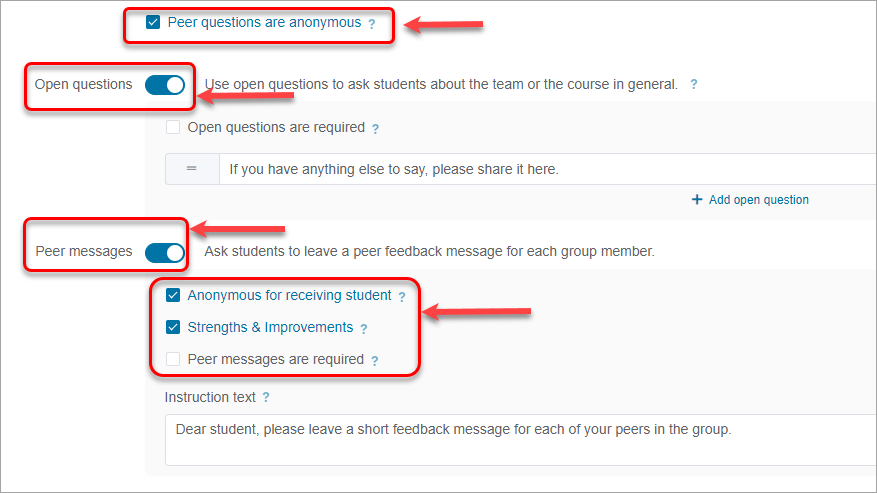
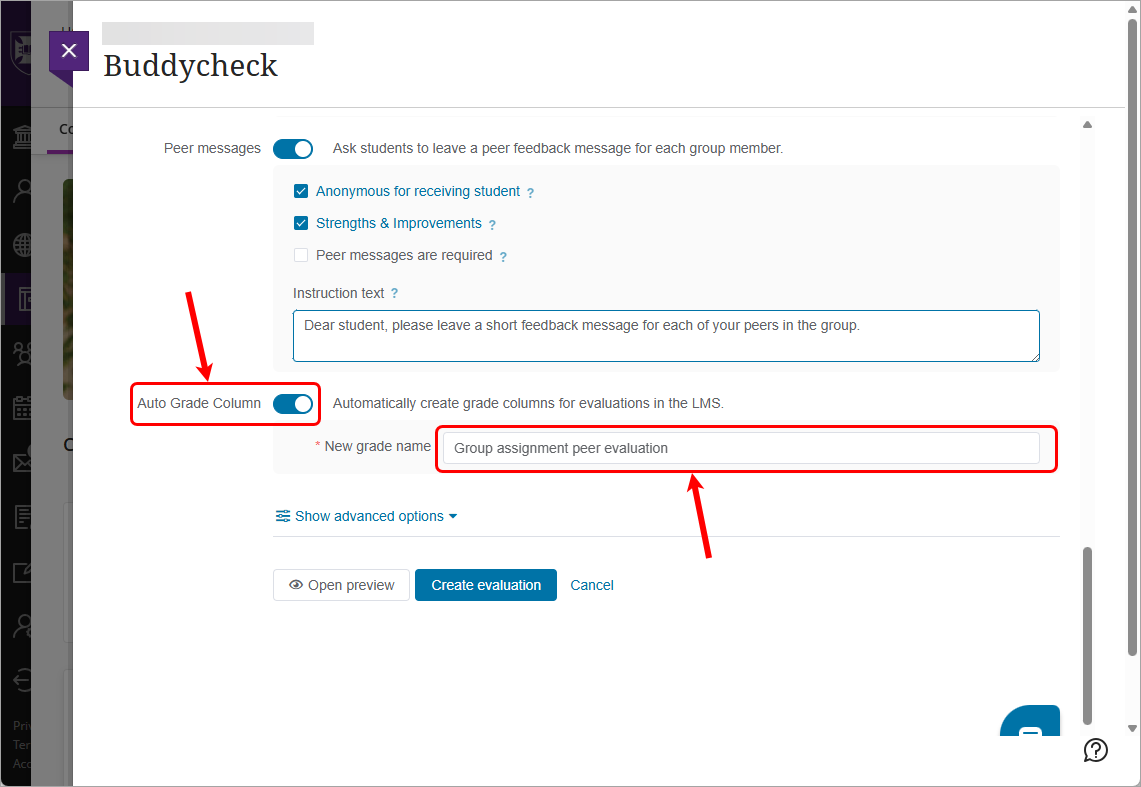
- Enable the Auto Grade Column.
- Click in the New grade name textbox and enter a meaningful name for the column.
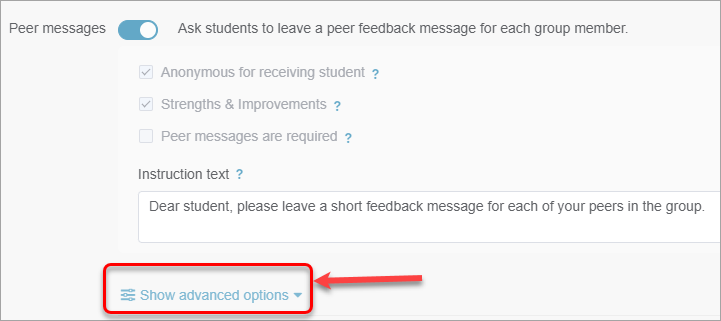
Advanced options
- (Optionally) Click on the Show advanced options button.
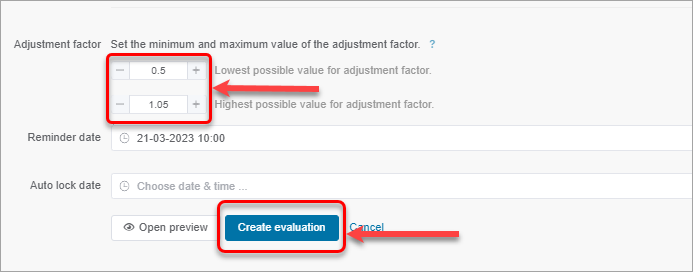
- (Optionally) change the adjustment factor parameters. Consider limiting the PAF to a maximum of 1.10 to ensure students are not over-rewarded for leadership skills within the group compared to other assessment criteria. An Adjustment Factor value is calculated using the peer questions. It attempts to show the contribution of a given student relative to the other members of their team. Specifically, the Adjustment Factor is the average rating of the student divided by the overall average rating for all members of the team. With Self means that one the student self-ratings factored in. In some cases, the exceptional conditions described above may have an impact on the validity of these Adjustment Factor values, and in these cases the Adjustment Factor columns will be highlighted.
- (Optionally) Set a Reminder date when an email will be sent to the students who have not submitted the evaluation by that time, to complete the evaluation.
- (Optionally) Set an Auto lock date to automatically lock evaluation so no more submissions will be accepted.
Note: you can always manually lock the evaluation by clicking on More>Lock evaluation. - Click on the Create evaluation button.
Confirm evaluation
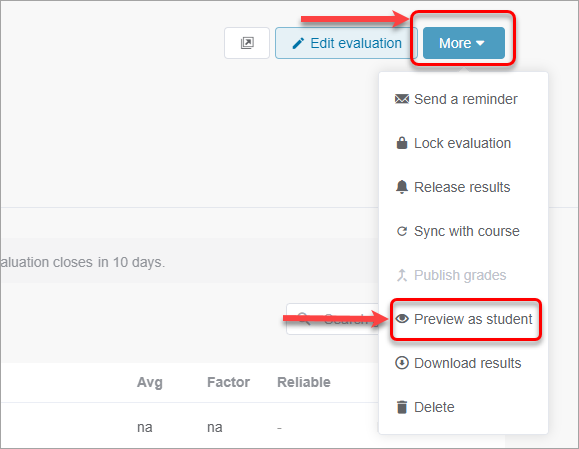
- Click on the down arrow next to the evaluation title to view the full evaluation details.
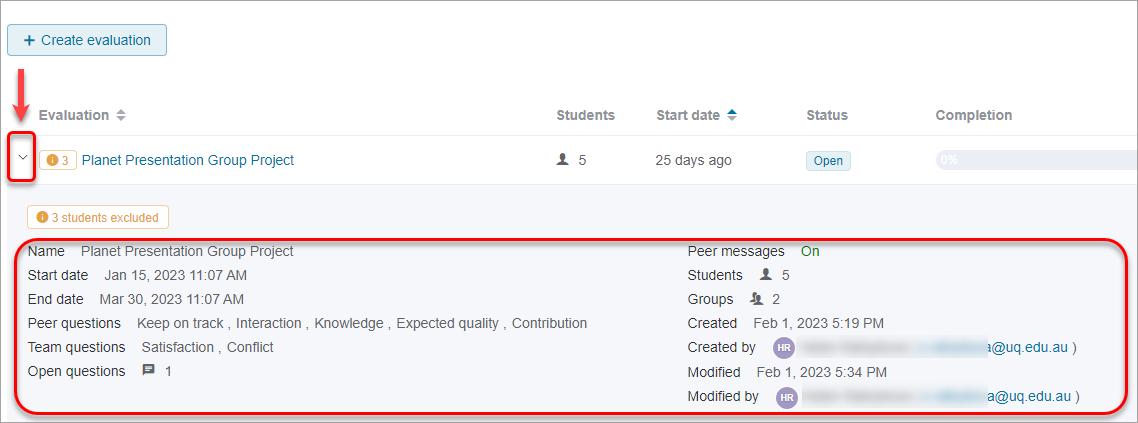
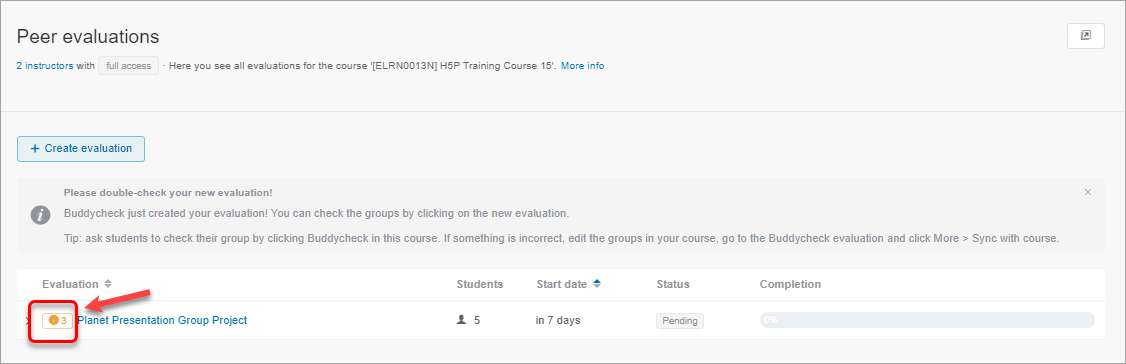
- If some students are enrolled in the Learn.UQ course who are excluded from the evaluation, the error notice will be displayed. Click on the notice to view full details.
- Check missing students. If these students do not belong to this evaluation, click on the Accept button.
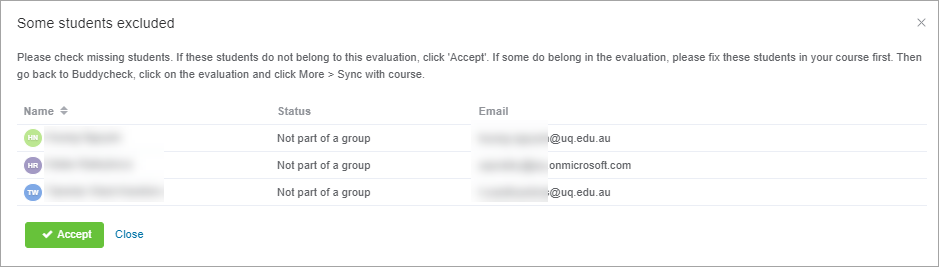
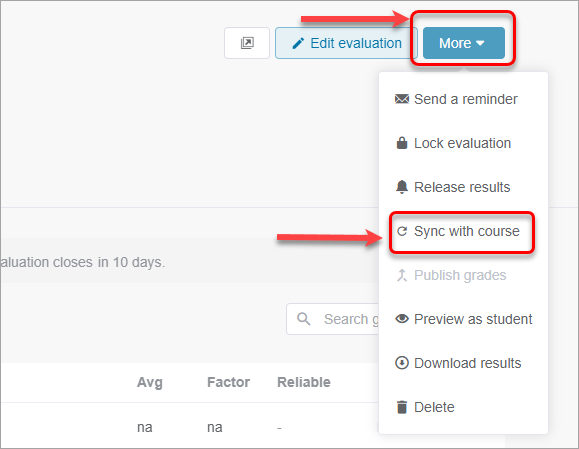
- If some do belong in the evaluation, please fix these students in your course first. Then go back to Buddycheck, click on the evaluation and click More > Sync with course.
- Click on the Preview as student button to check how the evaluation will be displayed to the students.