Create a Gradescope Bubble Sheet Assignment (Original)
This guide provides instructions on how to scan and mark paper bubble sheets using Gradescope.
Note: Use of Gradescope bubble sheets is a UQ centrally supported exam option.
Note: Gradescope will only work with papers using the Gradescope Bubble Sheet template.
5. Upload student IDs
As the correct student IDs are not transferred to Gradescope you will need to upload them. Having both student names and IDs in Gradescope improves the accuracy rate of matching papers to students.
Note: An update to Learn.UQ (Blackboard) is planned in the future to remove the need for this step.
Note: This step should be done just before uploading papers for marking as the IDs will be overridden if students submit an assignment to Gradescope.
Download and prepare the spreadsheet
You need a CSV spreadsheet with the columns Last Name, First Name, Email Address and Student ID. to upload the student IDs. Either download a class list from SI-net or follow the instructions below.
- Download the Grade Centre spreadsheet. Refer to the Download a Spreadsheet from the Grade Centre guide.
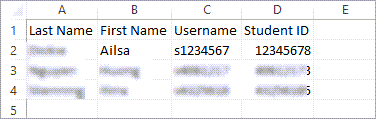
- Delete all columns starting from column E. Keeping only Last Name, First Name, Username and Student ID columns.
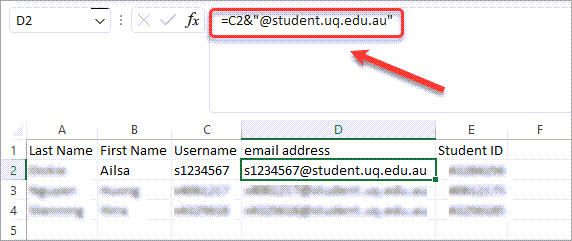
- Insert a new column after column C to add the email address.
- Add the formula =c2&"@student.uq.edu.au" to D2 and fill down.
Remove the formulas from the spreadsheet
- Right-click on column D and select Copy.
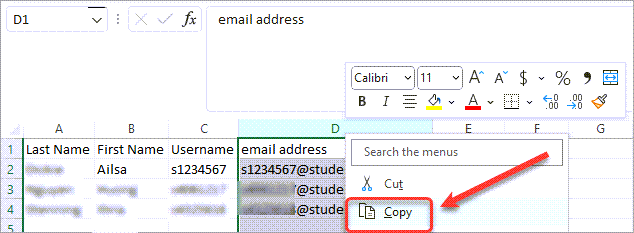
- Right-click on column D and select Paste Options > Values (V).
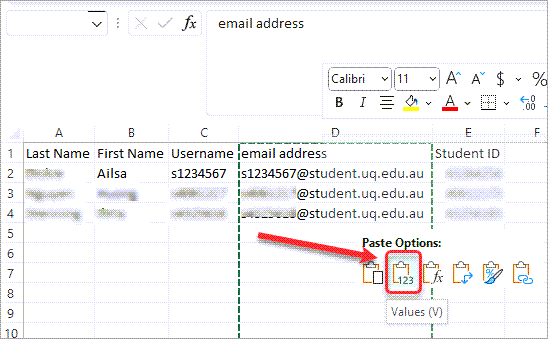
- Delete column C.
- Save the spreadsheet as a CSV file.
Upload the spreadsheet
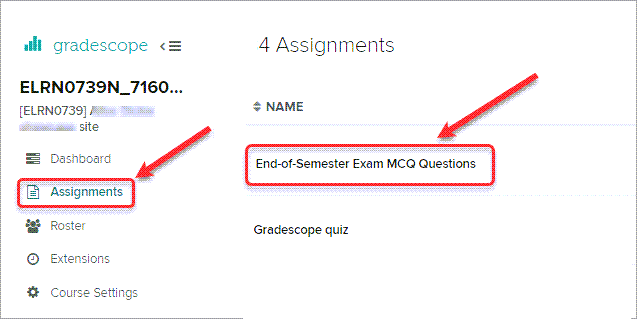
- Click on the Gradescope assignment link.
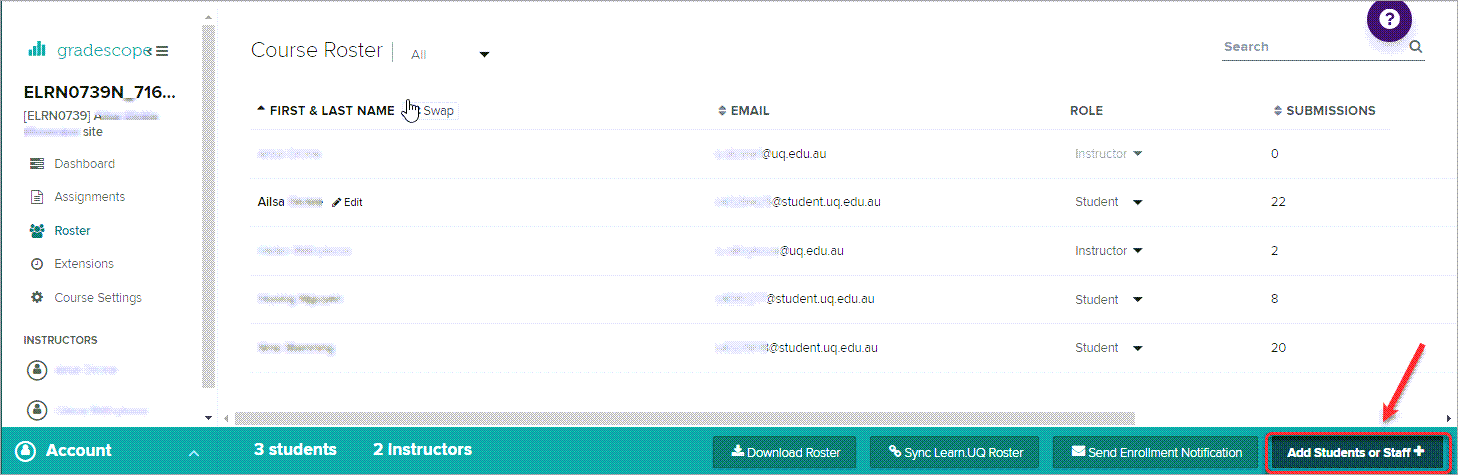
- Click on the course link in Gradescope.
- Select Roster from the menu.
- Click on the Add Students or Staff + button.
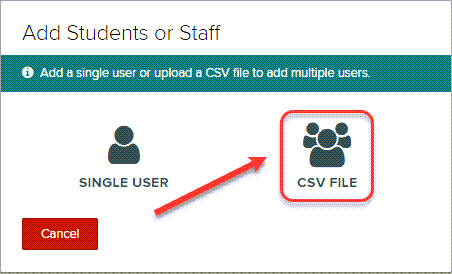
- Click on the CVS FILE icon.
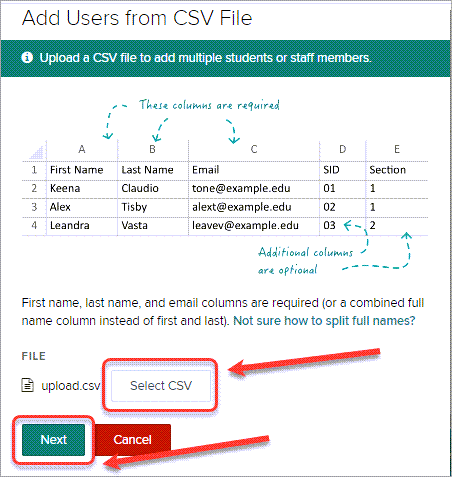
- Click on the Select CVS button and select the previously prepared spreadsheet.
- Click on the Next button.
- If a FULL NAME column is displayed click on the My CVS file has separate first and last name columns link.
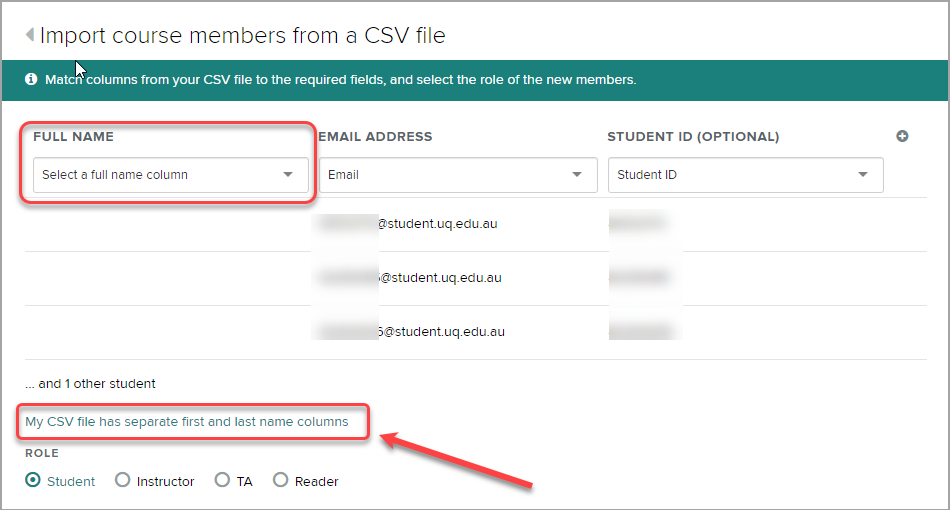
- Check the columns have been correctly identified and change them if needed.
- Uncheck the Let new users know that they were added to the course checkbox.
- Click on the Import button.

- Select Assignments from the menu.
- Select the required assignment.