Create an Individual Blog (Original)
Note: Once blogs are created, other students in the course can view each others' blogs. If you do not want students to view other peers' blogs, consider creating a Journal.
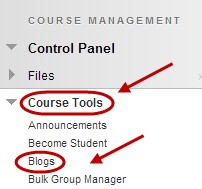
- From the Control Panel select Course Tools > Blogs.
Blog information
- Click on the Create Blog button.
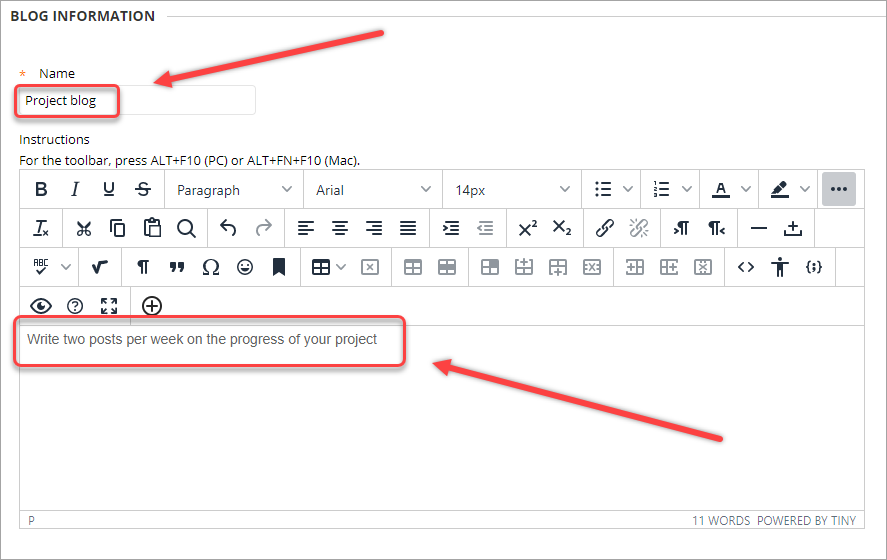
- Enter a name for the blog in the Name textbox.
- Enter instructions for the students in the Description textbox.
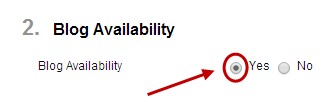
- For the Blog Availability section, leave the Yes radio button selected.
Blog Date and Time Restrictions
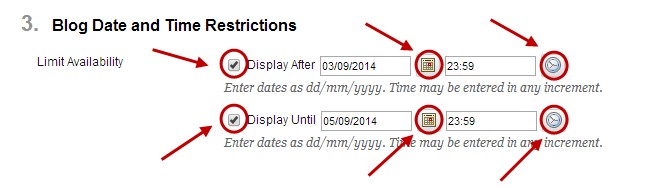
Set the following, if required. i.e. If the blog is an assessment task, you may need to restrict when it is available to students.
- If required, select the Display After checkbox and enter the date using the Date Selection Calendar and enter the time using the Time Selection Menu.
- If required, select the Display Until checkbox and enter the date using the Date Selection Calendar and enter the time using the Time Selection Menu.
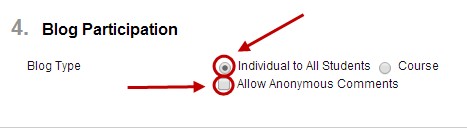
Blog Participation
- Select the Individual to All Students radio button.
- Uncheck the Allow Anonymous comments checkbox.
Note: For the creation of course blogs refer to guide Create a Course Blog.
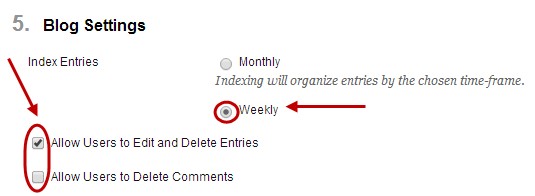
Blog Settings
- Index Entries: For a semester long course you will probably want the entries grouped by week.
- Allow Users to Edit and Delete Entries: Selecting this option makes the tool easier for students to use. Both the date the post was first posted and the date the post was last edited are displayed. If the blog is an assessment task you will need to emphases to students not to edit posts after the due date.
- Allow Users to Delete Comments: You may chose not to select this option to put more emphasis on students making appropriate comments.
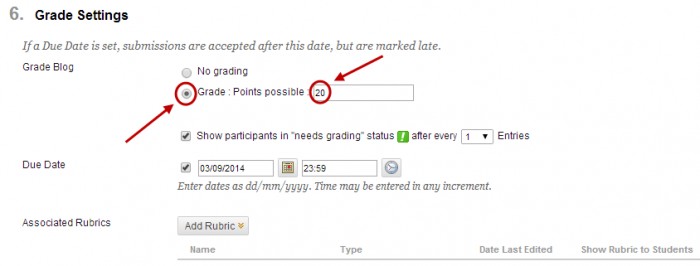
Grade Settings
- Select the Grade radio button if the item is an assessment task.
- Enter the total marks for the assessment in the Points possible textbox.
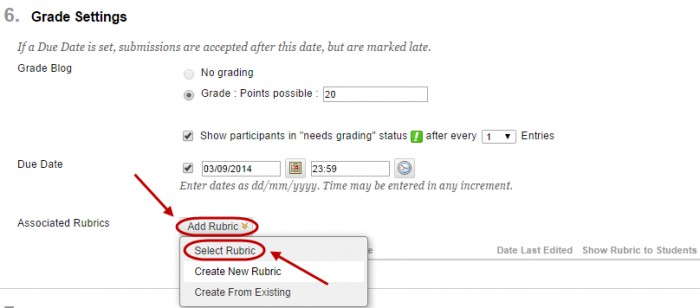
- Alternatively, you can create a rubric. For more information, refer to the Rubric tool page guide.
- Click on the Add Rubric button.
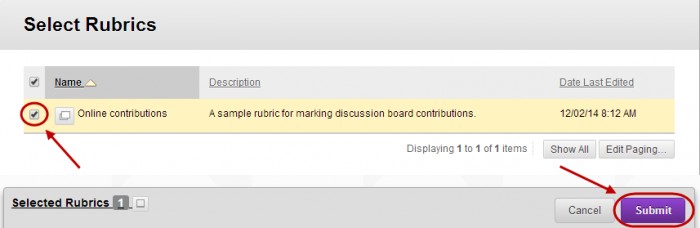
- Select Select Rubric from the drop-down list.
- Check the required rubric's checkbox.
- Click on the Submit button.
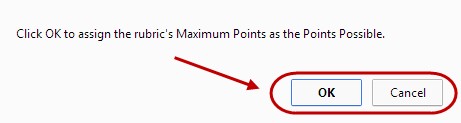
- Click OK, if you want the points possible for the blog to be the same as the total mark for the rubric.
- Alternatively, click Cancel and enter the total marks for the assessment in the Points possible textbox.
Note: The values of rubric cells will be automatically changed so the rubric totals the mark entered in the Points possible textbox.
- Click on the show rubric button and select Yes (With Rubric Scores) button.
- Click on the Submit button.
Add a link to the blog
- From the Course Menu, select Assessment.
- Navigate to the required folder.
- From the Tools dropdown menu, select Blogs.
- Select the Link to the Blog Page to link to all course blogs OR select the Link to a Blog radio button and the required blog.
- Click on the Next button.
- Enter a link title in the Link Name textbox.
- Click on the Submit button.