Add a Blog/Journal Post (Original)
- Click on the blog link you created (the link may be in Learning Resources, Assessment or a separate link in the Course Menu).
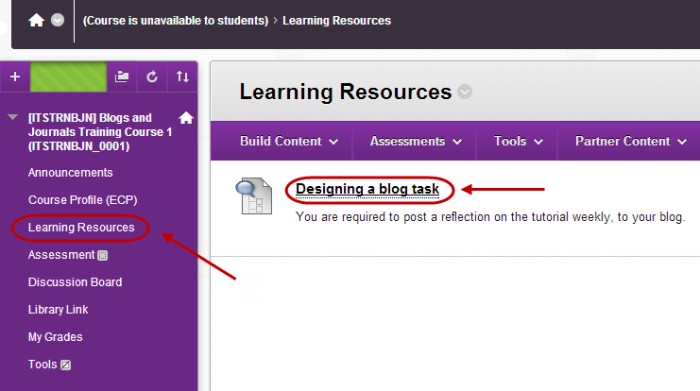
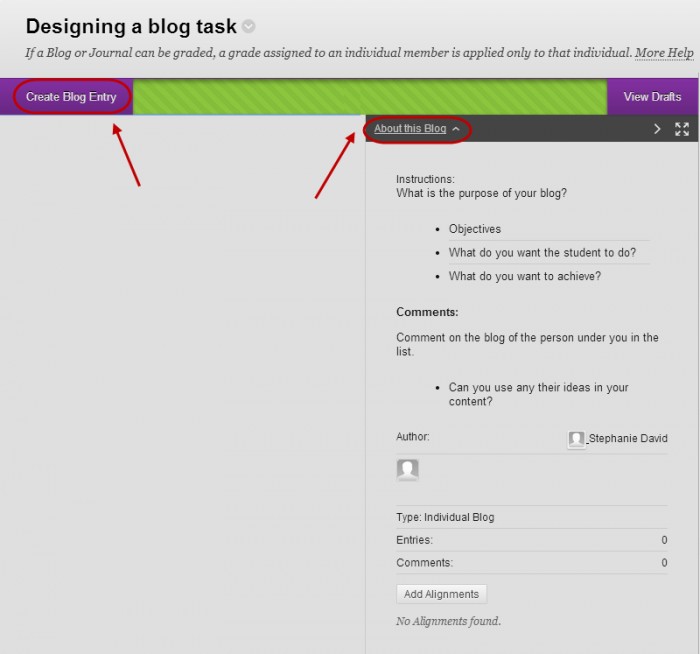
- Click on the About this Blog link to view the task instructions.
- Click on the Create Blog Entry button.
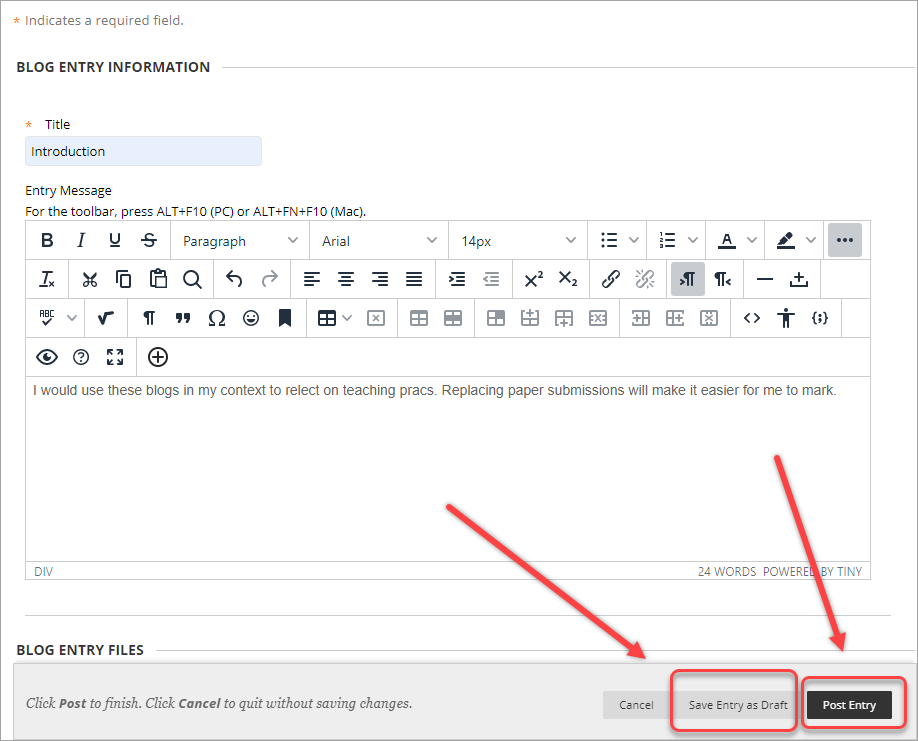
- Enter a descriptive title for the blog post in the Title textbox.
- Enter you reflective post in the Entry Message textbox.
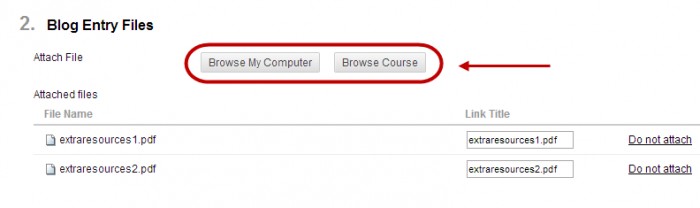
Blog Entry Files
- Click on the Browse My Computer and browse to and open the require files or, alternatively, click on the Browse Course and select the checkboxes of the required files.
- Locate the files and click on the Open button.
- Repeat for any other files you need to attach.
- If you need to remove a file, click on the Do not attach link.
- If you have completed and checked your post, click the Post Entry button. Otherwise, click on the Save Entry as Draft button.
Tip: Encourage student to save their posts regularly as a draft. For more information, refer to the Post a Saved Draft guide.
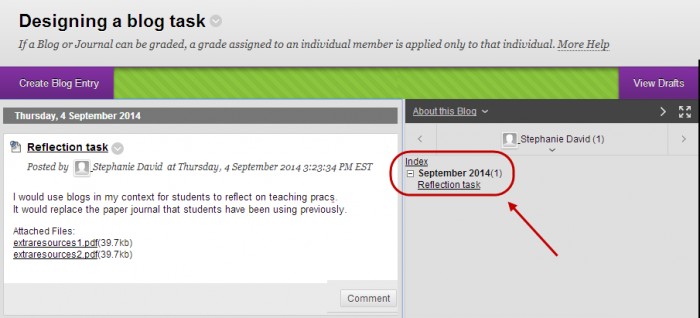
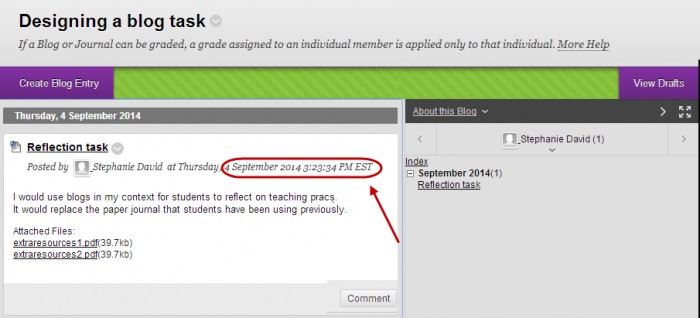
- The post will be displayed with a time and date stamp.
Creating further blog posts
- Click on the Create Blog Entry button.
- Repeat the previous steps in the first section of the guide.
- Your next blog post will be displayed in descending chronological order i.e. the most recent post will appear at the the top of the page.
Note: Depending on how the blog was setup, all the posts for the week or month will be displayed with the newest post on top.
- Links to other posts can be found in the About this Blog section, in the Index menu.