Getting started - Lecture recordings (Ultra Student)
Accessing your lecture recordings
Warning: You may not be able to access lecture recordings if you do not have third-party cookies enabled on your browser. Refer to the guide Enable third-party cookies for instructions on how to fix this issue.
Try Chrome or Firefox if you are having difficulties viewing your lecture recordings in Safari. Refer to the Safari Recommended Browser Configuration guide from EchoVideo for more information.
- Go to Learn.UQ (Blackboard).
- Select the Lecture Recordings link under Course Resources.

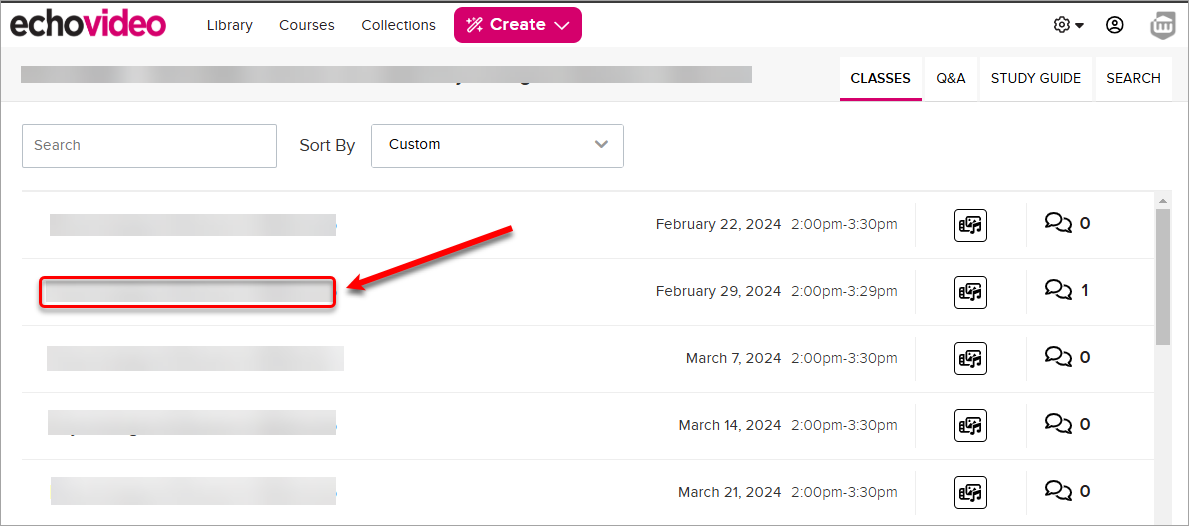
- The EchoVideo system will launch within your Learn.UQ site on the classes page which lists your lecture recordings.
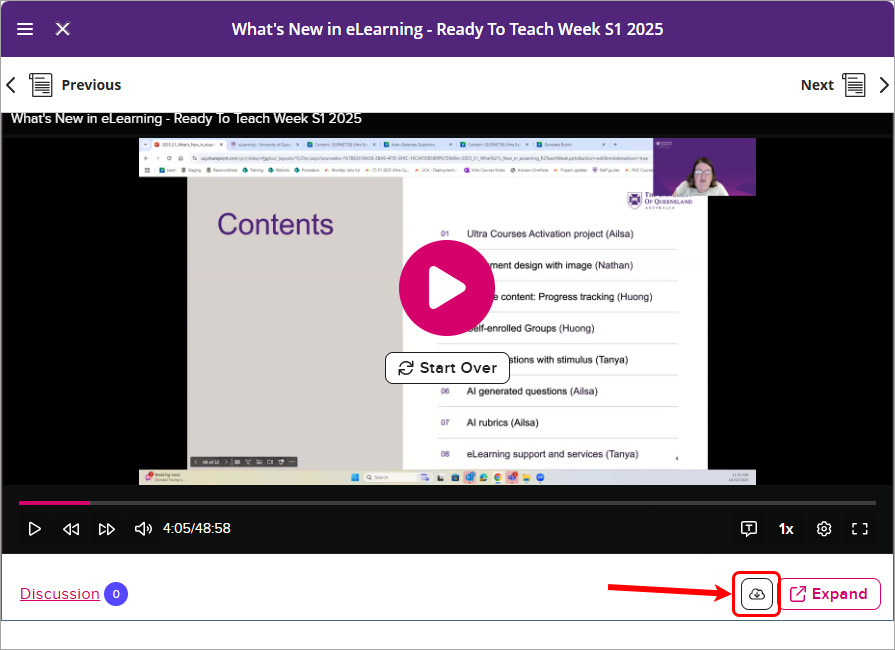
- Click on the Lecture Recording title to open the recording and view it.
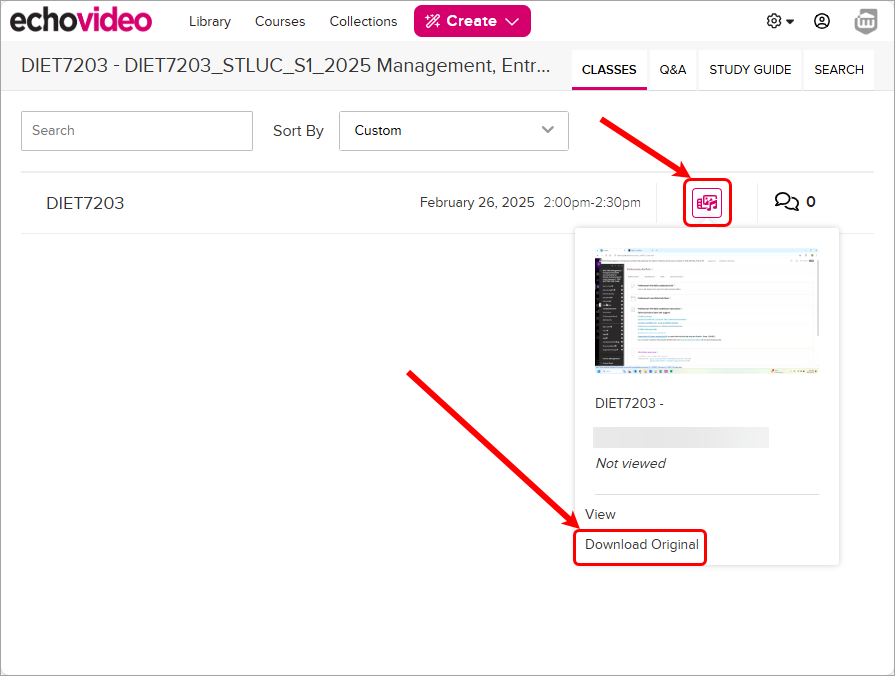
- Click on the Media icon to view or download the original recording.

Flagging and bookmarking content
Flagging content
Flags allow you to identify presentation material that you find confusing or for which you need more explanation.
Note: Flagging content sends a notification to your instructor, letting them know that a student had some problem with the material. The notification flag includes the location of the presentation at the time it was flagged.
- Access the required lecture recording.
- Click on the Flag icon.
Note: If the recording contains both a video and presentation, you will be asked to select if the Scene or Slide is confusing. 
Bookmarking content
Bookmarks allow you to identify presentation material you want to return to later to review or take notes on.
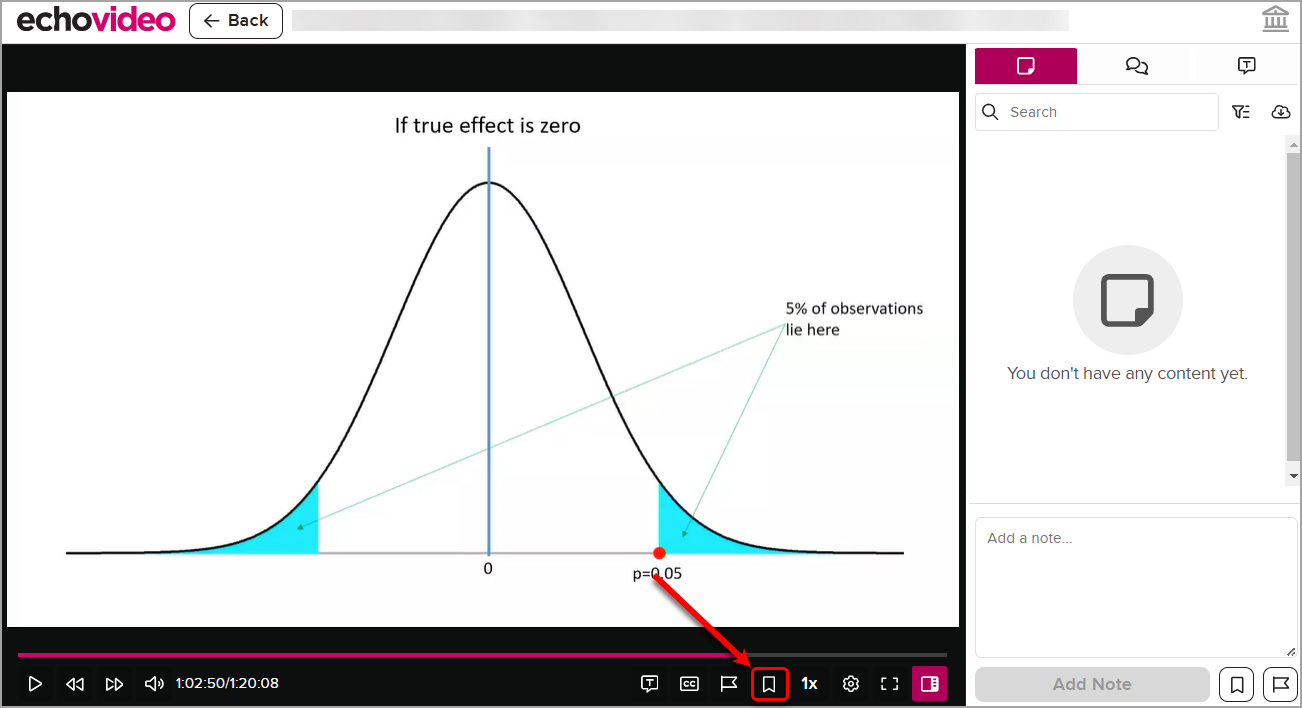
- Access the required lecture recording.
- Click on the Bookmark icon.

Note: If the recording contains both a video and presentation, select to either bookmark Timestamp or bookmark Slide. 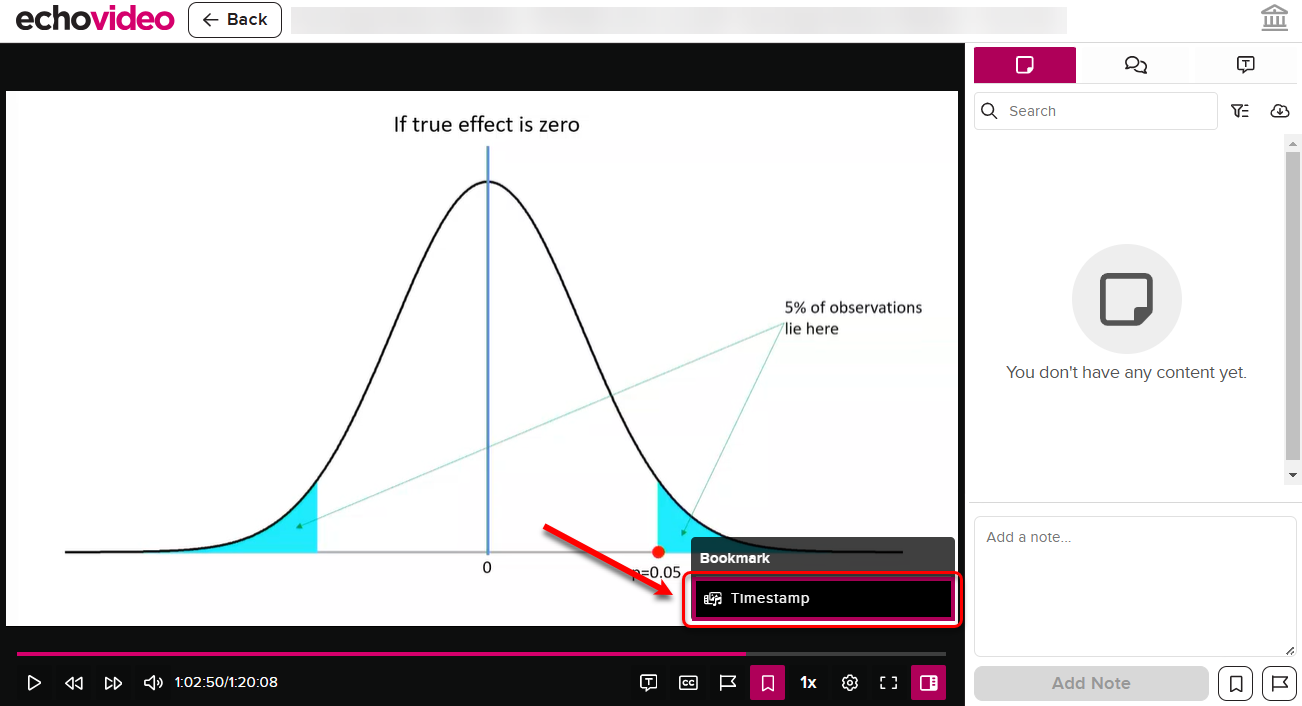
The bookmark will appear with your notes. You will then be able to click on the bookmark and it will take you to the location of your presentation/video.
Refer to the Flagging and Bookmarking Content by EchoVideo for further information.
Taking notes
- Access the required lecture recording.
- Click on the Notes icon, which will open the Notes panel.
- Click on the Notes panel and start typing.
- Click on the Add Note button to save the note.

Downloading notes
- Click on the Download button.
- Choose an appropriate location to save your file and click open.

Note: Your notes are downloaded as a text file.


Q&A
- Access the required lecture recording.
- Click on the Q&A tab.
Note: By default, you will be able to view all questions in your course on this page. - Use the drop-down list to view questions for a particular recording.

- Click a question from the list on the left to view any associated responses.
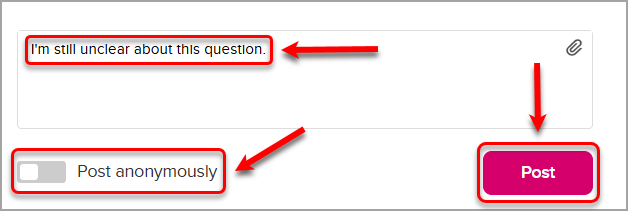
- Click Respond to this question to provide your own response.

Note: You can choose to Post anonymously, which is what other students will see; however, your instructor will be able to see your name.
- Click on the Post button.
Editing and deleting a question
- Click on the required question.
- Click on the down arrow.
- Select edit or delete.

Note: Click New Question at the top of the page to post a new question.

Working with Library content
- Click on the Library link.

On the Library page, you will see the following sections:
- My content: Any content you have uploaded. You can edit this content or share it with another user.
- Shared with me: Contains any media that another user has selected to share with you from their content library.
Refer to the Your Content/Media Library guide by EchoVideo for further information.
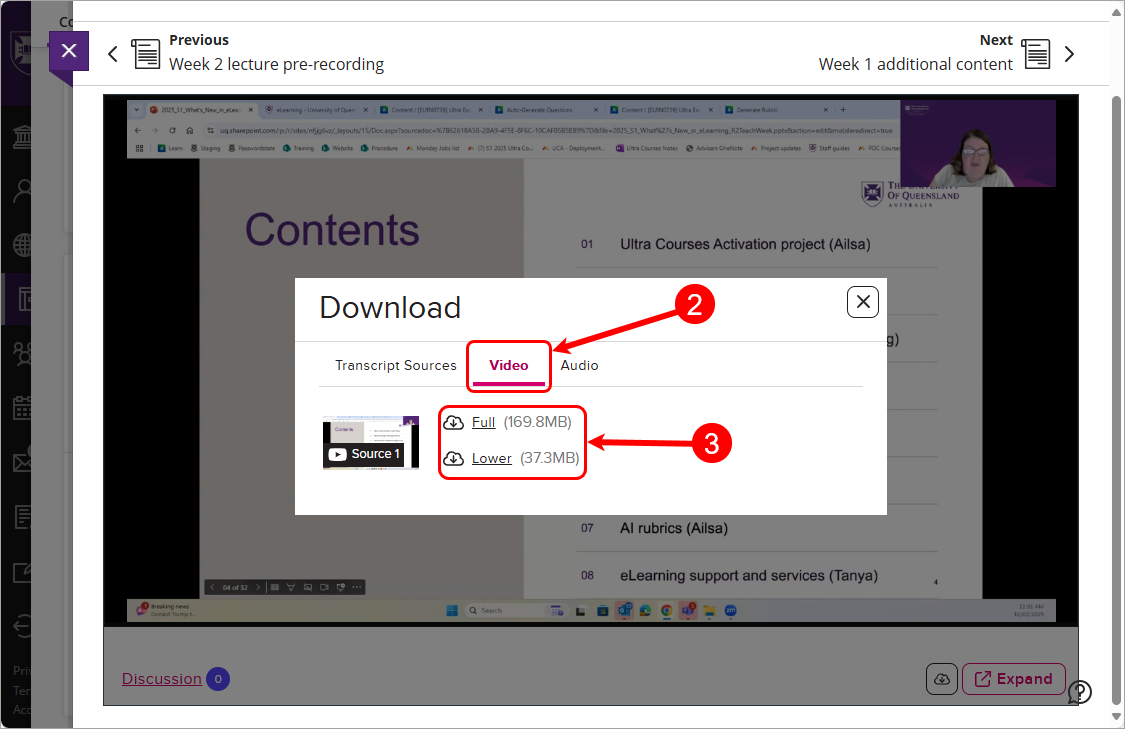
Downloading content from a course lecture recordings
You can download content from EchoVideo from the Class List page so you can view the recording offline.
Refer to the Downloading Media From the Class List (EchoVideo guide) for further information.