Course Insights: Contact students based on assessment data (Ultra)
With the learning analytics from Course Insights, course coordinators can identify the students who do not perform very well in an assessment task and contact them for additional instructions or support (nudges). Assessment data in Course Insights is extracted daily from the Learn.UQ Grade Centre.
The 3 main steps in Course Insights include:
- Viewing assessment results,
- Filtering students based on an assessment task results, and
- Contacting the filtered students for support.
- Click on Books & Tools from the Details & Actions menu in Course content.

- Click on Course Insights in Books & Course Tools menu

- Click on the Assessment on the Course Insights menu.

- Click on the EDIT ASSESSMENT ITEMS button.

- Tick the required assessment item to investigate. Note that if you access Course Insights in real time, i.e. after the first assessment item is marked, you will see only one assessment in displayed.

- The breakdown of the selected assessment item is displayed. The group who score from 4 and below are low performers in this assessment item.

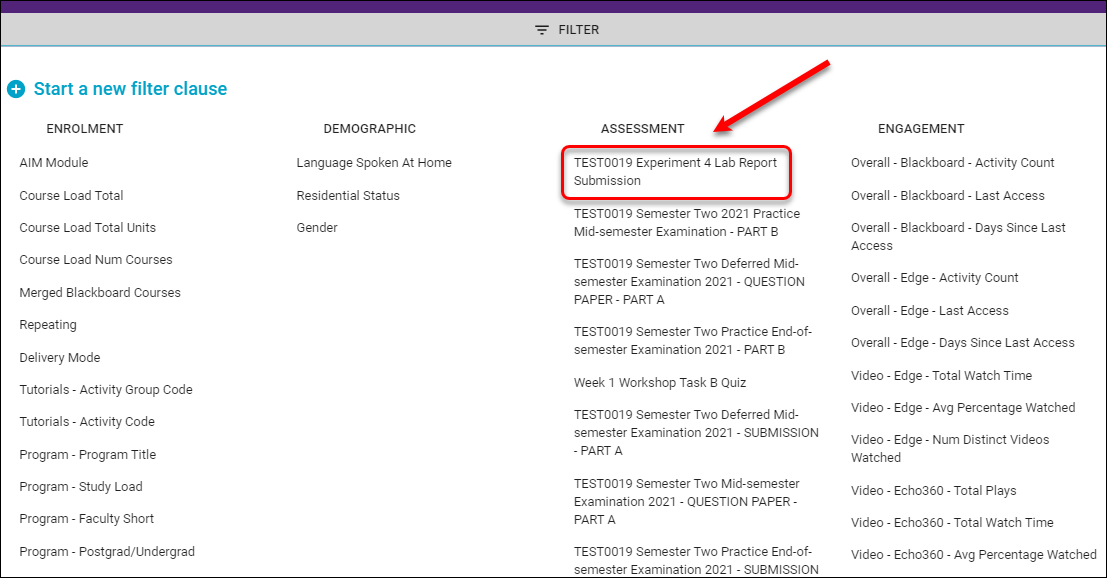
- Click on the FILTER button at the top of the page.

- Select the assessment item you want to investigate from the ASSESSMENT list.
- Select less than or equal to from the Select an operator drop-down menu.

- Enter 65 in the textbox (because this assessment item is marked out of 100% and 65% is equivalent to a 4 according to UQ 1 - 7 Grading Schema).
- Click on the APPLY button.

- Click on the Students section from the Course Insights menu to view the filtered result.

- This sample course has 15 students who scored from 4 or below in this assessment item.

- Click on the SEND EMAIL button at the top of the page to contact these students.

- Select the Reply Options (reply or non-reply).
- Tick the Send me a copy of this email (if you want to have a copy).
- Enter the Email Subject.
- Compose the email content.
- Tick the Save Template checkbox (so next time you will be able to use the content you have composed).
- Click on the SEND button.

Note: Check this guide if you do not have access to Course Insights.