Deploy a Blackboard Survey (Original)
Overview
There are four steps to using a survey:
- Create the survey.
- Add questions to the survey.
- Deploy the survey.
- Download the survey results.
You need to deploy a survey to a Content Area (i.e. Learning Resources or Assessment) so students can access it. A survey can only be deployed once.
Add Survey link to a Content Area
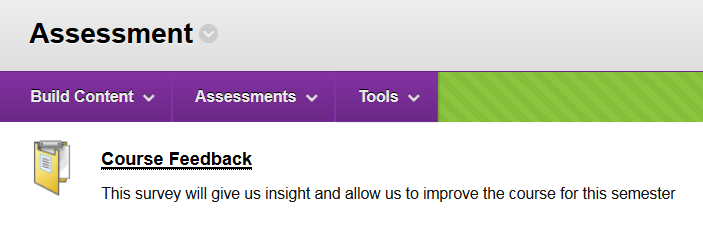
- Open the required Content Area (i.e. Learning Resources or Assessment).
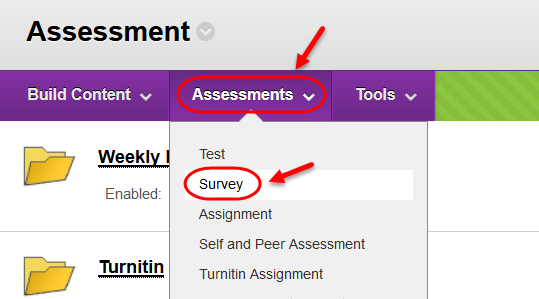
- Click on the Assessment button.
- Select Survey from the drop down menu.
Add Survey
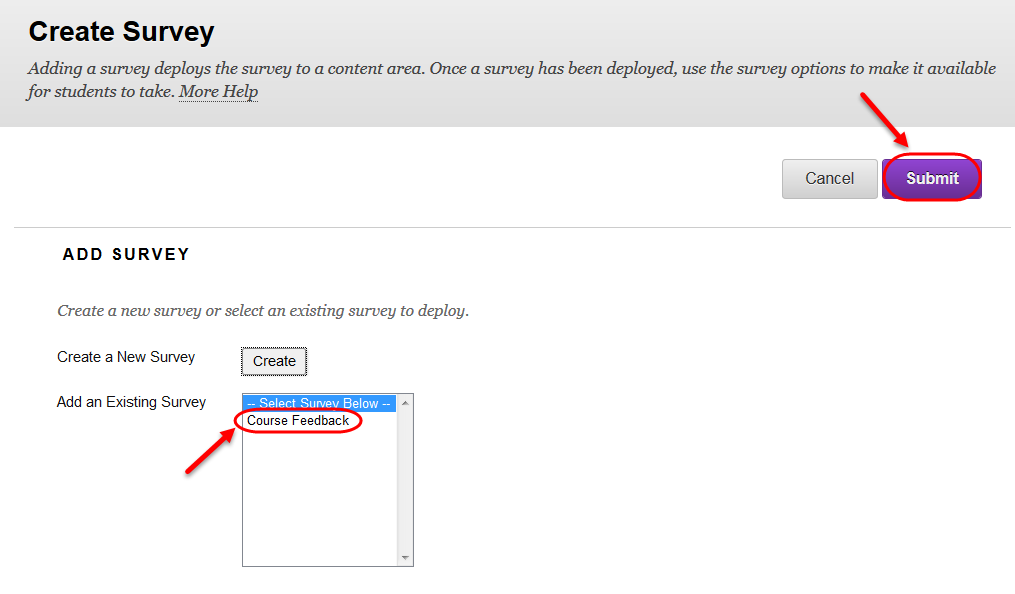
- Select the required survey from the Add Survey list.
- Click on the Submit button.
Survey Information
- If required, edit the title of the survey in the Name textbox.
- If required, edit the Content Link Description. This option allows you to give information to the students before they open the survey.
- From the Open Survey in New Window radio buttons:
- Yes, use this option if students need to access resources on the rest of the site.
- No, usually the recommended setting.
- If required, check the Show Survey Description checkbox and/or Show Instructions to Students checkbox
Note: If you decide to show the description or instructions, it should be kept short otherwise it will cause students extra scrolling.

Survey Availability
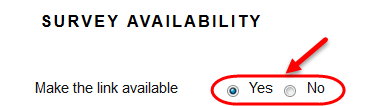
- From the Make the Link Available radio buttons:
- Yes, makes the link appear to students immediately or once the Display After date has been reached.
- No, the link will not be displayed to students.
Note: Use the Display After option to determine WHEN the students can access the survey.
Survey Announcement
- From the Add a new Announcement for this Survey radio buttons:
- Yes, an automatic announcement will be posted when the survey link becomes available.
- No, recommended option
Note: This automatic announcement is not very informative; it is recommended you write your own.

Force Completion
- DO NOT check this option. Once the student opens the survey they must complete it. If they navigate away from the exam or lose their internet connection they cannot re-enter and complete the survey.

Set Timer
- Check the Set Timer checkbox, if you wish to add a clock to the survey.
- Select the hours and minutes from the drop down lists.
Note: The elapsed time is displayed to the student during the survey. A one minute warning is also displayed as the student approaches the time limit.
- From the Auto-Submit radio buttons:
- Off, students can continue after the time is up.
- On, the survey is automatically submitted when the time is up.

Display after
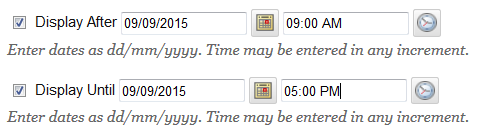
- Use the Display After and Display Until to set specific times the survey link is available to students.
- If required, select the Display After checkbox and enter the date using the (Date Selection Calendar) and enter the time using the (Time Selection Menu).
- If required, select the Display Until checkbox and enter the date using the (Date Selection Calendar) and enter the time using the (Time Selection Menu).
Note: Once the student has entered the survey the Display Until date/time does not affect them completing the survey.
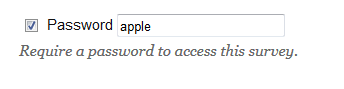
Password
- Check the Password checkbox, if you wish students to enter a password before they can start the survey.
Due date (optional)
- If required, select the Due Date checkbox and enter the date using the (Date Selection Calendar) and enter the time using the (Time Selection Menu).
- If required, check the Do not allow student to start the Survey checkbox.
Note: Unless the above option is selected, students will be able to complete the survey after the due date and their survey will be labelled Late in Grade Centre.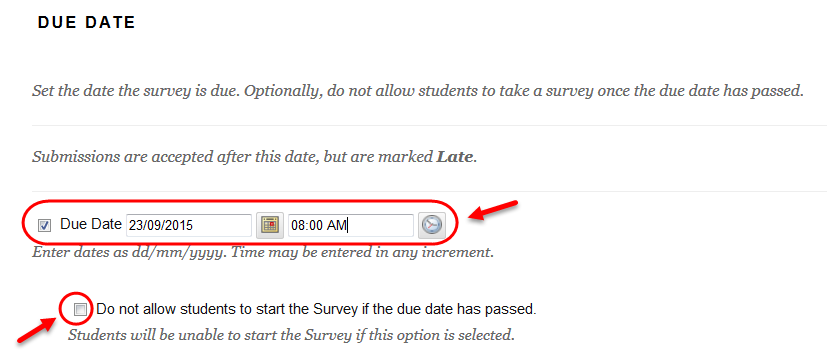
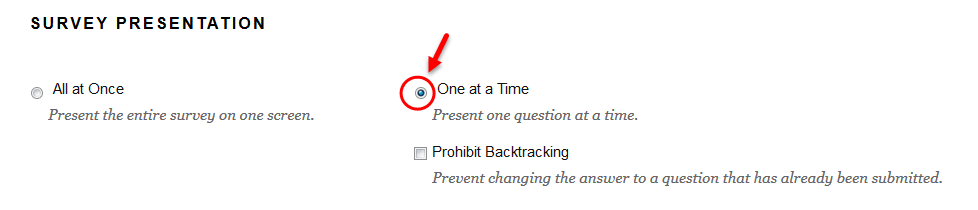
Survey Presentation
Presentation Mode
- From the Presentation Mode radio buttons:
- All at Once, all questions are displayed on the one page. This is the easiest option for students.
- One at a Time, students can only view one question per page.
Note: In an invigilated session this option can help stop students viewing answers on a neighbour’s screen, as they are unlikely to be on the same question
- Prohibit Backtracking, DO NOT select this option, if students use the browser back button they will be thrown out of the survey.
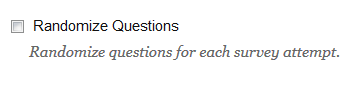
Randomise Questions
- Leave the Randomised Questions checkbox unchecked is recommended for a survey so that students will all receive the questions in the same progressive order.
Submit
- Click on the Submit button.
Informing students
Ensure that you clearly inform students of the survey settings, for example:
- If there is a time limit.
- When the survey link will be available.
- The presentation mode for the questions i.e. All on one page OR One question per page.
Download Survey results
- Refer to the Download results guide.