Student Created Group - Self-Enrol (Original)
This method allows students to create groups that other students can self-enrol in.
Students can access the Groups listings page by the tools link or by a group menu link if you have created one.
View Groups listing page
- From the Control Panel select Users and Groups > Groups.
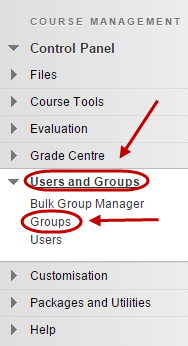
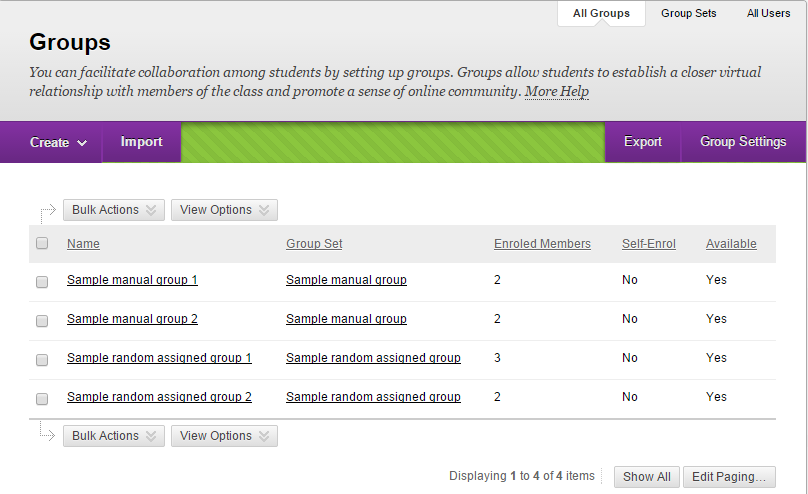
- The Groups page will be displayed.
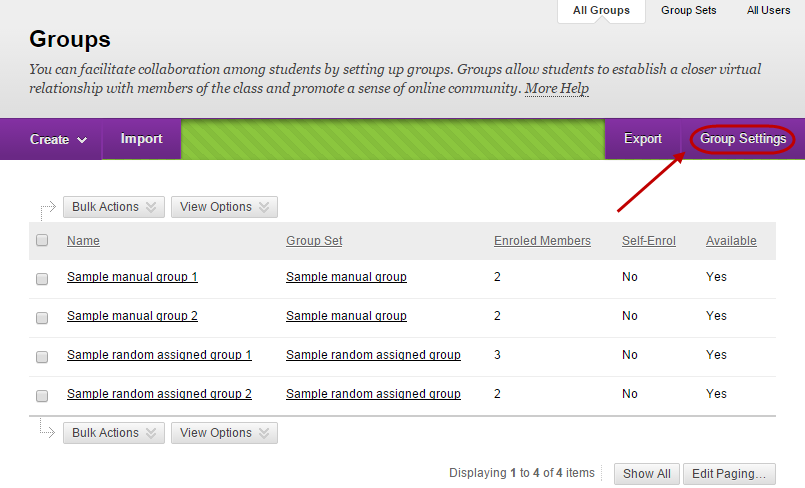
Group Settings
- Click on the Group Settings button.
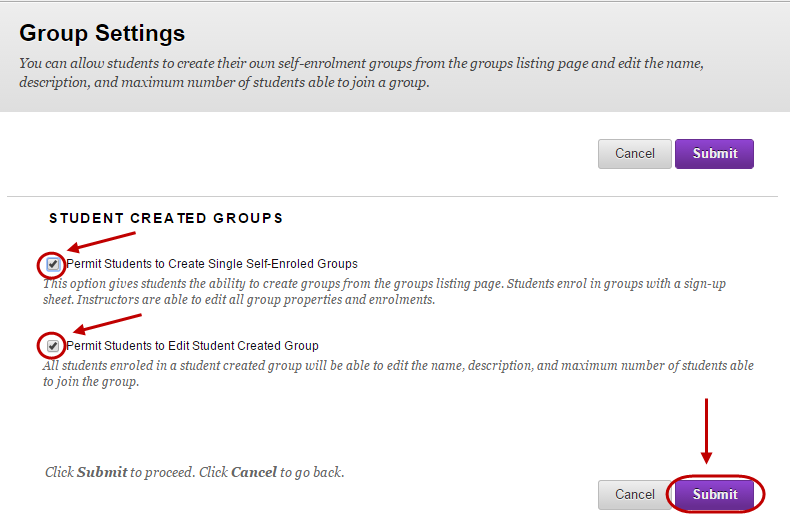
- Check the Permit Students to Create Single Self-Enrolled Groups checkbox.
- Check the Permit student to Edit Student-Created Group checkbox.
- Click on the Submit button.
Link the Groups page to the Course Menu
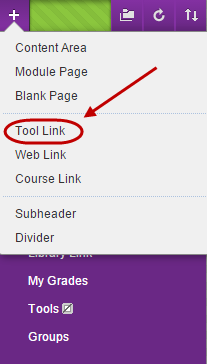
- Click on the plus button in the Course menu.
- Select Tool Link from the drop down list.
- Enter a title in the Name textbox.
Note: Please advise your students not to use special characters, e.g. "_, > <'; as they will not be recognized by the system and will not be displayed in Group Assessments.
- Select Groups from the Type drop down list.
- Check the Available to Users checkbox.
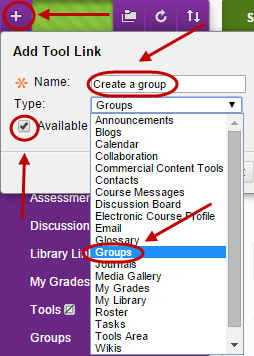
- Click on the Submit button.
Accessing and Creating a Group
Refer students to the Groups student guide for more information about accessing and creating groups.