Create, edit and view blogs and journals (Original)
This guide details the process of creating and editing a blog post or journal entry. It also describes how to view other participants' blog posts or journal entries, as well as how to add comments, view comments and delete comments on other participants' blog posts or journal entries.
1. Create a blog post or journal entry
Follow any instructions or guidelines provided by your instructor. Ensure the content is appropriate. You may not be able to delete it.
- Navigate to your individual, group or course blog/journal.
- Click on the Create Blog Entry or Create Journal Entry button.
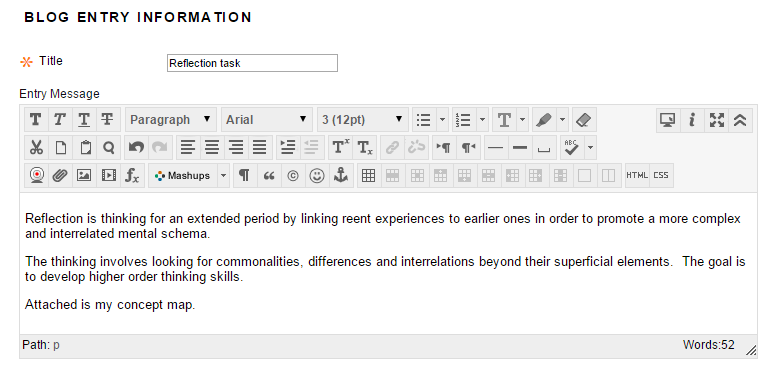
- Enter a descriptive title in the Title textbox.
- Enter the body of your post/entry in the Entry Message box. For more information on using the text editor, refer to the Learn.UQ Text Editor guide.

- Optionally, click on the Browse My Computer button to attach any files.
- Optionally, locate and attach the required files from your computer and repeat for any other files you need to attach.
- Optionally, click on the Do not attach link to remove any attachments before you submit.

- Click on the Post Entry button to publish the post/entry.
- Alternatively, click on the Save Entry as Draft to return to the post later.
Published posts/entries are displayed with a timestamp within the blog or journal.

