Create your own QuickMark Set (Original)
You can create your own QuickMark set (comment bank) that will be available to you in all courses that you teach.
Note: The availability of QuickMark sets is based on who is logged in not what Blackboard course TurnItIn is accessed from (refer Download/Upload QuickMark Set guide to share you QuickMark set).
Video Guide
Create a QuickMarks set (YouTube, 1m 50s)
Create the set
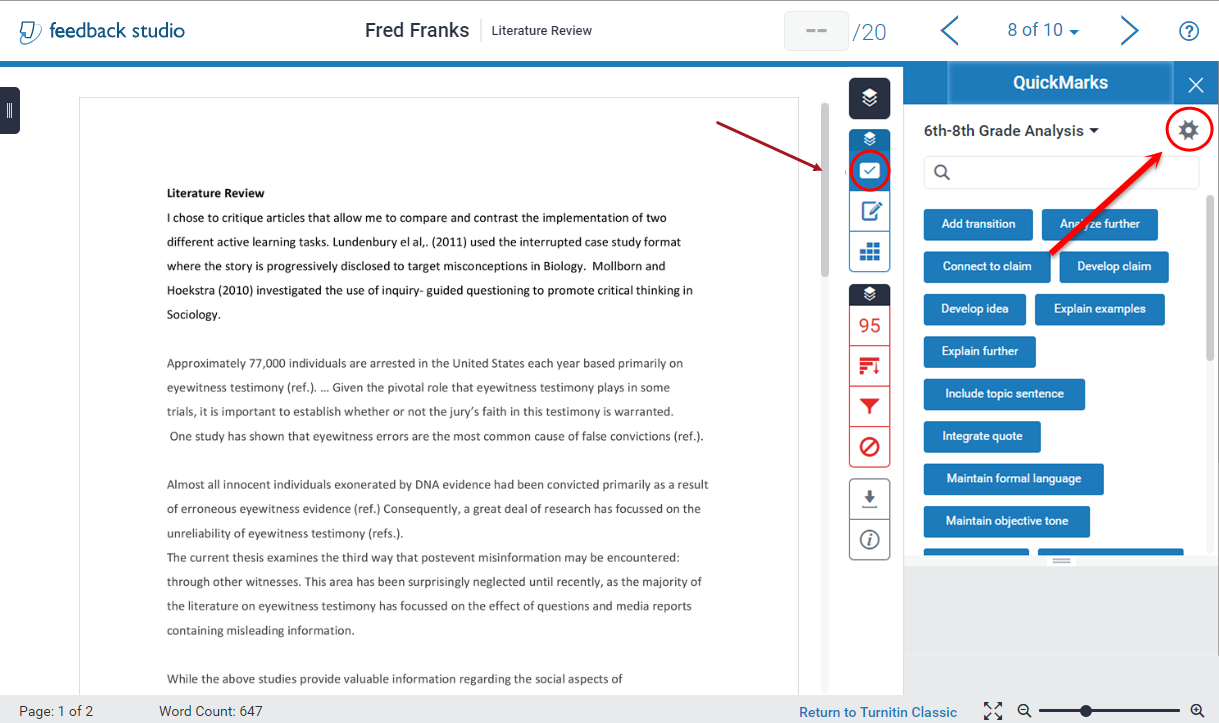
- Click on the QuickMark icon.
- From the QuickMarks side panel, click on the cog button.
- Click on the Menu drop down.
- Select Create New Set.

- Give your set a name and click the Submit button.
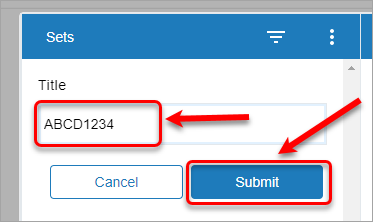
- The set is automatically created and available in the Sets column.
Add marks (comments)
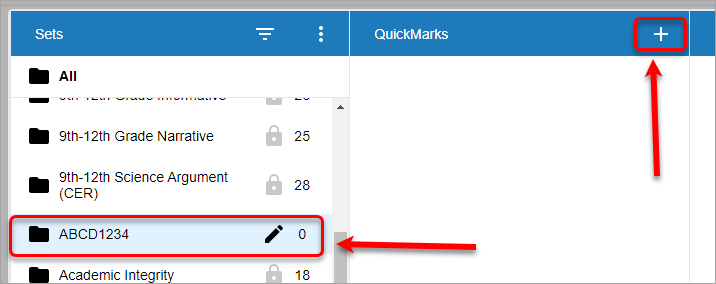
- Select the set name in the Sets column.
- Click on + to add a new quickmark.
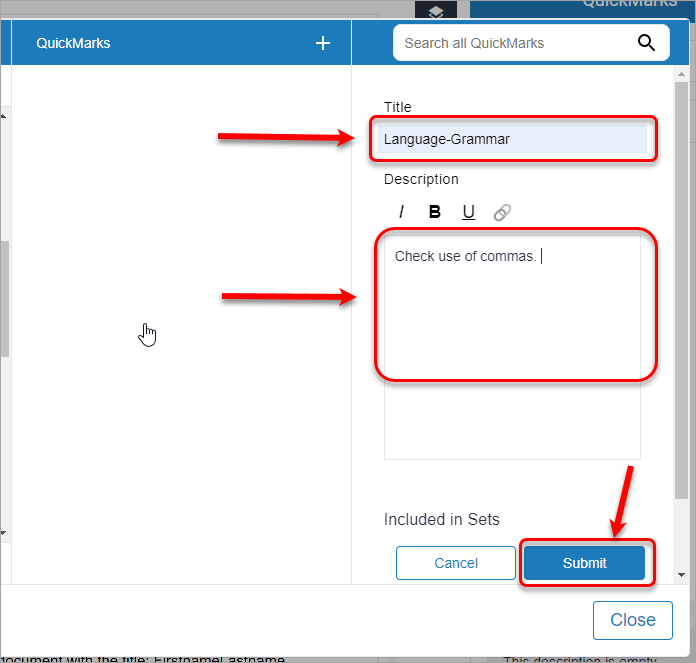
- In the Title textbox, add a descriptive title.
- In the Description textbox, add the feedback students will see.
- Click on the Submit button.
Add bubble comments to QuickMark sets
- Click on the required bubble comment.
- Click on the Convert to QuickMark link.
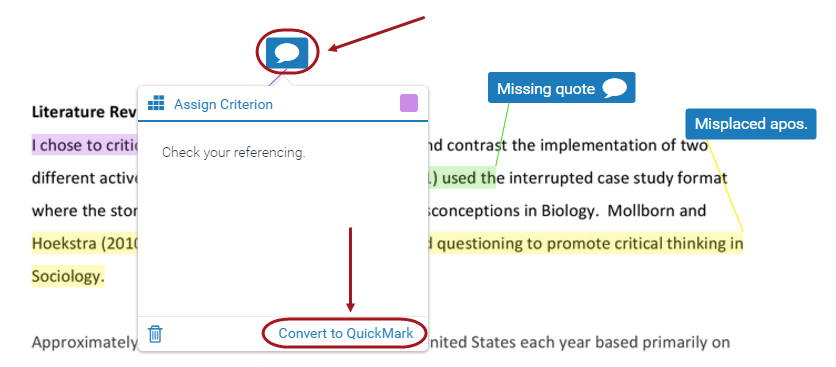
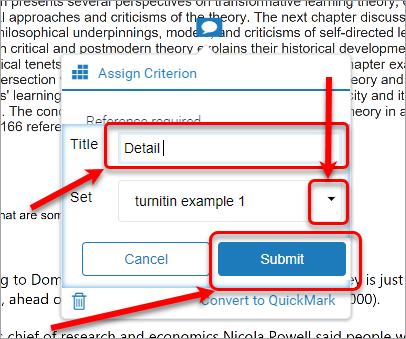
- Enter a descriptive title for the comment in the Title textbox.
- Select the set you wish to add the comment to, from the Set drop down list.
- Click on the Submit button.
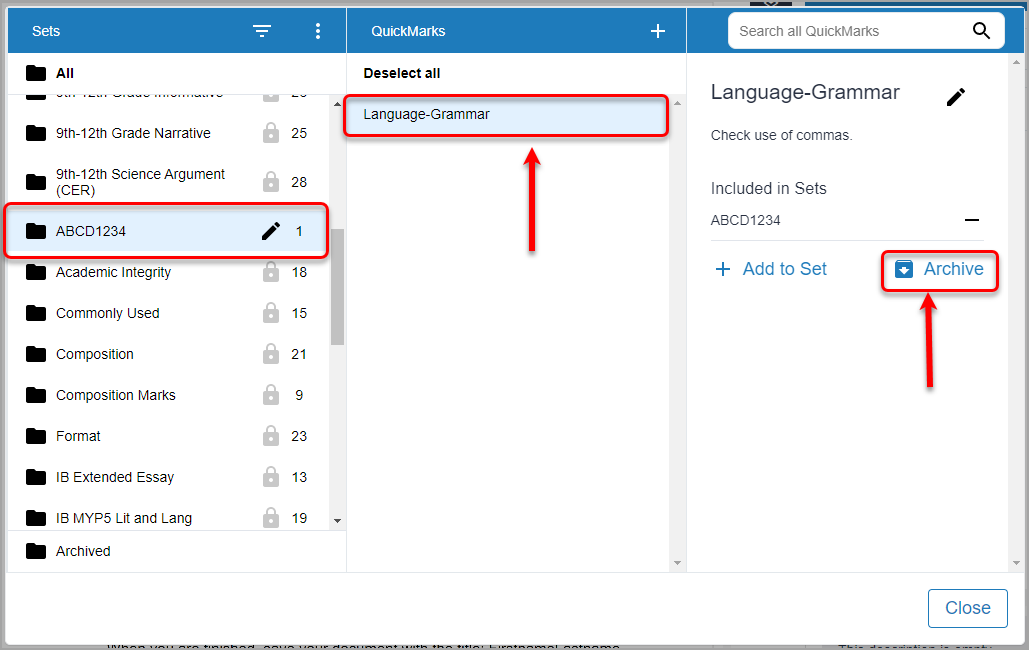
Delete comments from QuickMark sets
Note: It is not possible to delete comments from the standard TurnItIn QuickMark sets.
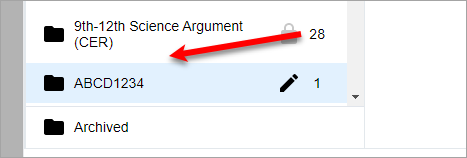
- Go to the QuickMark set you wish to delete.
- Select the marks (comments) you wish to delete.
- Click on the Archive button.
Rename a QuickMark set
Note: It is not possible to rename the standard Turnitin QuickMark sets.
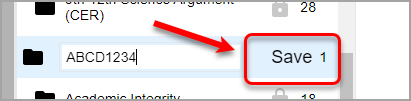
- Click on the required set.
- Click on the pencil.
- Enter the new name.
- Click save.
Delete a QuickMark sets
- Click on the required set.
- Click on the hamburger drop down and select the Delete Set button.
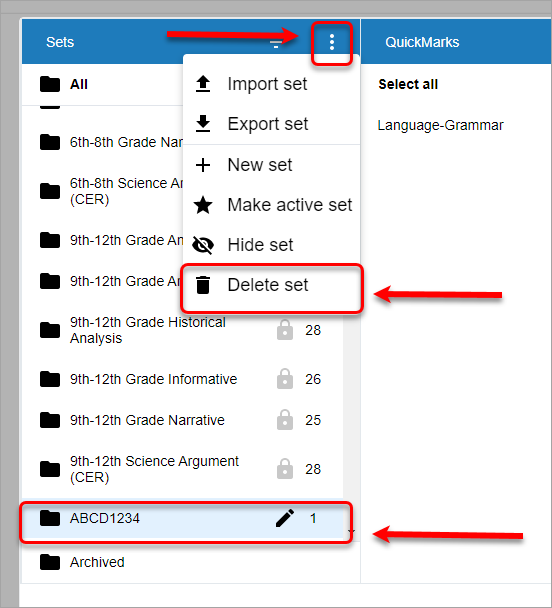
- You will get a confirmation message. Click on the OK button.