Universal Capture - Create a Recording (Ultra)
1. Launch Universal Capture
If you have not downloaded Universal Capture on your computer, refer to the Download Universal Capture guide.
- Launch Echo360 Universal Capture on your computer.
Note: If you are not using your computer's built-in microphone, plug in your external microphone before you launch the program.
- Click on the Click here to login link.

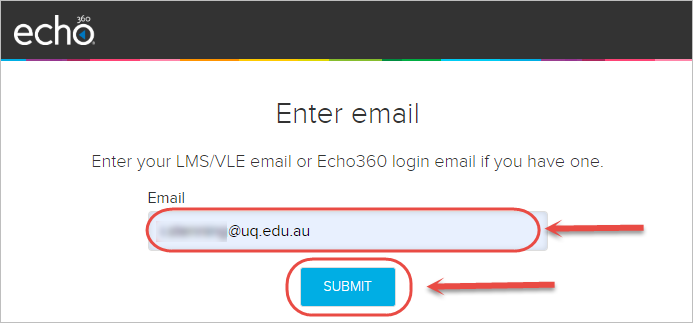
- In the browser, enter your UQ email address in the Email textbox.
- Click on the Submit button.
- Select University of Queensland from the institution dropdown.
- Click on the Submit button.

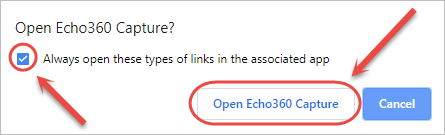
- In the pop-up, check the Always open these types of links in the associated app checkbox.
- Click on the Open Echo360 Capture button.
- Echo360 Universal Capture will then be ready to start recording.