Course template (Ultra)
The Learn.UQ course template supports teaching staff in delivering a consistent student learning experience across all courses and includes required items to meet minimum presence requirements.
“Staff should consider the best practice guidelines made available by the Institute of Teaching and Learning Innovation on the UQ eLearning website.” eLearning policy & procedure (Section 3.12)
A consistent course design helps students quickly locate resources, navigate with confidence, reduces cognitive load, and supports students who rely on assistive technologies to ensure all students can focus on learning, rather than navigation. For advice on getting started with your Learn.UQ course, please refer to the Getting started with Learn.UQ staff guide.
Learn.UQ course template structure
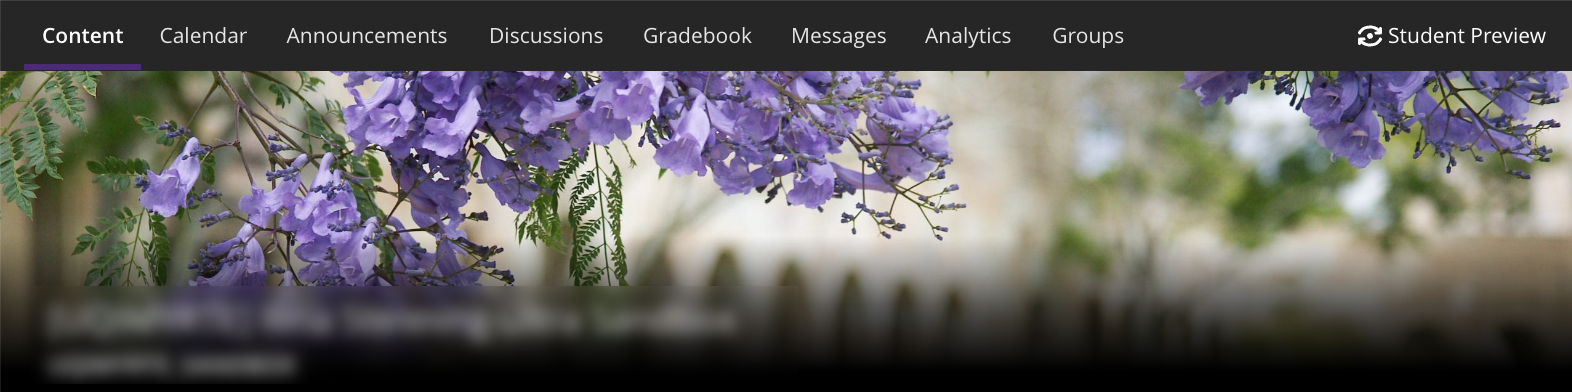
1. Navigation bar & course banner
Navigation bar (fixed)
Note: It is not possible to add any new tabs to this navigation bar.
- Content – All course content is located on this page including relevant links, assessment, course resources and learning materials.
- Calendar – A course calendar viewable by day or month which shows automated due dates from Gradebook and other events custom events.
- Announcements – Contains a list of all course announcements. Any new announcements since students last accessed the course will appear as a pop-up window when they first access the course.
- Discussions - If you have created any discussions, they will appear in this tab. If you are using Ed Discussion, remind students to navigate to the Content page to contribute.
- Gradebook – Staff access all marks from this location and students use the same menu item to access their individual results.
- Messages – Students can message staff and their group members. Staff can reply to the student either through the course or via email. Optionally, Course Coordinators can turn this functionality off (via Course Settings) and this menu item will not be displayed.
Note: When the Messages functionality is turned off, students can still message staff via the email icon in the Course Staff list. These emails will come from a no-reply email address. Also, students will not be able to message their group members. - Analytics – Contains detailed analytics on student performance and activity in your course.
- Groups – Allocate+ groups are available here. Course coordinators can also set up custom, randomly assigned or self-enrol groups.
Custom course banner (recommended)
We recommend you replace the default course banner image through the Details & Actions menu with a relevant custom image of your choice. For step-by-step instructions, refer to the Course banner guide.
eLearning Adviser Consultations (via Zoom)
The eLearning Adviser Consultations offers one-on-one consultations to course teaching staff on adopting UQ eLearning technologies.