Create a cohort (Original)
Setting up a cohort is an important part in the process of creating ePAD's for students to use. A cohort will be attached to an ePAD and remain attached until that cohort completes the program.
It is recommended that a cohort is created with the intention to archive the cohort one year after the completion of the program. For example the MD program is a 4 year program and if students begin in 2023 the cohort would finished at the end of 2026 and be archived at the end of 2027.
Prior to creating an ePAD cohort you will need to ensure that the InPlace allocation group containing your student's placements has been received by MyProgress. The InPlace allocation groups will create student accounts in the system and is required in order to create the cohort. If your InPLace allocation groups have not been received by MyProgress, refer to the InPlace to MyProgress guide to ensure the allocation group has been configured to send through data.
Note: If you have already previously setup your cohort and need to add or remove students, refer to the Manage a cohort guide.
1. Create cohort
- Login to the MyProgress ePAD page.
- Click on Admin.
- Select Groups.

- Click on the Create group button.

- In the Organisation drop-down box type the name of your School. e.g. School of Nursing, Midwifery and Social Work
- Select Cohort from the Type drop-down list.
- Click on the Name textbox and enter a meanigful cohort name.There are 2 preferred options for labelling your Cohort, they are as follows:
- Name of program (start year - end year) e.g. Bachelor of Midwifery (2025-2027)
- Name of program class of end year e.g. MD Class of 2027
- Enter the start date of the cohort in the format DD/MM/YYYY (this date should be set one week before the start of the program)
- Enter the end date of the cohort in the format DD/MM/YYYY (this date should be set to either the 31/12/YYYY for end of year graduates or 31/07/YYYY for mid-year graduates)
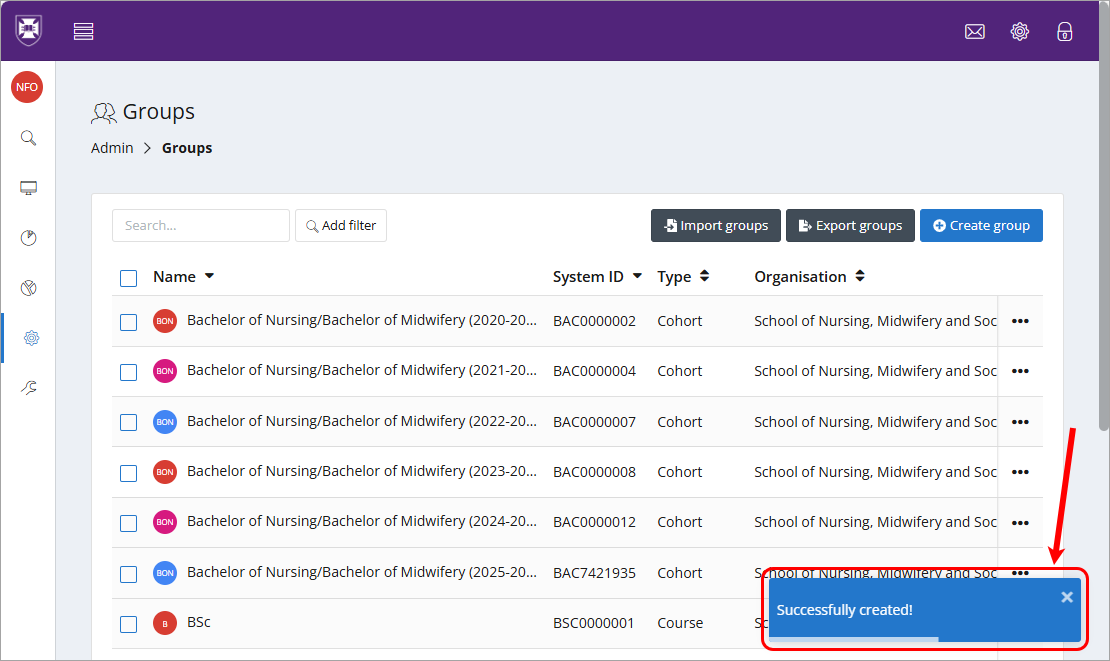
- Click on the Create button.

- The Successfully created! message will be displayed.