Download Adobe Connect Recordings
If you are still using Adobe Connect for virtual classroom activities, you will need to plan to use Zoom from Summer Semester 2018/2019 onwards. To prepare for this change, learn how to download old Adobe Connect recordings to ensure no data is lost during this process.
- Go to meet.uq.edu.au
Note: Use the Internet Explorer browser if you are on a PC or Firefox browser if you are on a Mac.
- Log in with your UQ username and password.
- Click on the Login button.

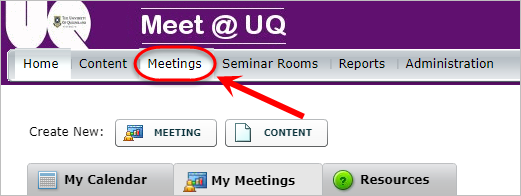
- Click on the Meetings button in the menu.
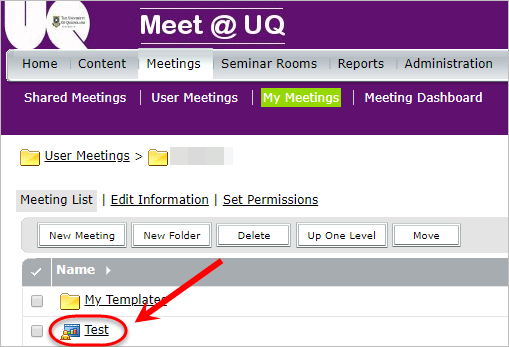
- Click on the meeting within the name column you would like to download a recording for.
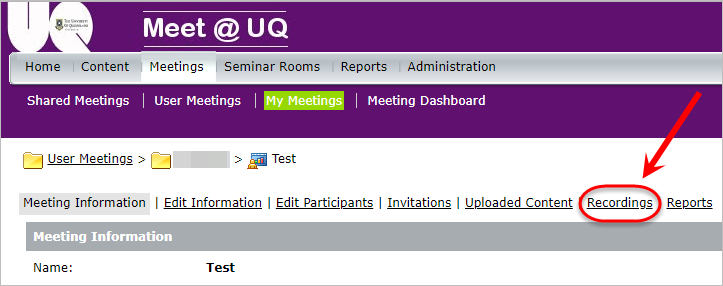
- Click on the Recordings link.
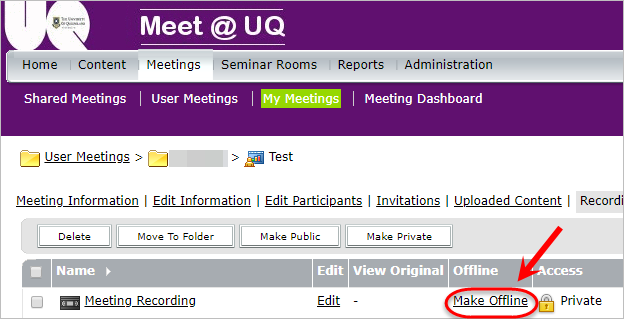
- Click on the Make Offline link within the Offline column for the recording you would like to download.
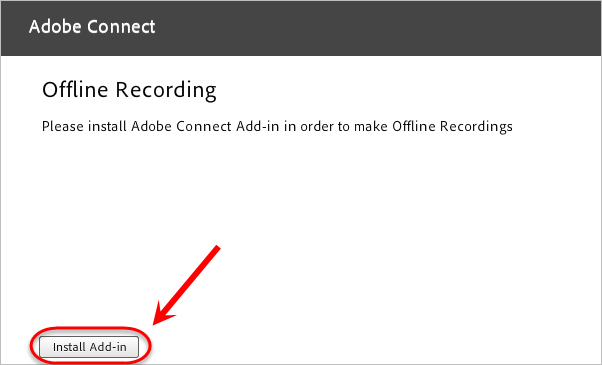
- A pop-up window may appear.
- Click on the Install Add-in button.
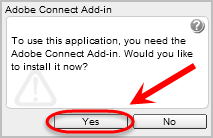
- Another pop-up will appear asking if you would like to install the Adobe Connect Add-in.
- Click on the Yes button.
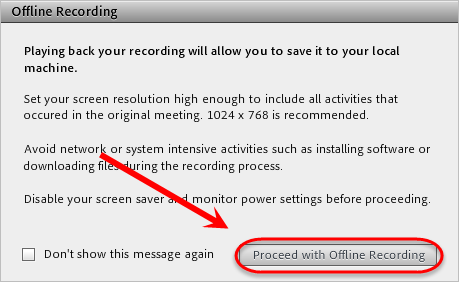
- The Adobe Connect program will launch.
- Click on the Proceed with Offline Recording button.
- Adobe Connect will launch and a Save File As pop-up window will appear.
- Choose a location to save the .flv file.
- Click on the Save button.
![]()
For more information on how to upload the .flv file recording to My Media, refer to the My Media guide.
For more information on how to embed the .flv file recording into Blackboard, refer to the Insert Echo360 video into a Content Area and Insert a Video using the Text Editor guides.