Add a Content Area Web Link (Original)
Video Guide
Add a Web Link (YouTube, 1m 23s)
Add a Content Area Web Link
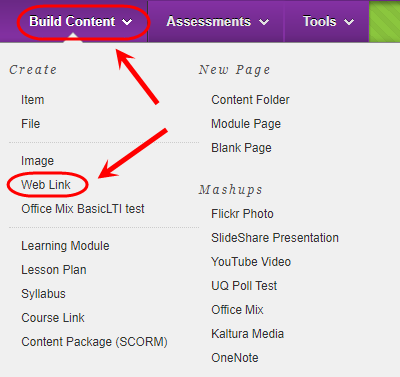
- Click on the Click on the Build Content button.
- Select Web Link from the drop down menu.
Web Link Information
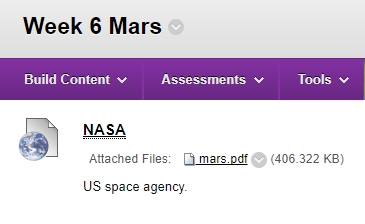
- Enter a description title for the link in the Name textbox.
- Paste the website address in the URL textbox.

Description
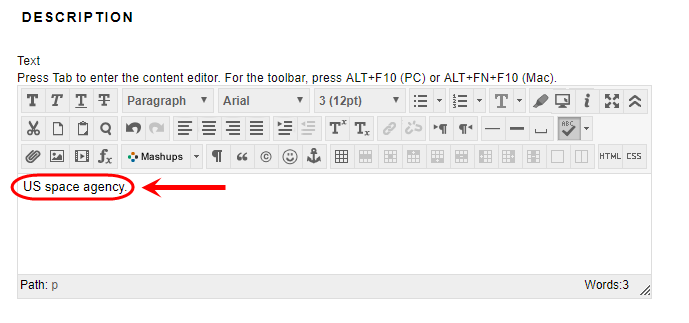
- Optionally, enter a detailed description of the website in the Description textbox.
Attachments
- Optionally, if you want to attach a file:
- Click on the Browse My Computer and browse to and open the require file OR
- Click on the Browse Course and select the radio button of the required file.

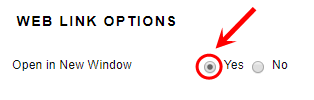
Web Link Options
- It is recommended that you leave the Yes, Open in New Window radio button selected.
Standard Options and Submit
- Optionally, if you do not want students to view the web link yet, select the No Permit Users to View this Content radio button.
- Optionally, if you want to know how many times the web link is viewed, select the Track Number of Views radio button.
- Optionally, set Date and Time Restrictions: i.e. The course content could be organised into weekly learning modules that are display progressive over the semester at the relevant time.
- If required, select the Display After checkbox and enter the date using the Date Selection Calendar and enter the time using the Time Selection Menu.
- If required, select the Display Until checkbox and enter the date using the Date Selection Calendar and enter the time using the Time Selection Menu.
- Click on the Submit button.