Add a Content Area File Link (Original)
Video Guide
Add a File Link (YouTube, 1m 08s)
Add a File
Documents of most file types can be linked using the File option.
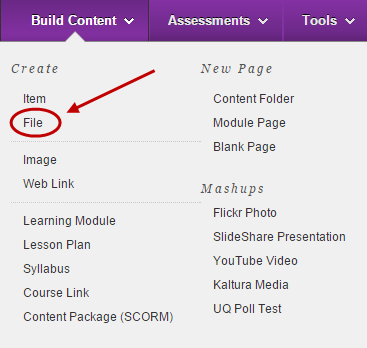
- Click on the Build Content button.
- Select File from the drop down menu.
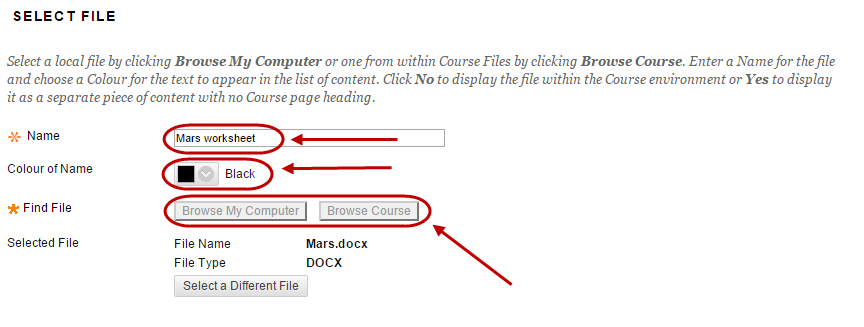
Select File
- Click on the Browse My Computer and browse to and open the require file OR
- Click on the Browse Course and select the radio button of the required file. Click the Submit button.
- Enter the title of the document in the Name textbox.
- Optionally, select the font colour for the title from the Colour of Name drop down colour picker.
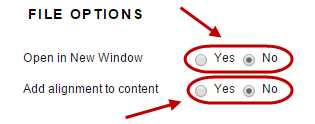
File Options
- Use the default settings for File Options.
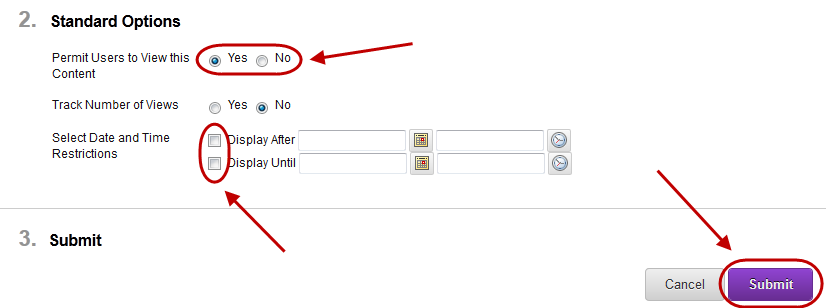
Standard Options and Submit
- Optionally, if you do not want students to view the file yet, select the No Permit Users to View this Content radio button.
- Optionally, if you want to know how many times the file is viewed, select the Track Number of Views radio button.
- Optionally, set Date and Time Restrictions: i.e. The course content could be organised into weekly learning modules that are display progressive over the semester at the relevant time.
- If required, select the Display After checkbox and enter the date using the Date Selection Calendar and enter the time using the Time Selection Menu.
- If required, select the Display Until checkbox and enter the date using the Date Selection Calendar and enter the time using the Time Selection Menu.
- Click the Submit button.
Tip: If a file is the first item in a Learning Module, students will be prompted to open it when they enter the Learning Module. It is recommended therefore that you put an image or introduction text using an Item at the top of the page before the file content.