Create a Flip group
Groups in Flip are equivalent to courses or tutorial groups. You will need to create different groups for different courses or tutorial groups in your course.
There are a number of options and settings related to creating groups, including:
- Add a co-lead in a group who are the other teaching staff or tutors to manage/mark your groups
- Group privacy and notification settings: Select the relevant settings for your group
- Duplicate a group to create different Flip tutorial groups in a course
- Export a group data to generate an excel file including group statistics
Video Guide
Create a group in Flip (YouTube 5m46s)
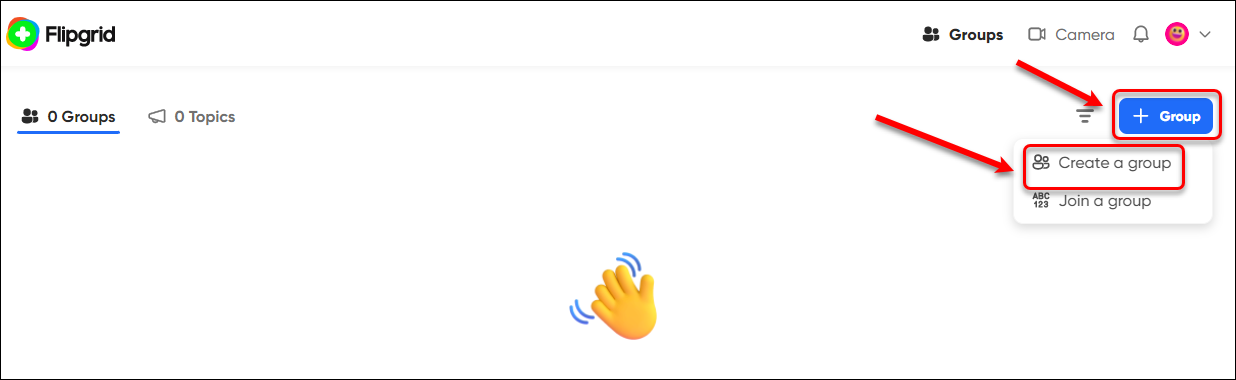
- Access your Flip account.
- Click on the Group button.
- Select Create a group.
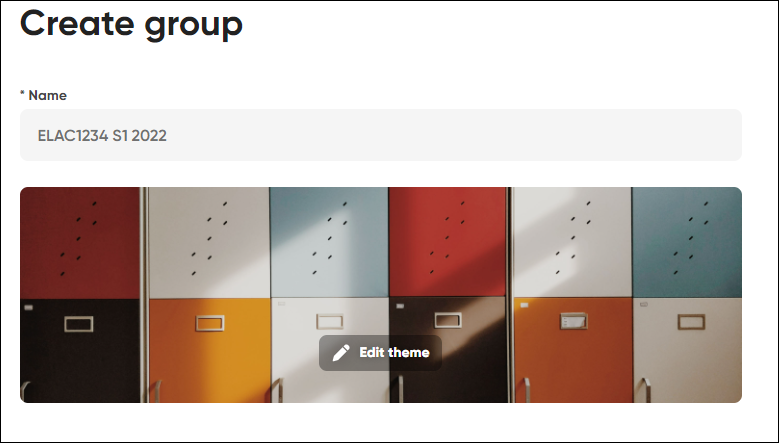
Enter the name of your group (e.g. Course Code + Semester + Year) in the Name textbox.
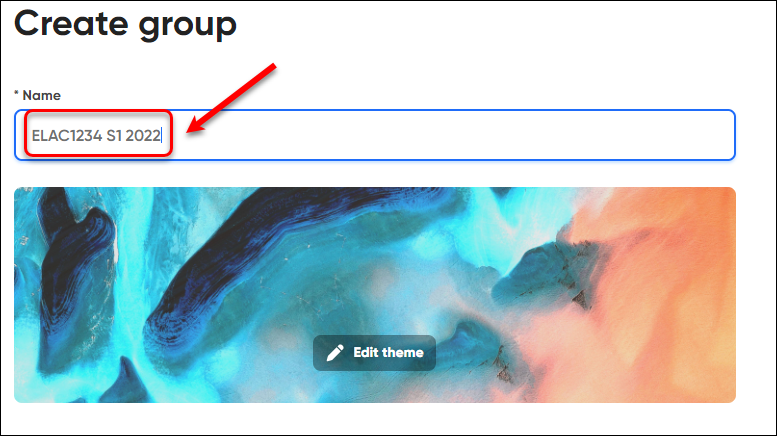
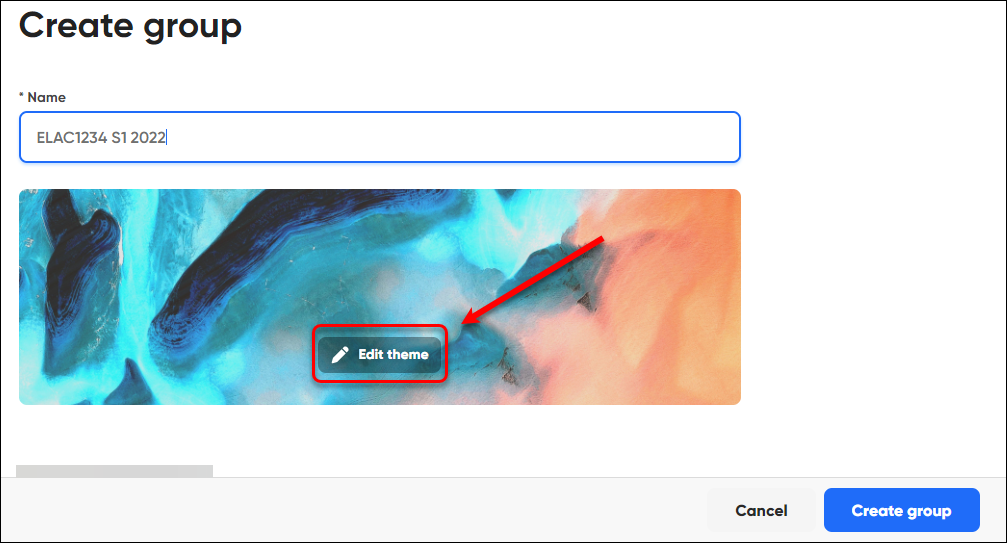
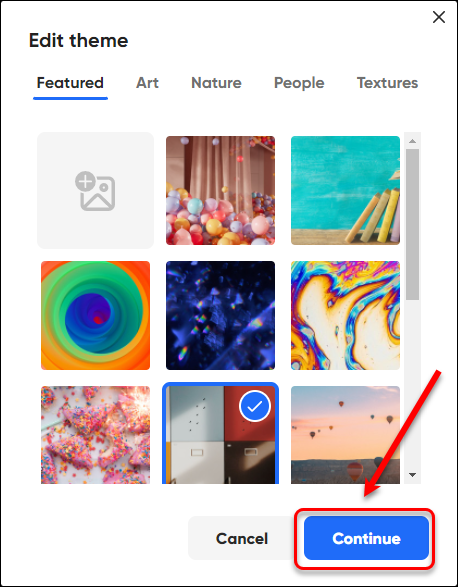
Optionally, click on Edit theme to change the group image.
Select a theme. Note: you can add a photo by clicking on the photo icon and upload one from your device.
Click on the Continue button.
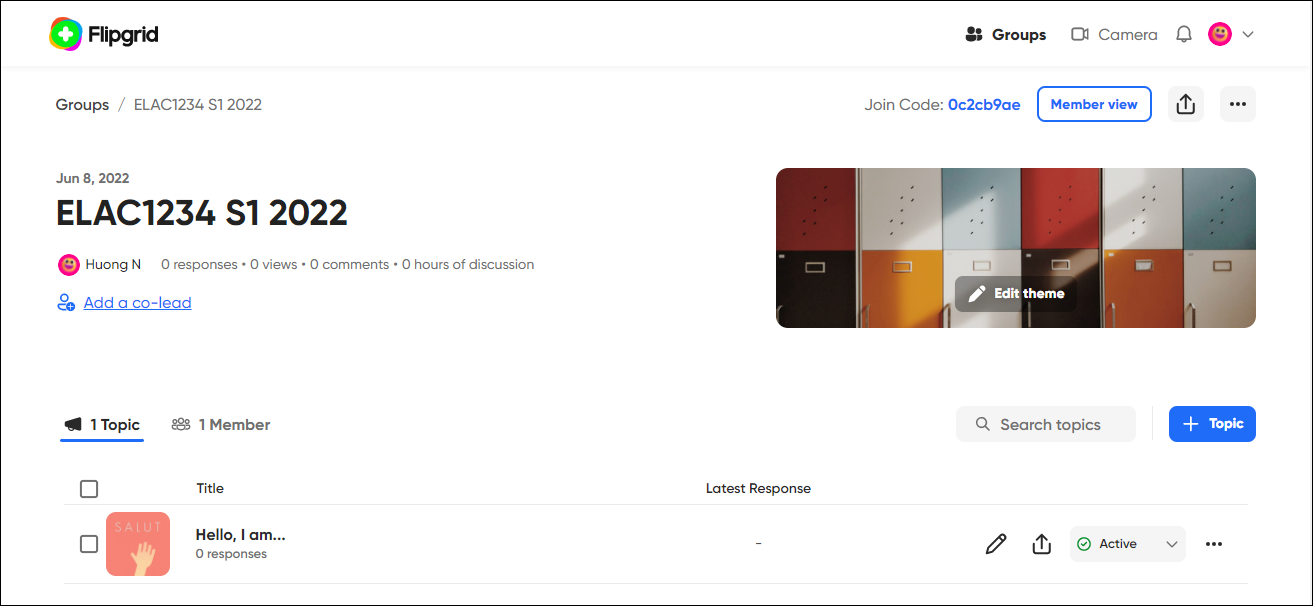
The group theme is displayed
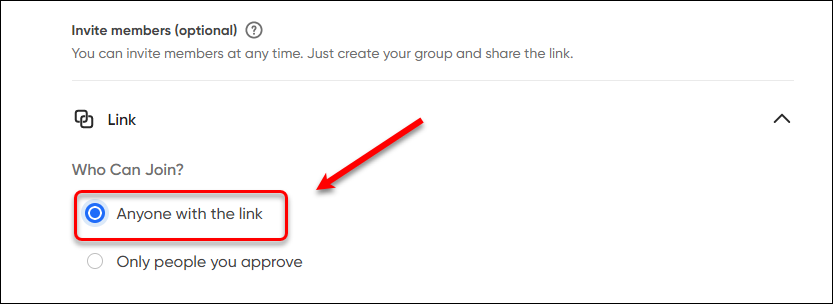
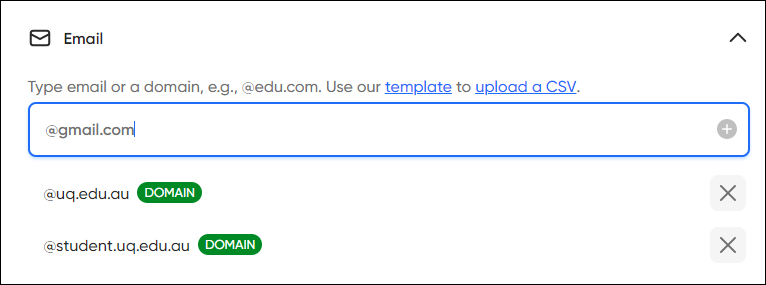
Select the access option (under the Link button).
Enter an email domain to define access to your Flipgrid group.
Click on the plus (+) button to add the domain.
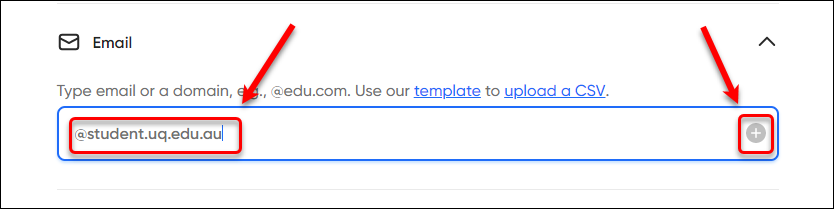
Note: multiple email domains can be added.
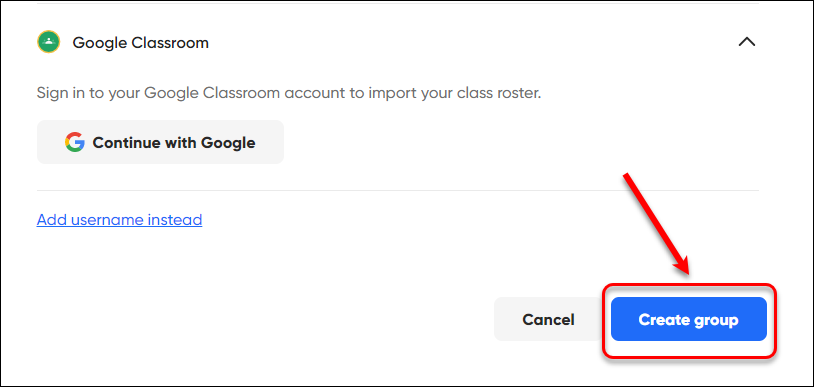
Click on the Create group button.
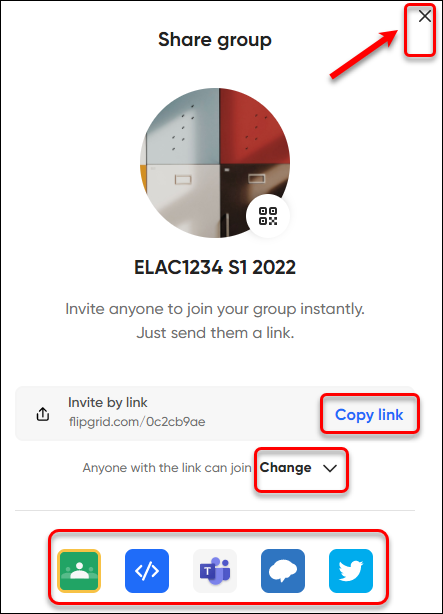
- The share options will be displayed:
- Copy link
- Change access if needed
- Share to other channels or media
- Click on the close (X) button.
Your group will be displayed.