Kaltura Capture - Insert a Video into a Content Area
Videos can be uploaded to Kaltura and directly inserted into a Content Area (Learning Resources or Assessment).
Videos can also be uploaded anywhere there is Visual Textbox Editor (Announcements, Items, Discussion Board, Blogs, Journals, Wikis and Assignments). Refer to the Insert a video into a Visual Textbox Editor guide.
Refer to the Desktop Recordings tool page for information on creating webcam and screen recordings.
Note: To use Kaltura on campus you must be logged into the UQ Internet Quota System. i.e. Enter any external website address into your browser, enter your username and password and click on Continue.
Note: Once a Kaltura Video Quiz has been inserted into a Content Area, the results of the quiz will be available in Grade Centre. For more information, refer to the Publishing a Video Quiz guide
Insert a video
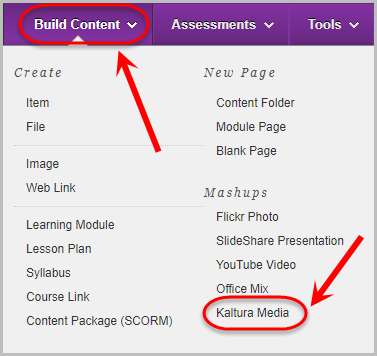
- Open a Content Area (i.e. Learning Resources or Assessment).
- Click on the Build Content button.
- Select Kaltura Media from the drop-down menu.
- Click on the </> Embed button for the video that you would like to insert.

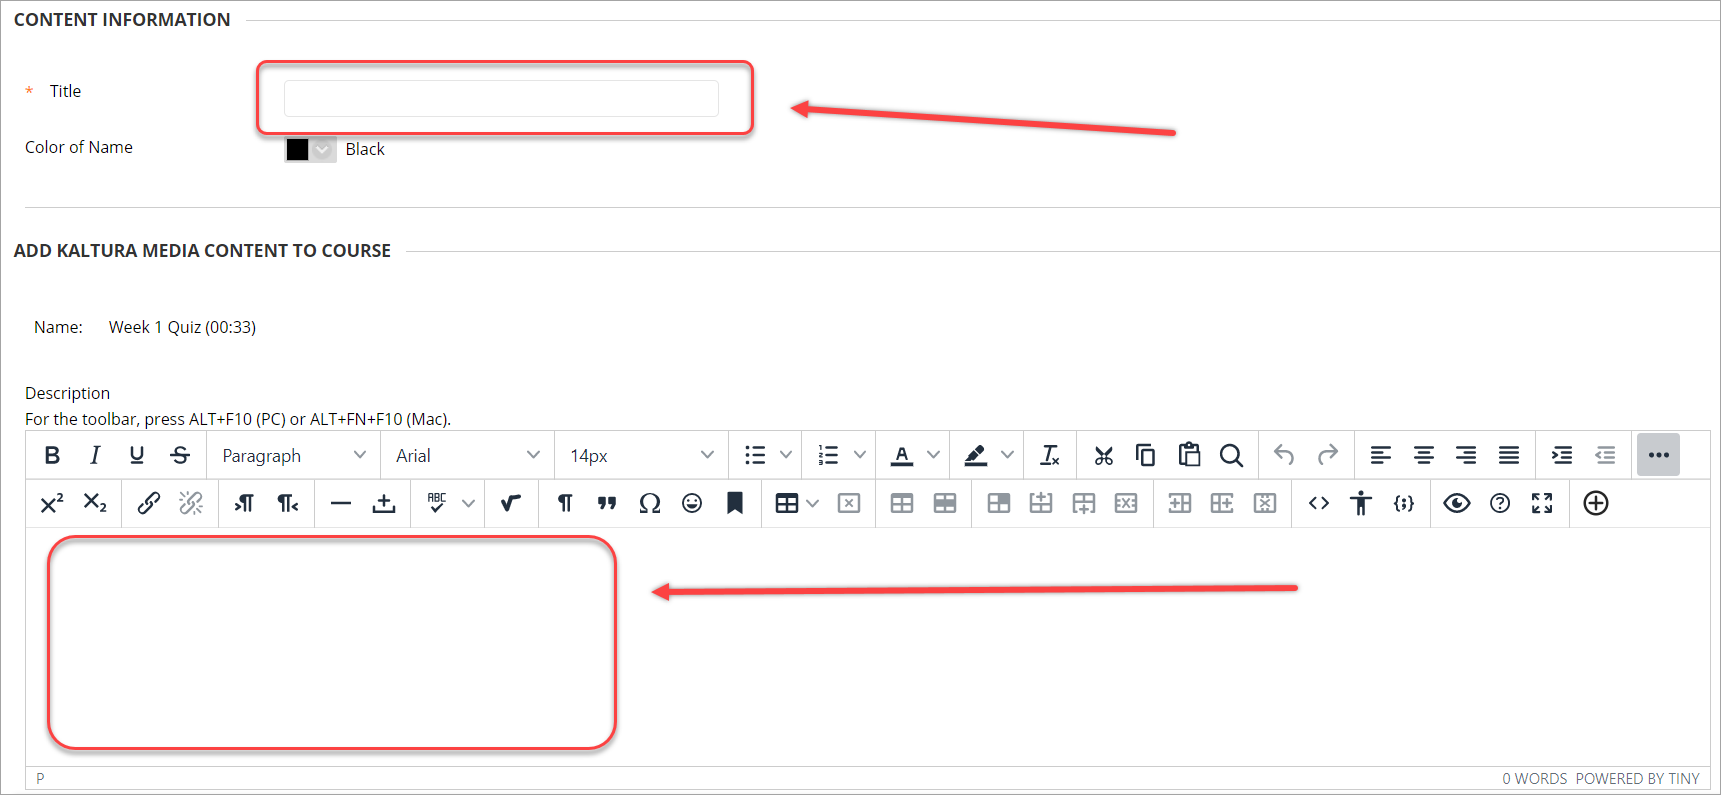
Content Information
- Enter a name for the video in the Title textbox.
- Enter additional details about the video in the Description text editor.
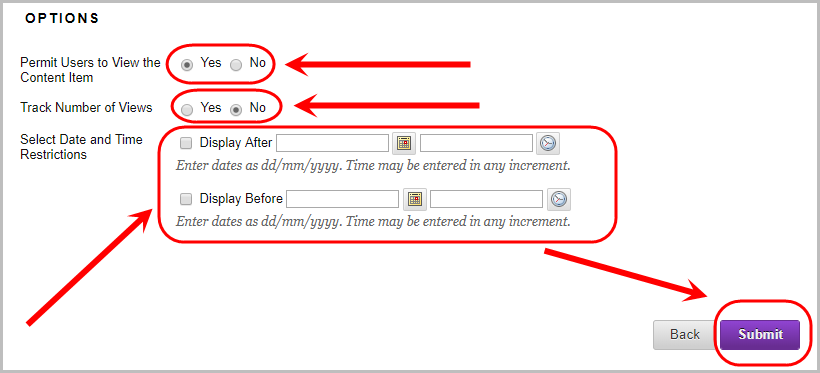
- Optionally, if you do not want students to view the video yet, select the No, Permit Users to View this Content radio button.
- Optionally, if you want to know how many times the video is viewed, select the Track Number of Views radio button.
- Optionally, set Date and Time Restrictions: i.e. The course content could be organised into weekly learning modules that are display progressive over the semester at the relevant time.
- If required, select the Display After checkbox and enter the date using the Date Selection Calendar and enter the time using the Time Selection Menu.
- If required, select the Display Until checkbox and enter the date using the >Date Selection Calendar and enter the time using the Time Selection Menu.
- Click the Submit button.
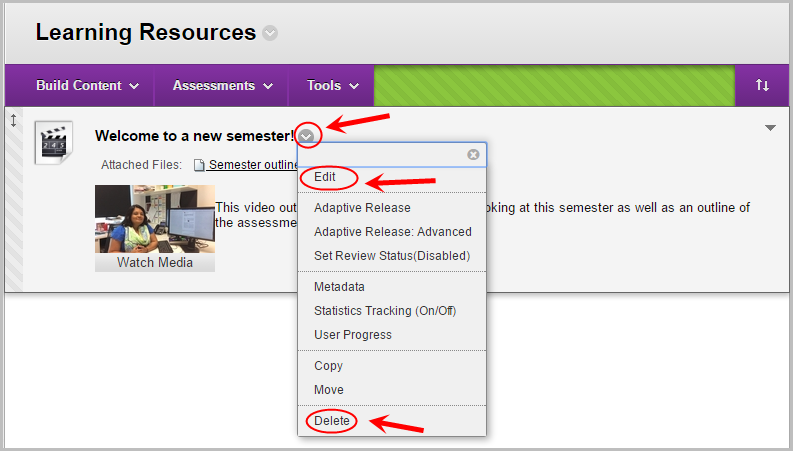
Delete or Edit the video
- To edit a video, click on the drop-down arrow then select Edit from the drop-down menu.
- To delete a video, click on the drop-down arrow then select Delete from the drop-down menu.
Note: Deleting the video from the content area will not remove it from your My Media or the Course Gallery.